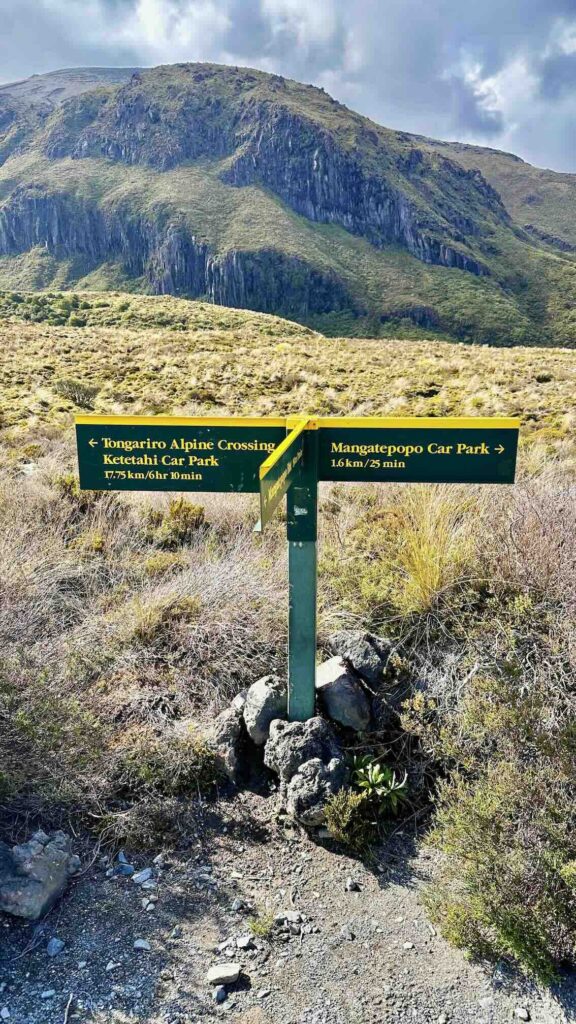
Last Christmas vacation, we hiked one of the most amazing trails in New Zealand: The Tongariro Northern Circuit. It is located in Tongariro National Park in the Central North Island region. The loop trail is 44.9KM long and can be completed in 3 to 4 days, although most people do it in 2-3 days or even 1 day for a marathon. We encountered a few runners along the way. You can choose to hike the trail in a clockwise or counterclockwise direction since it’s a loop trail. The famous Tongariro Alpine Crossing trail is a part of this Northern Circuit.
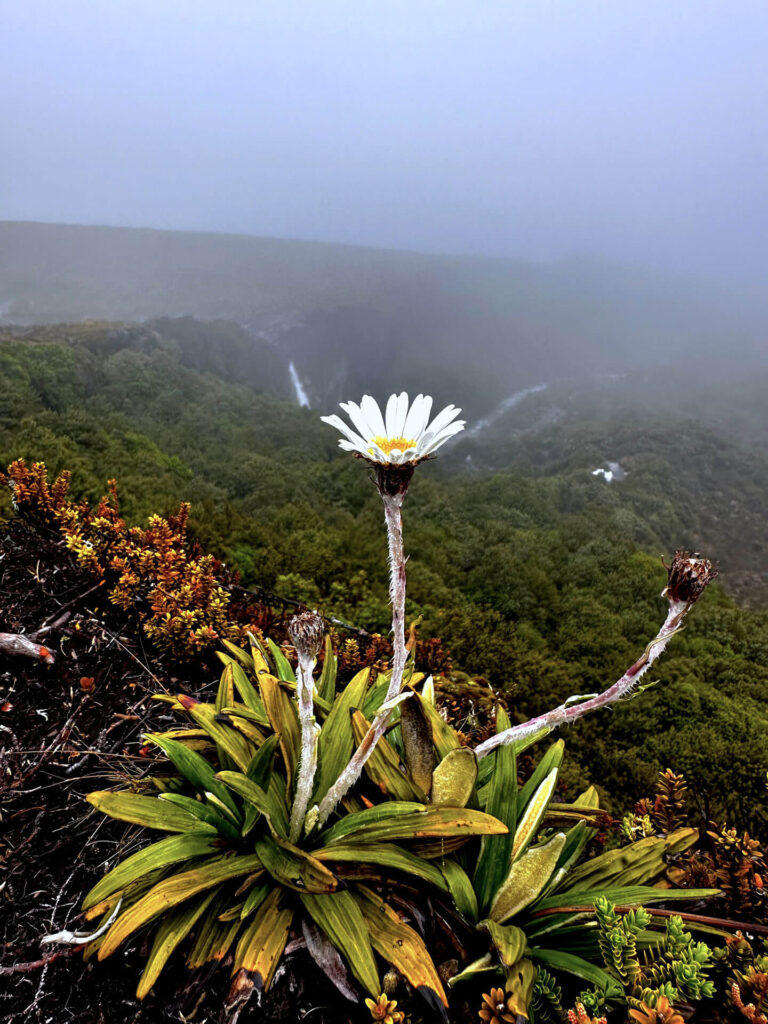
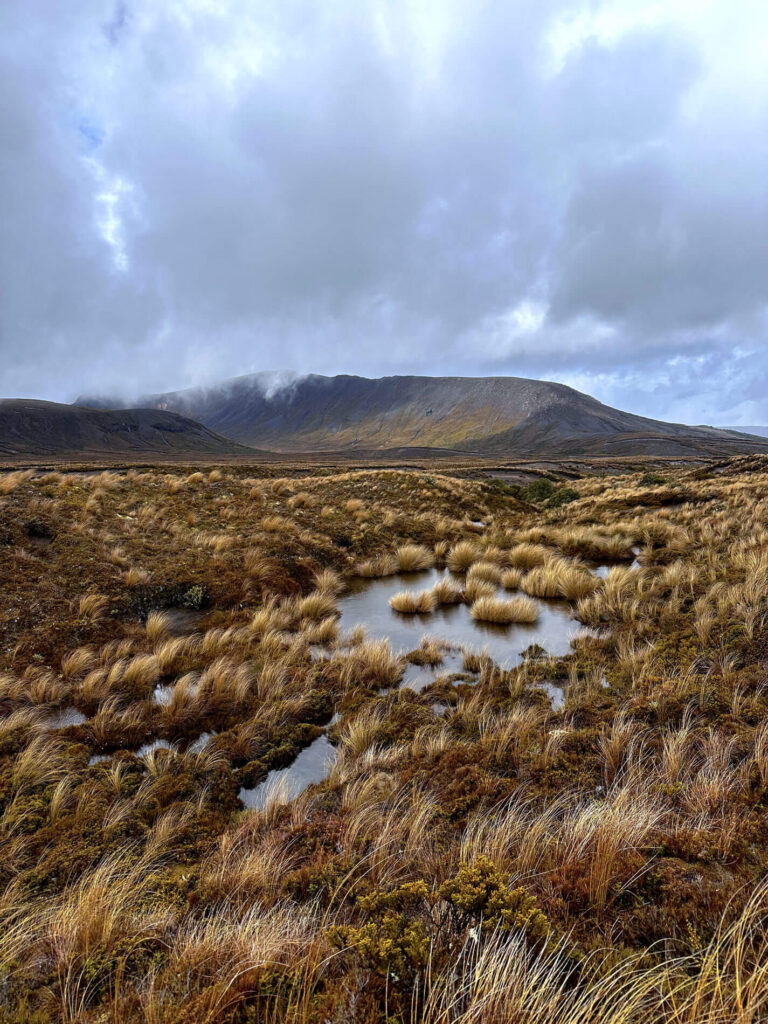
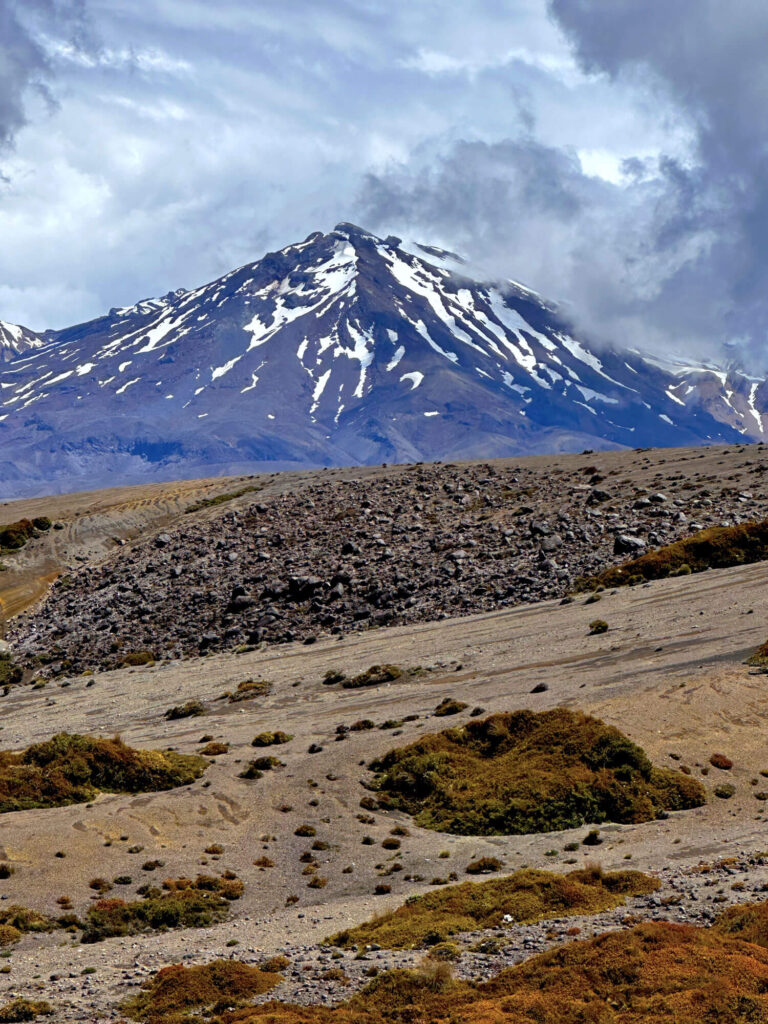
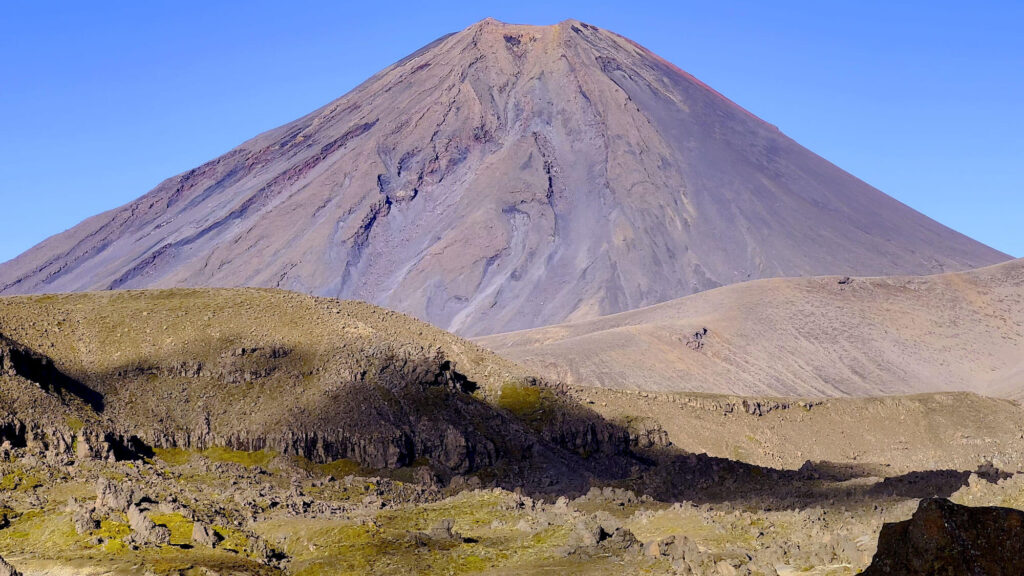
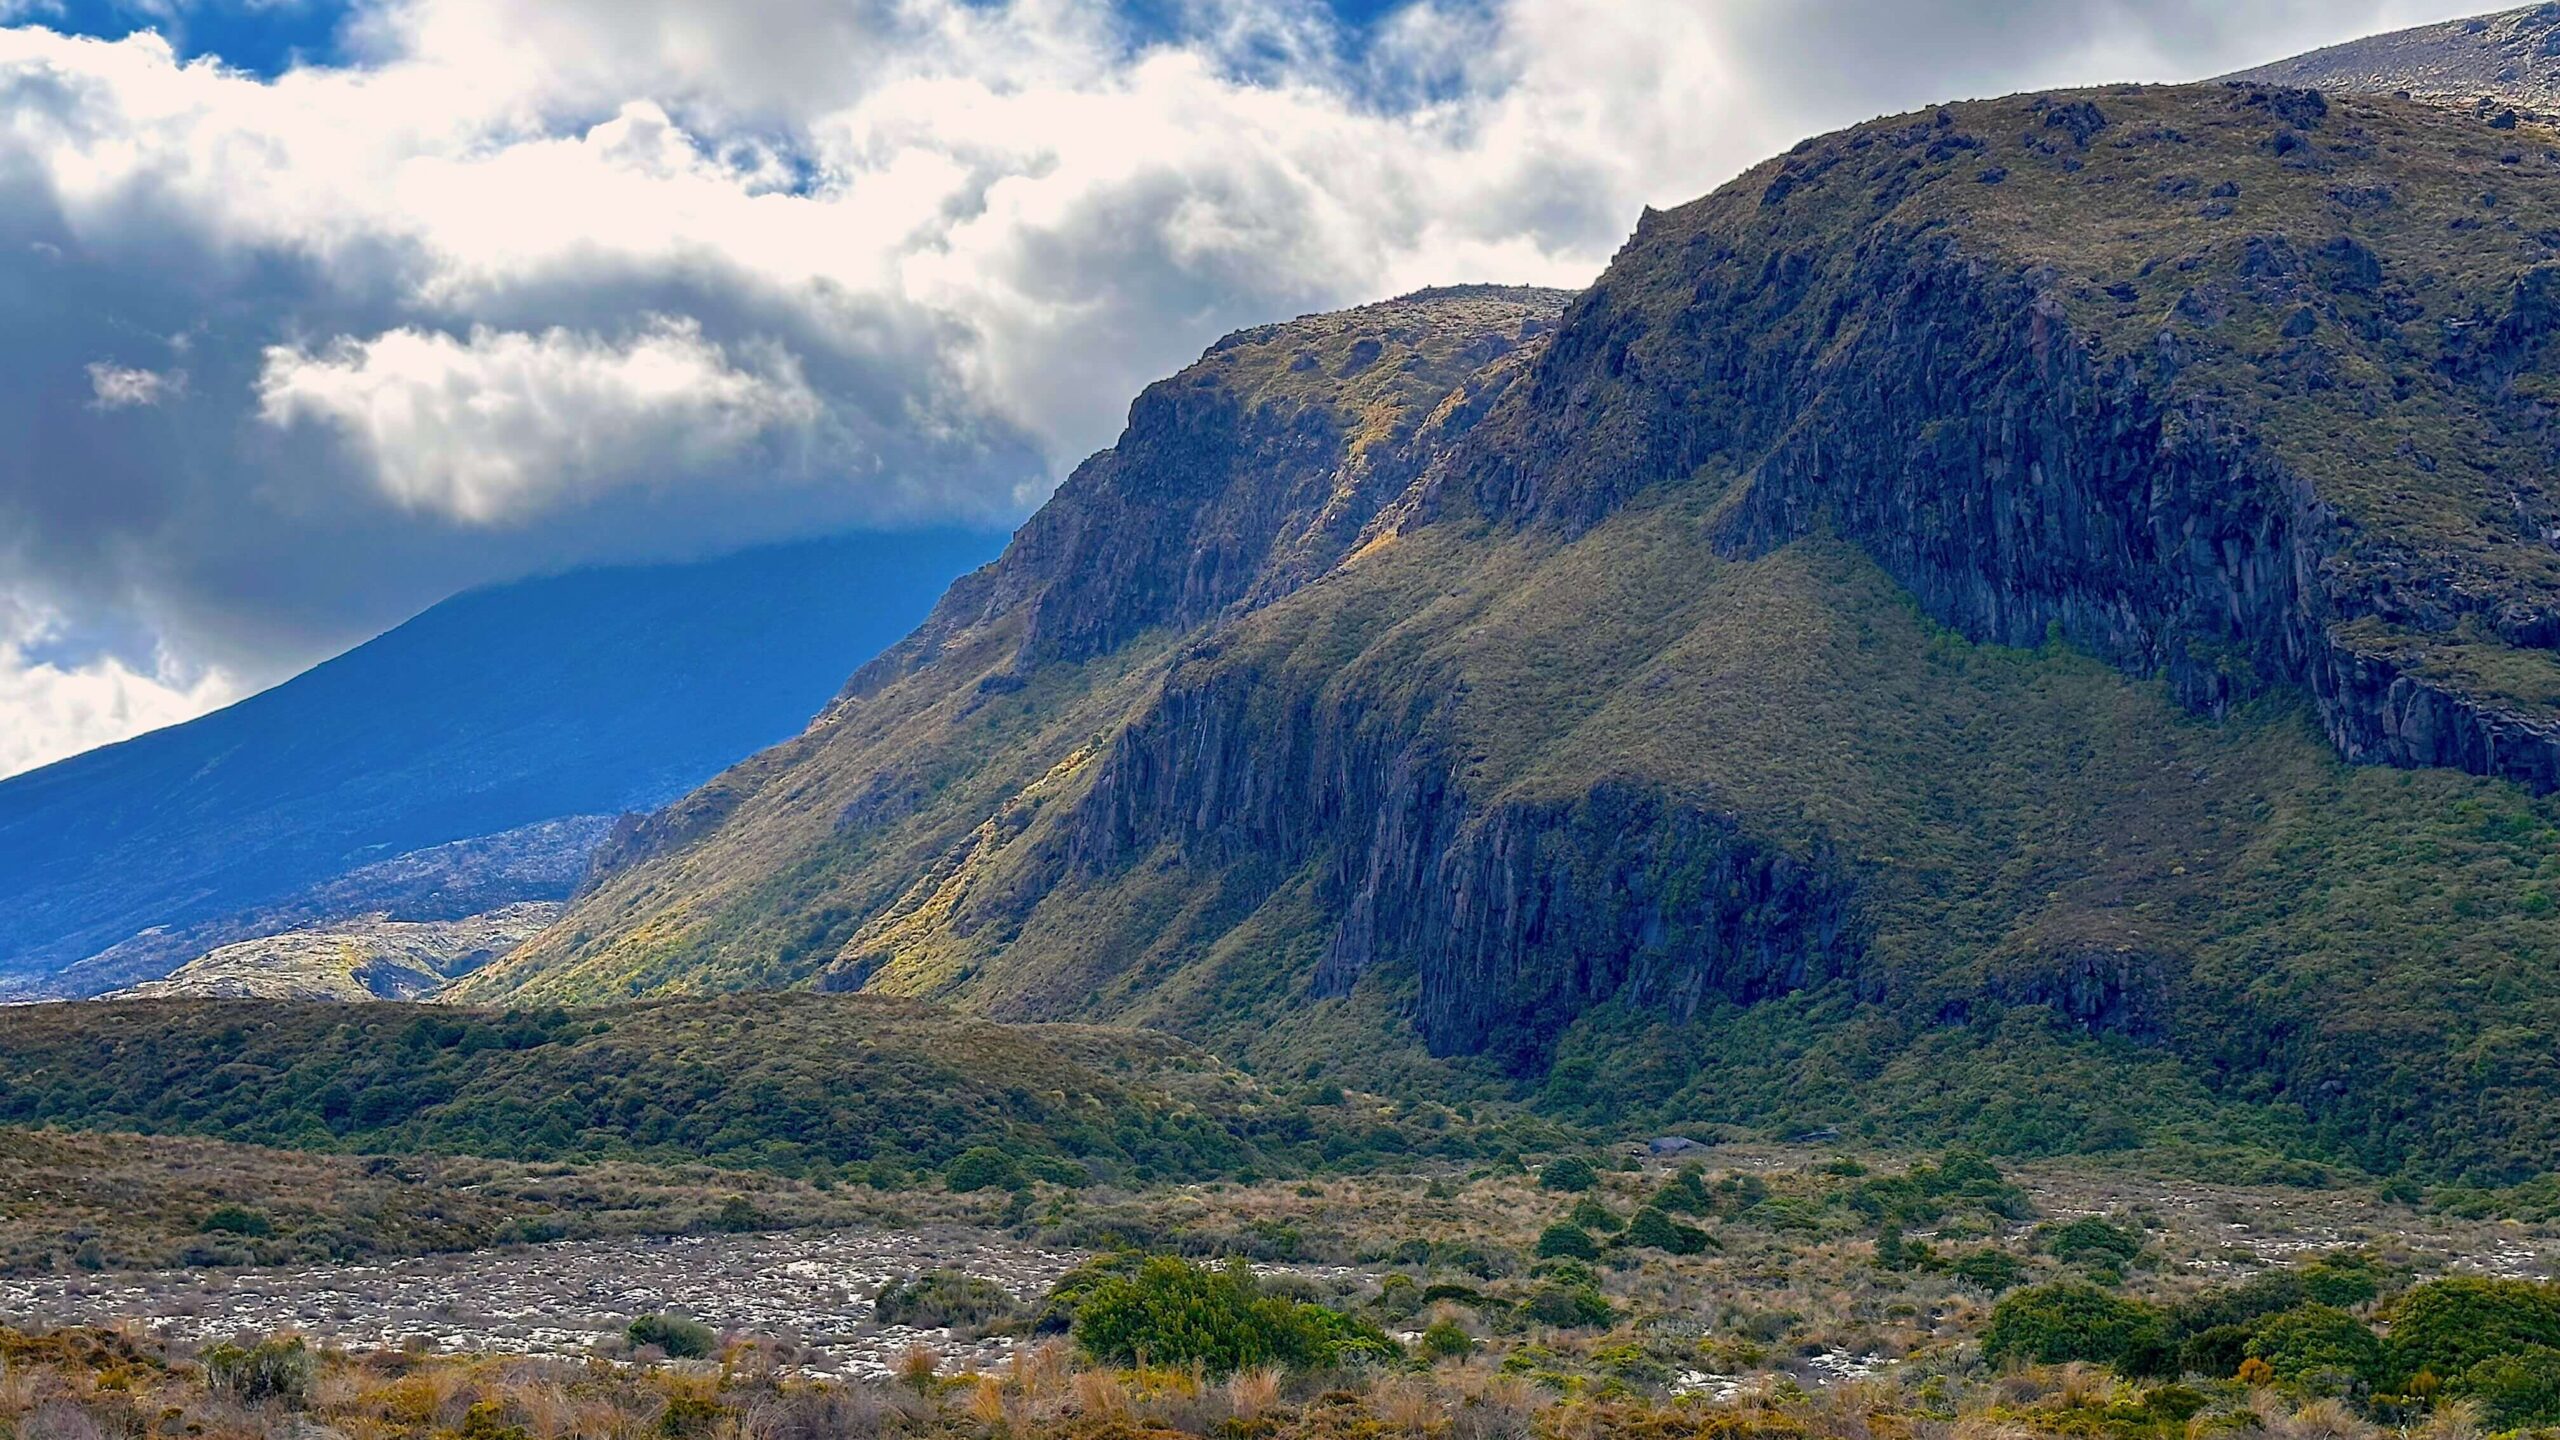
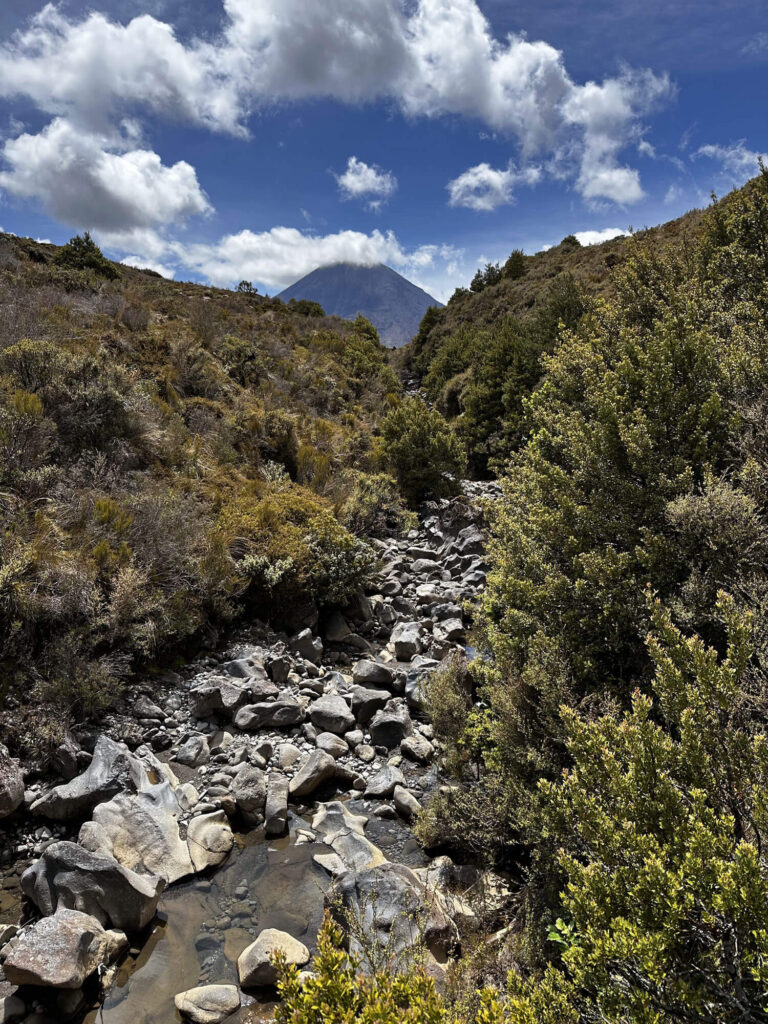
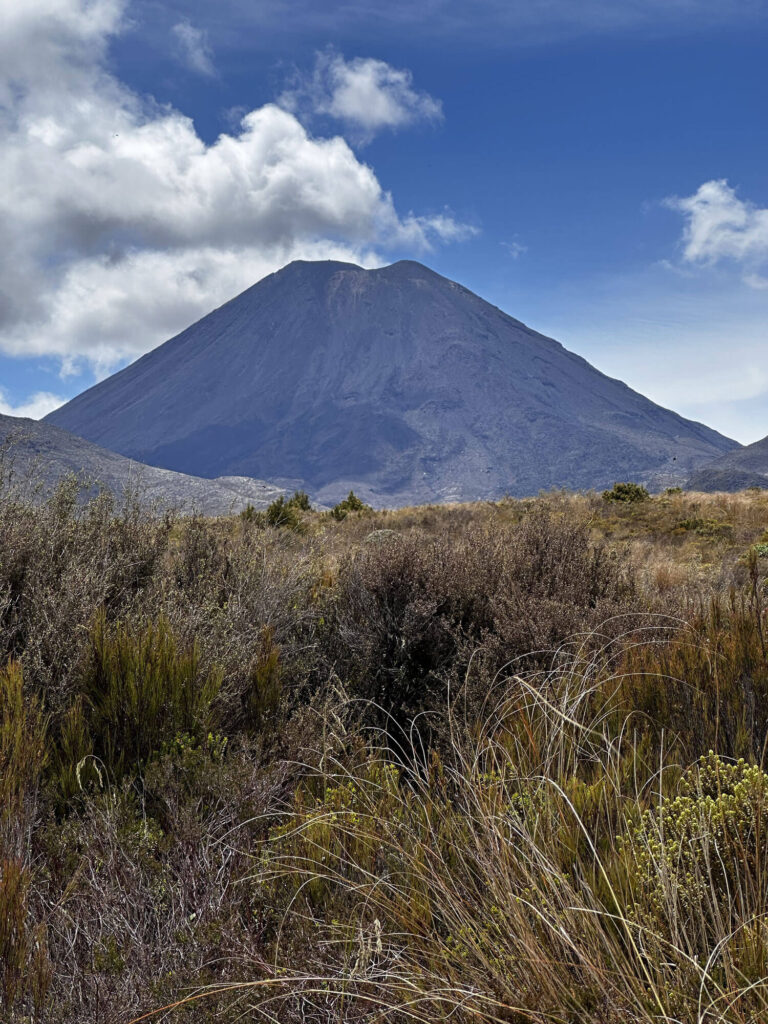
Expect to be mesmerized by the beautiful landscapes with the sights of active volcano of Mount Ngauruhoe, Mount Ruapehu, and Mount Tongariro. You will also come across numerous streams and rivers, active vents, waterfalls, turquoise lakes, bushes, dense forests, deserts, rock formations, lava remnants and alpine views.
The hike is part of the Great Walks network, which means it is well-maintained and has comfortable huts and campsites along the way.
To find a comprehensive guide about the Tongariro Northern Circuit hike, please refer to our previous article “Tongariro Northern Circuit Guide – Great Walk“.
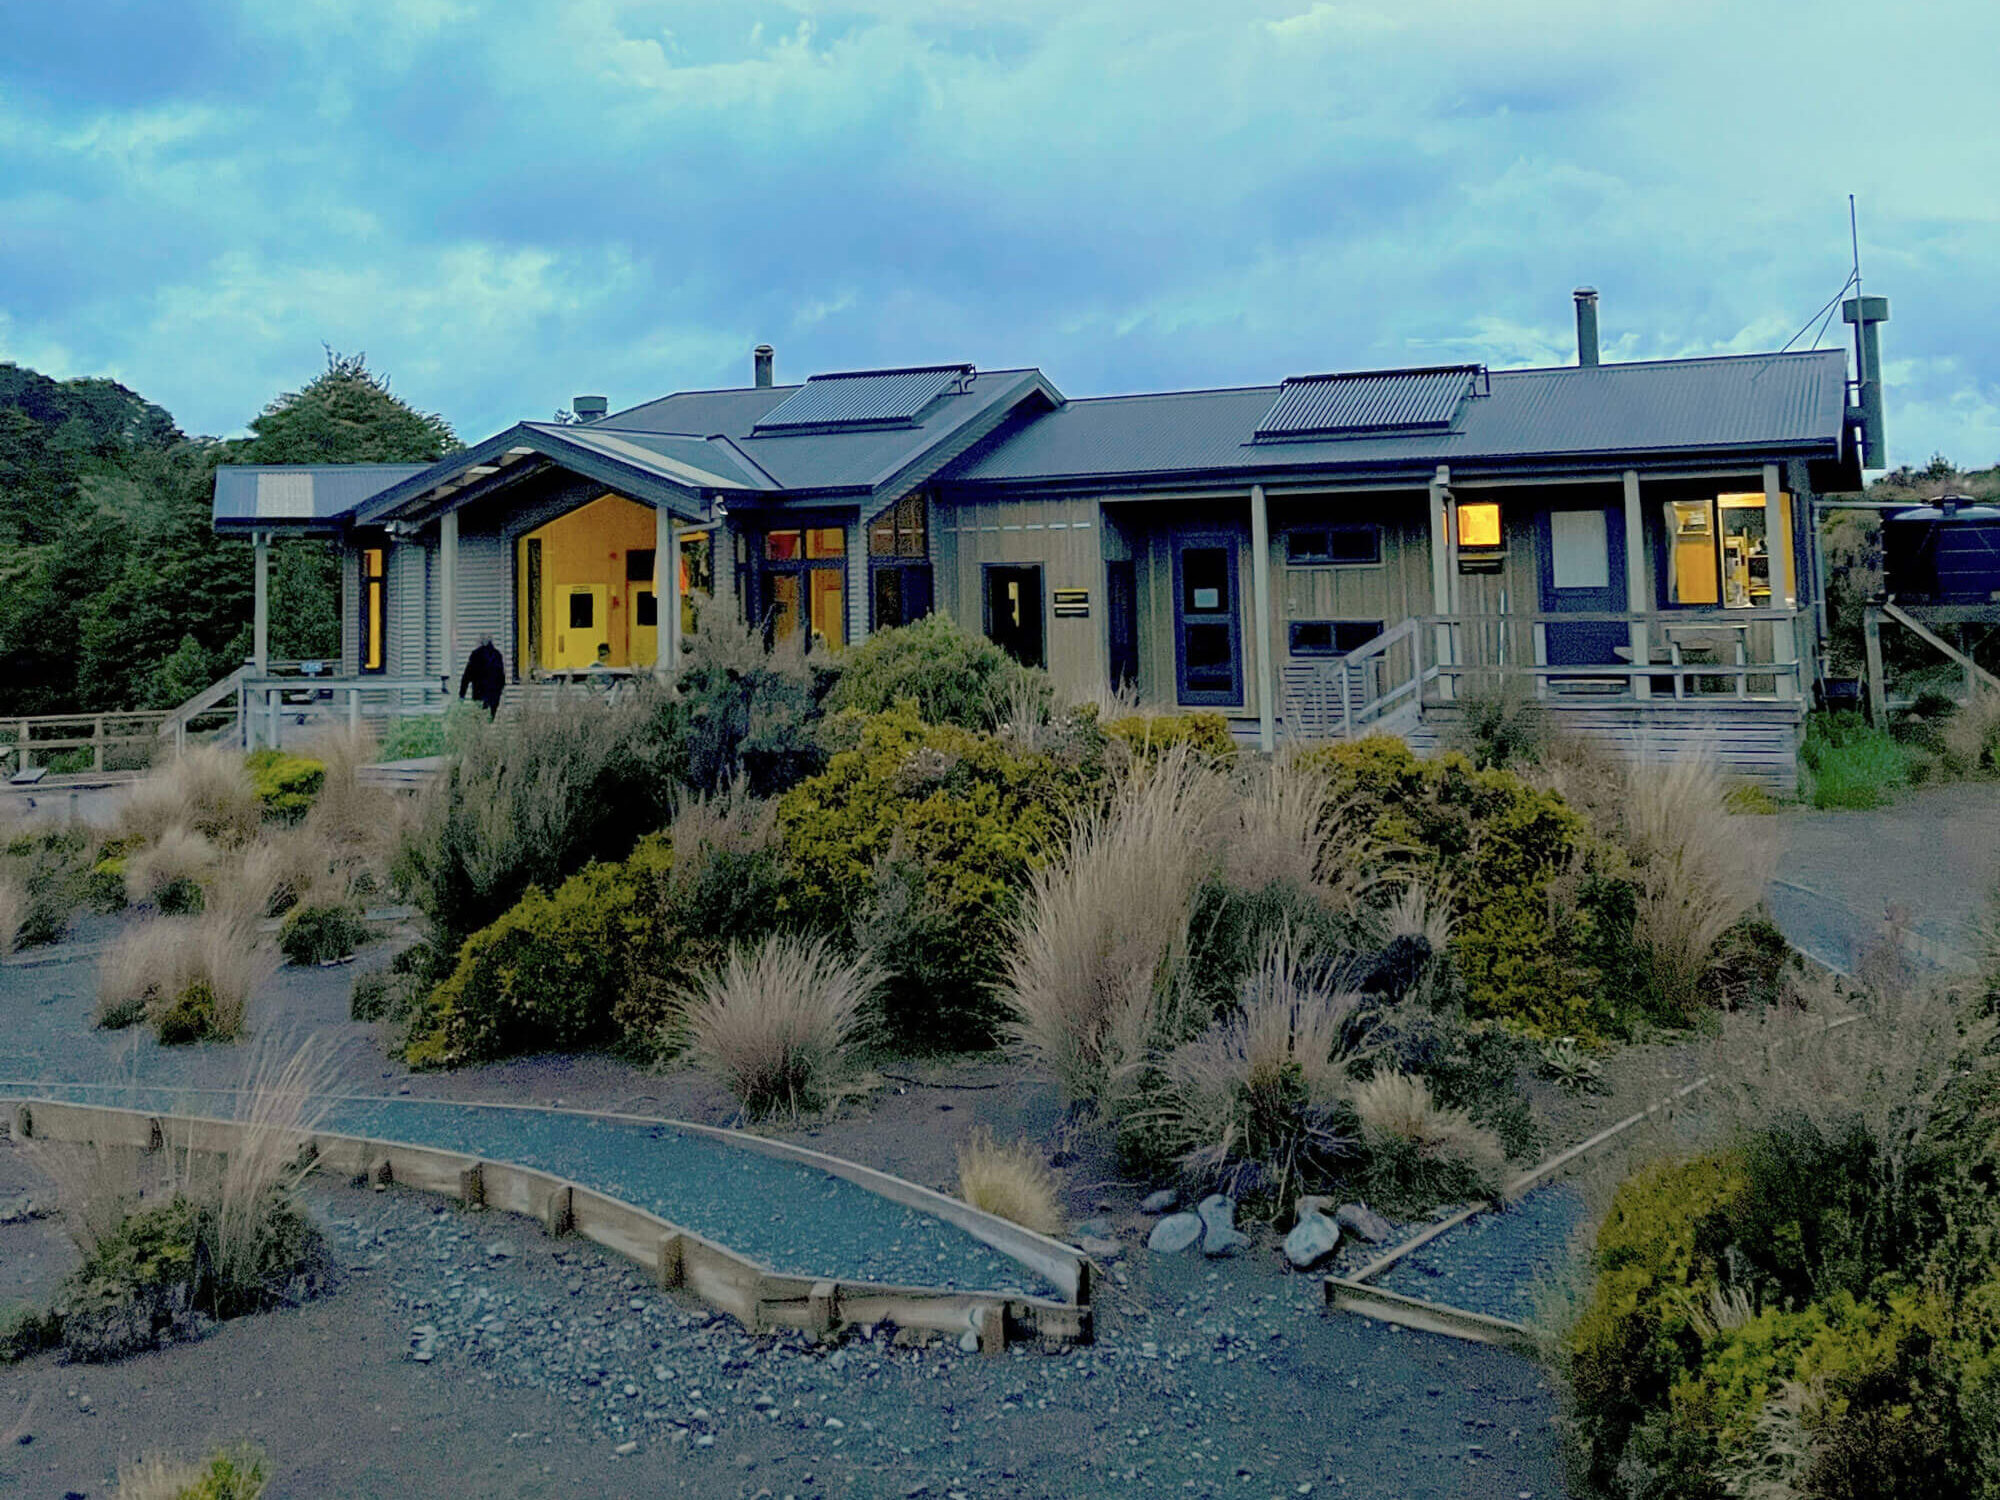
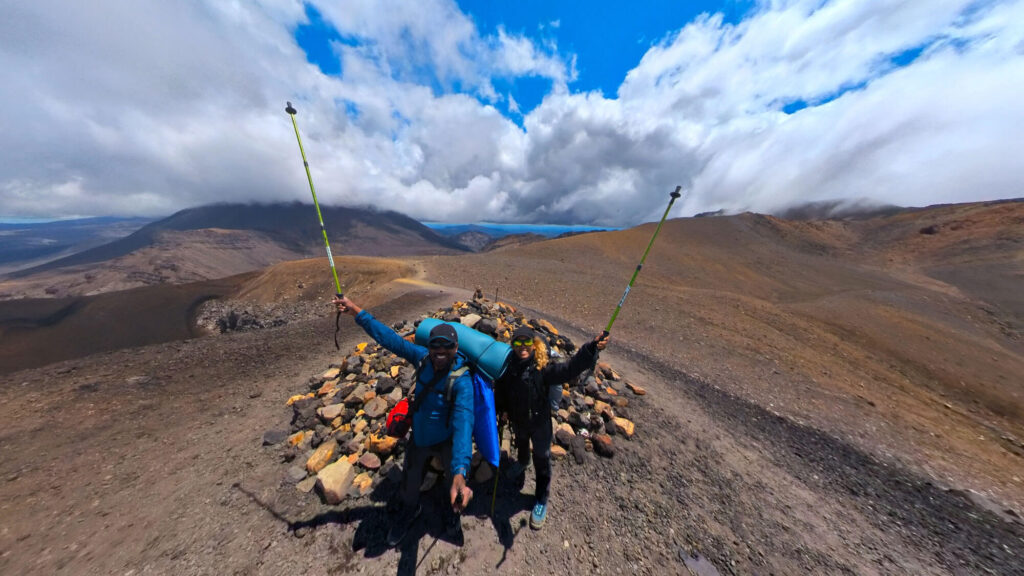
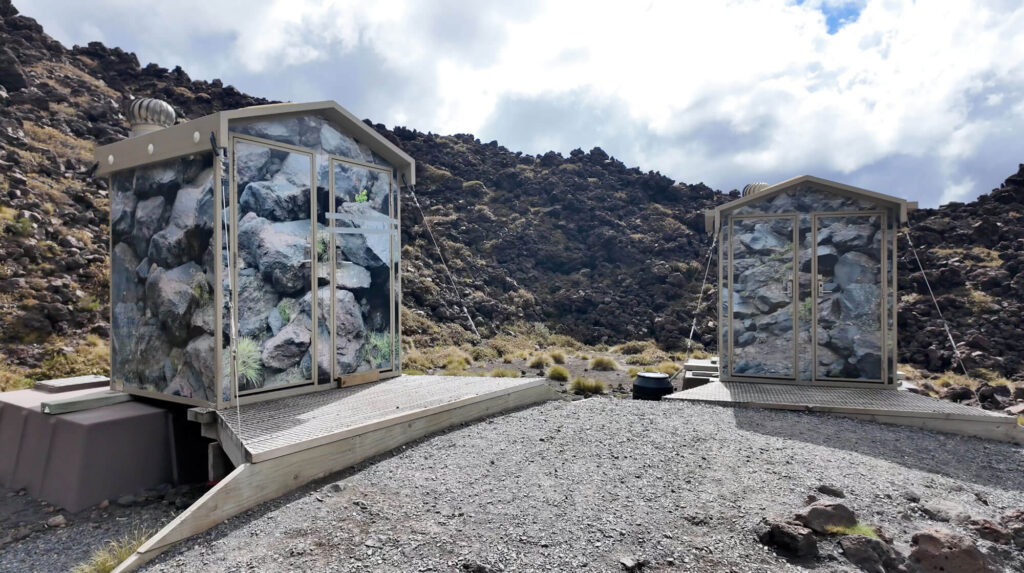
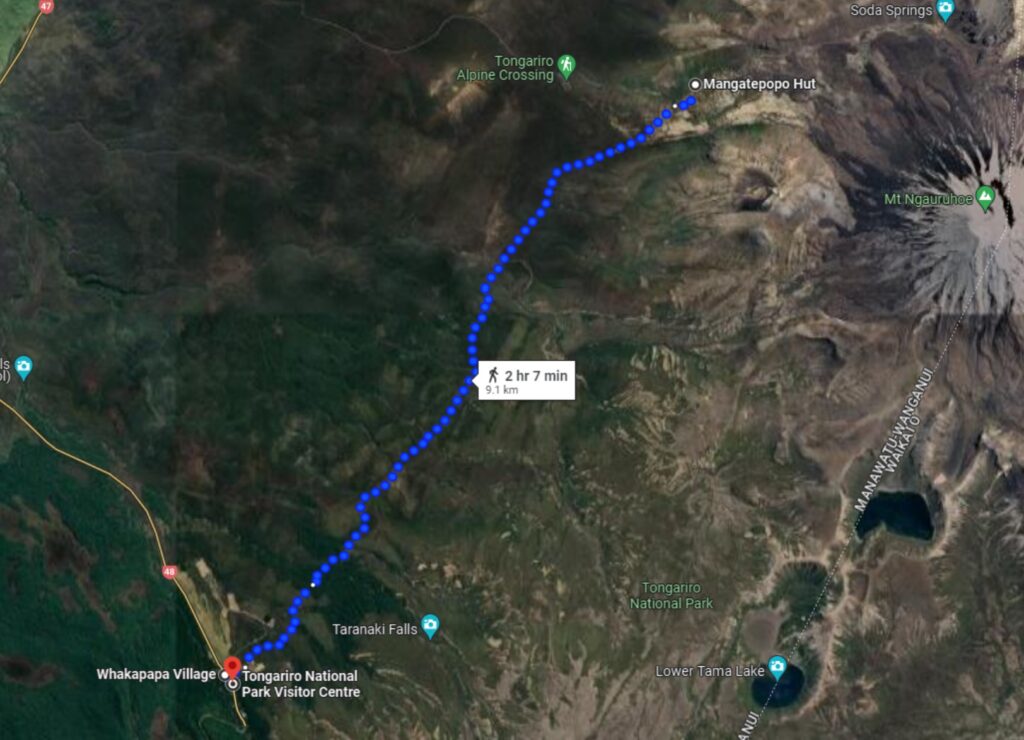
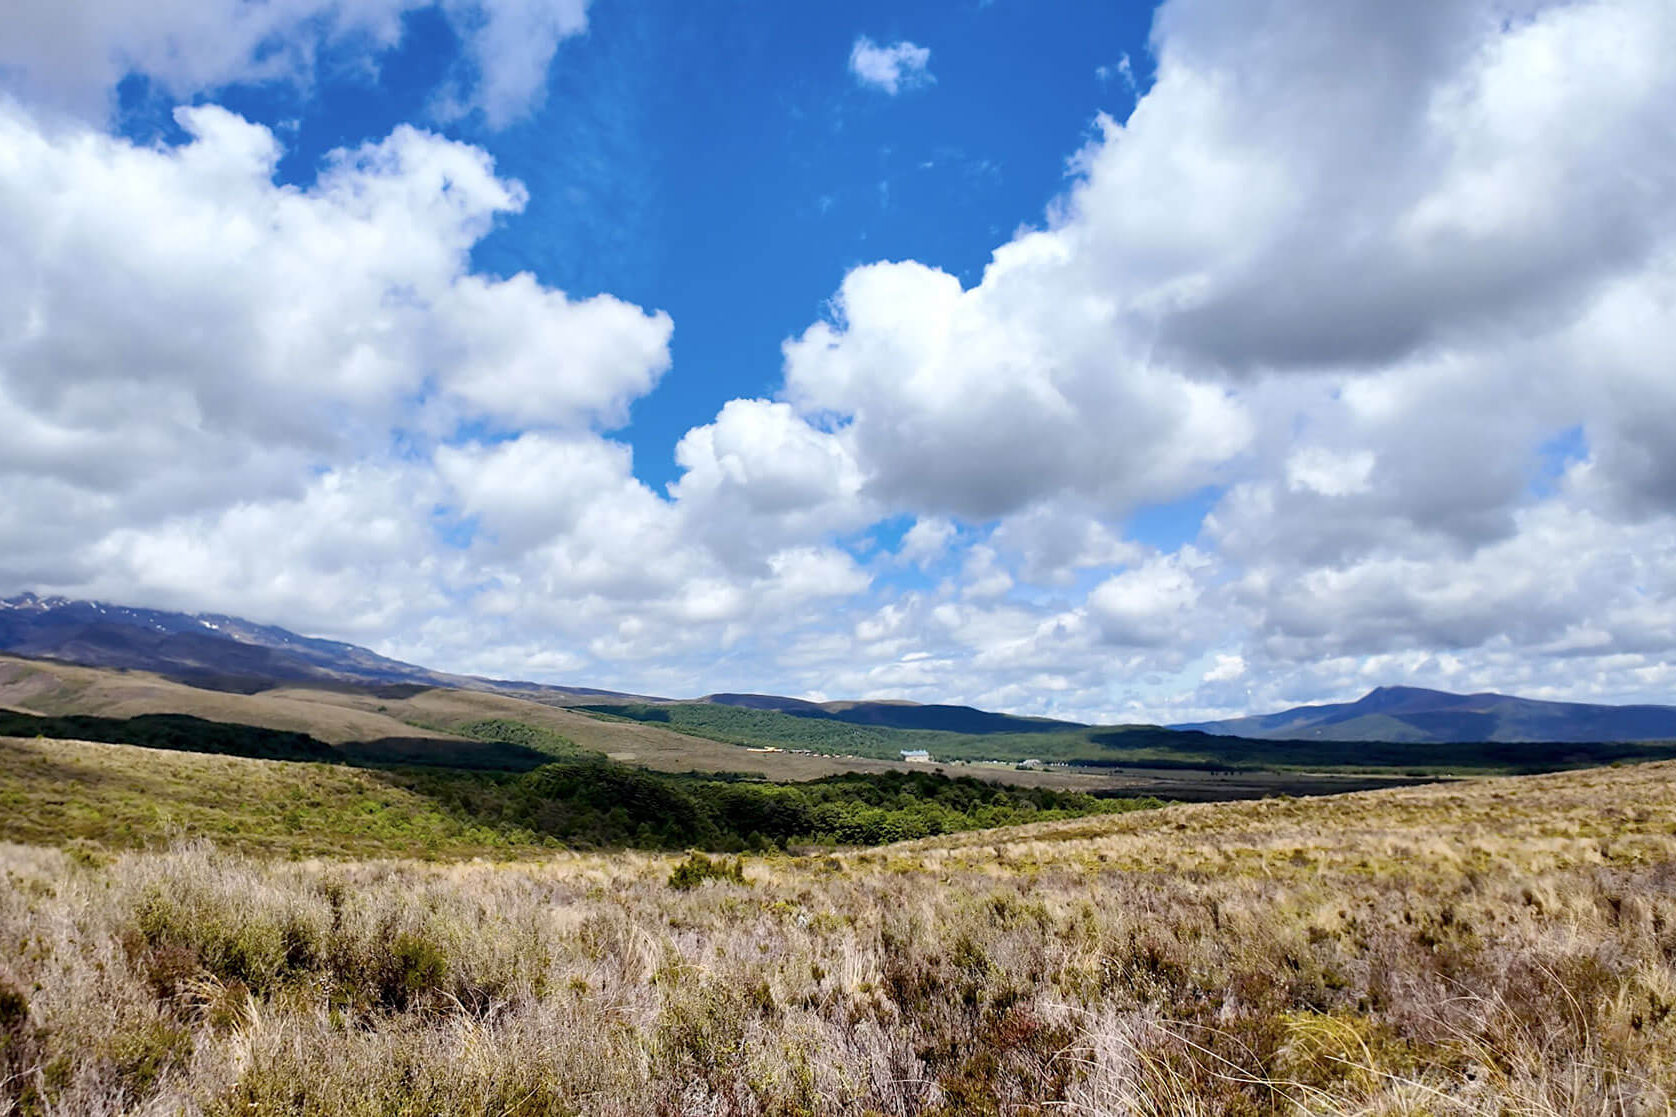
Where we started/ended for Tongariro Northern Circuit
After a long drive from Auckland, we spent one night in the National Park village to rest and prepare ourselves for the multiday hike that lay ahead. The hotel was conveniently located, and we could quickly reach Tongariro National Park Visitor Centre or Whakapapa Village in around 10-15 minutes’ drive.
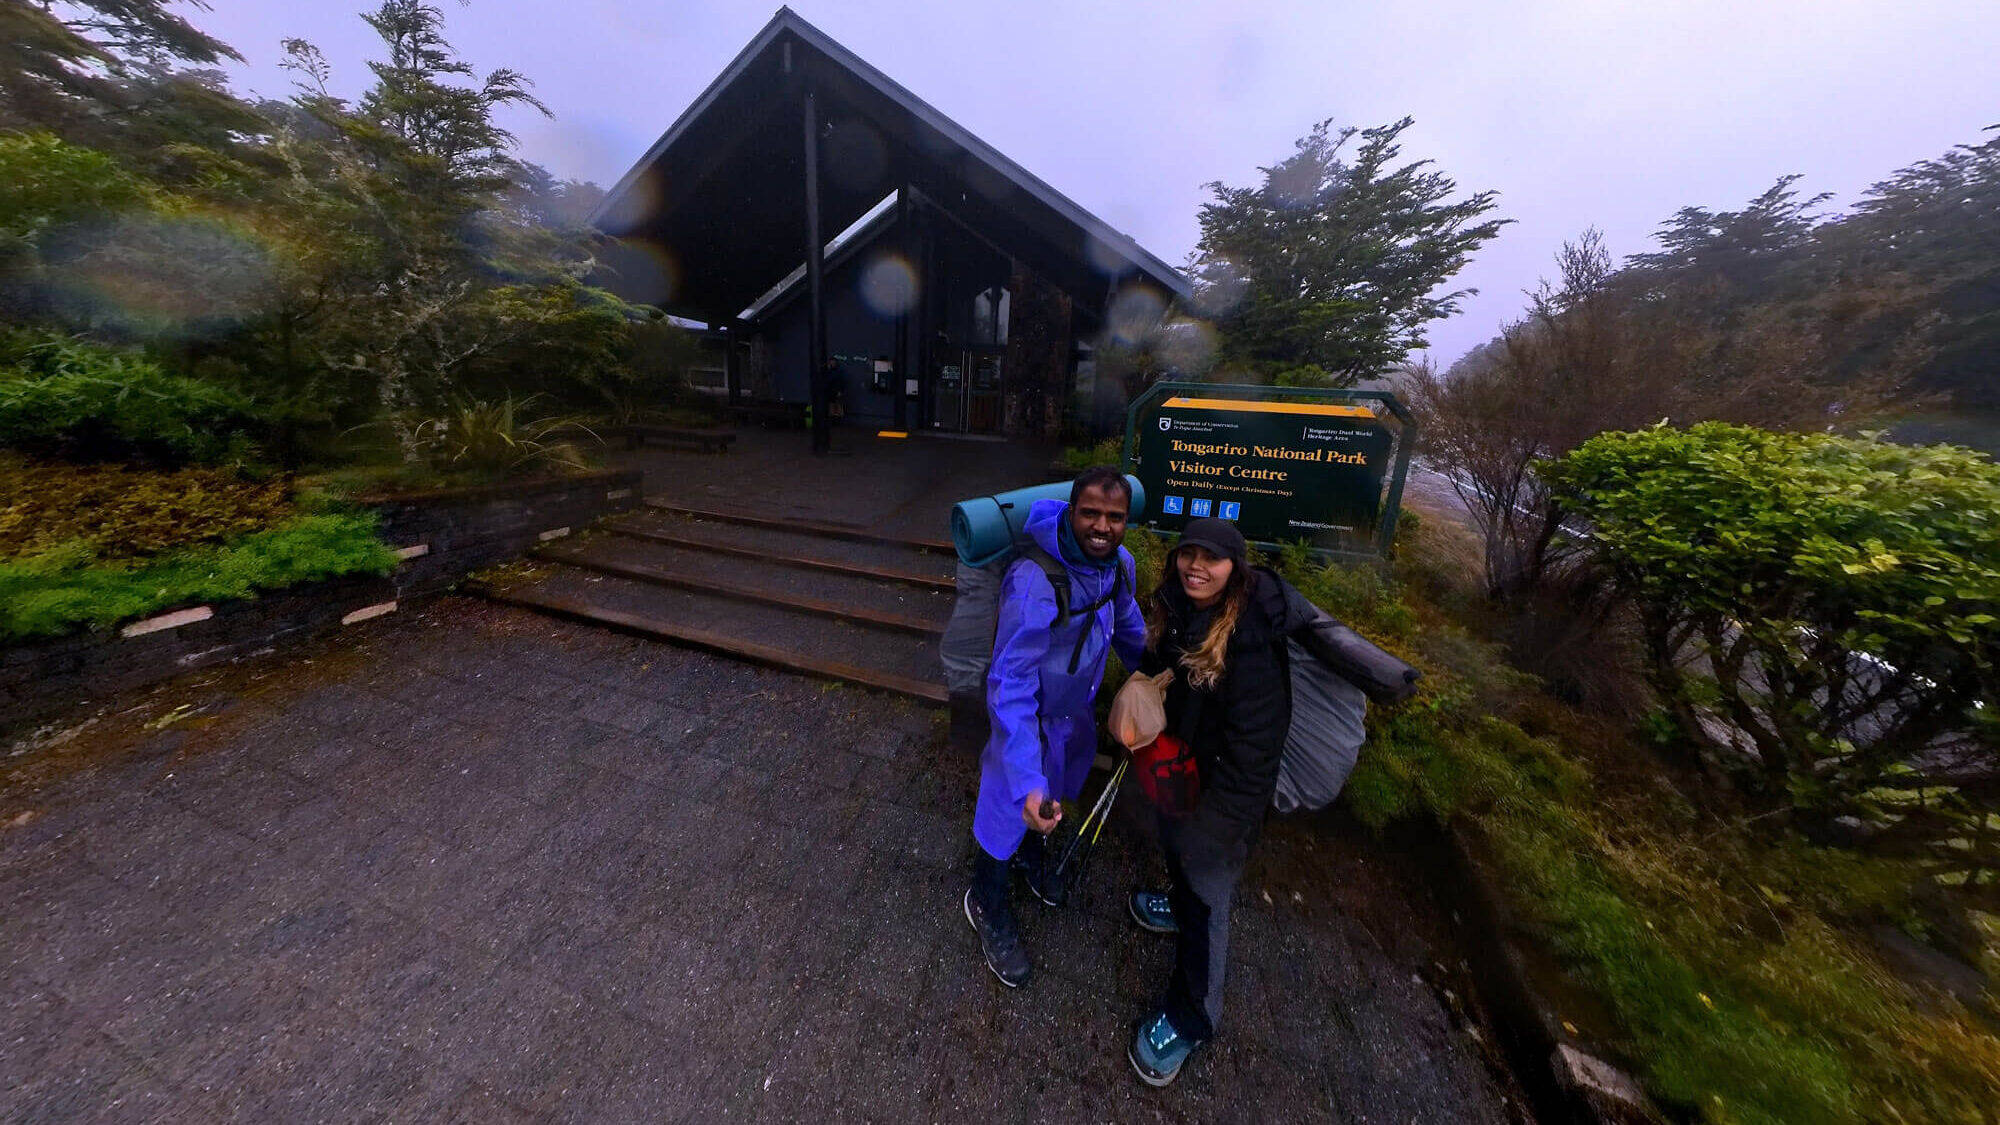
On Christmas Day we started our hike at Tongariro National Park. Although the Visitor Centre was closed, we found the relevant information on the notice board. It provided weather conditions for the next three days and parking instructions for multi-day hikers who don’t need an overnight parking permit. We followed the notice and parked our car beneath the Hotel Chateau Tongariro. Alternatively, one can obtain a free parking permit from the National Park Visitor Centre during the office hours.
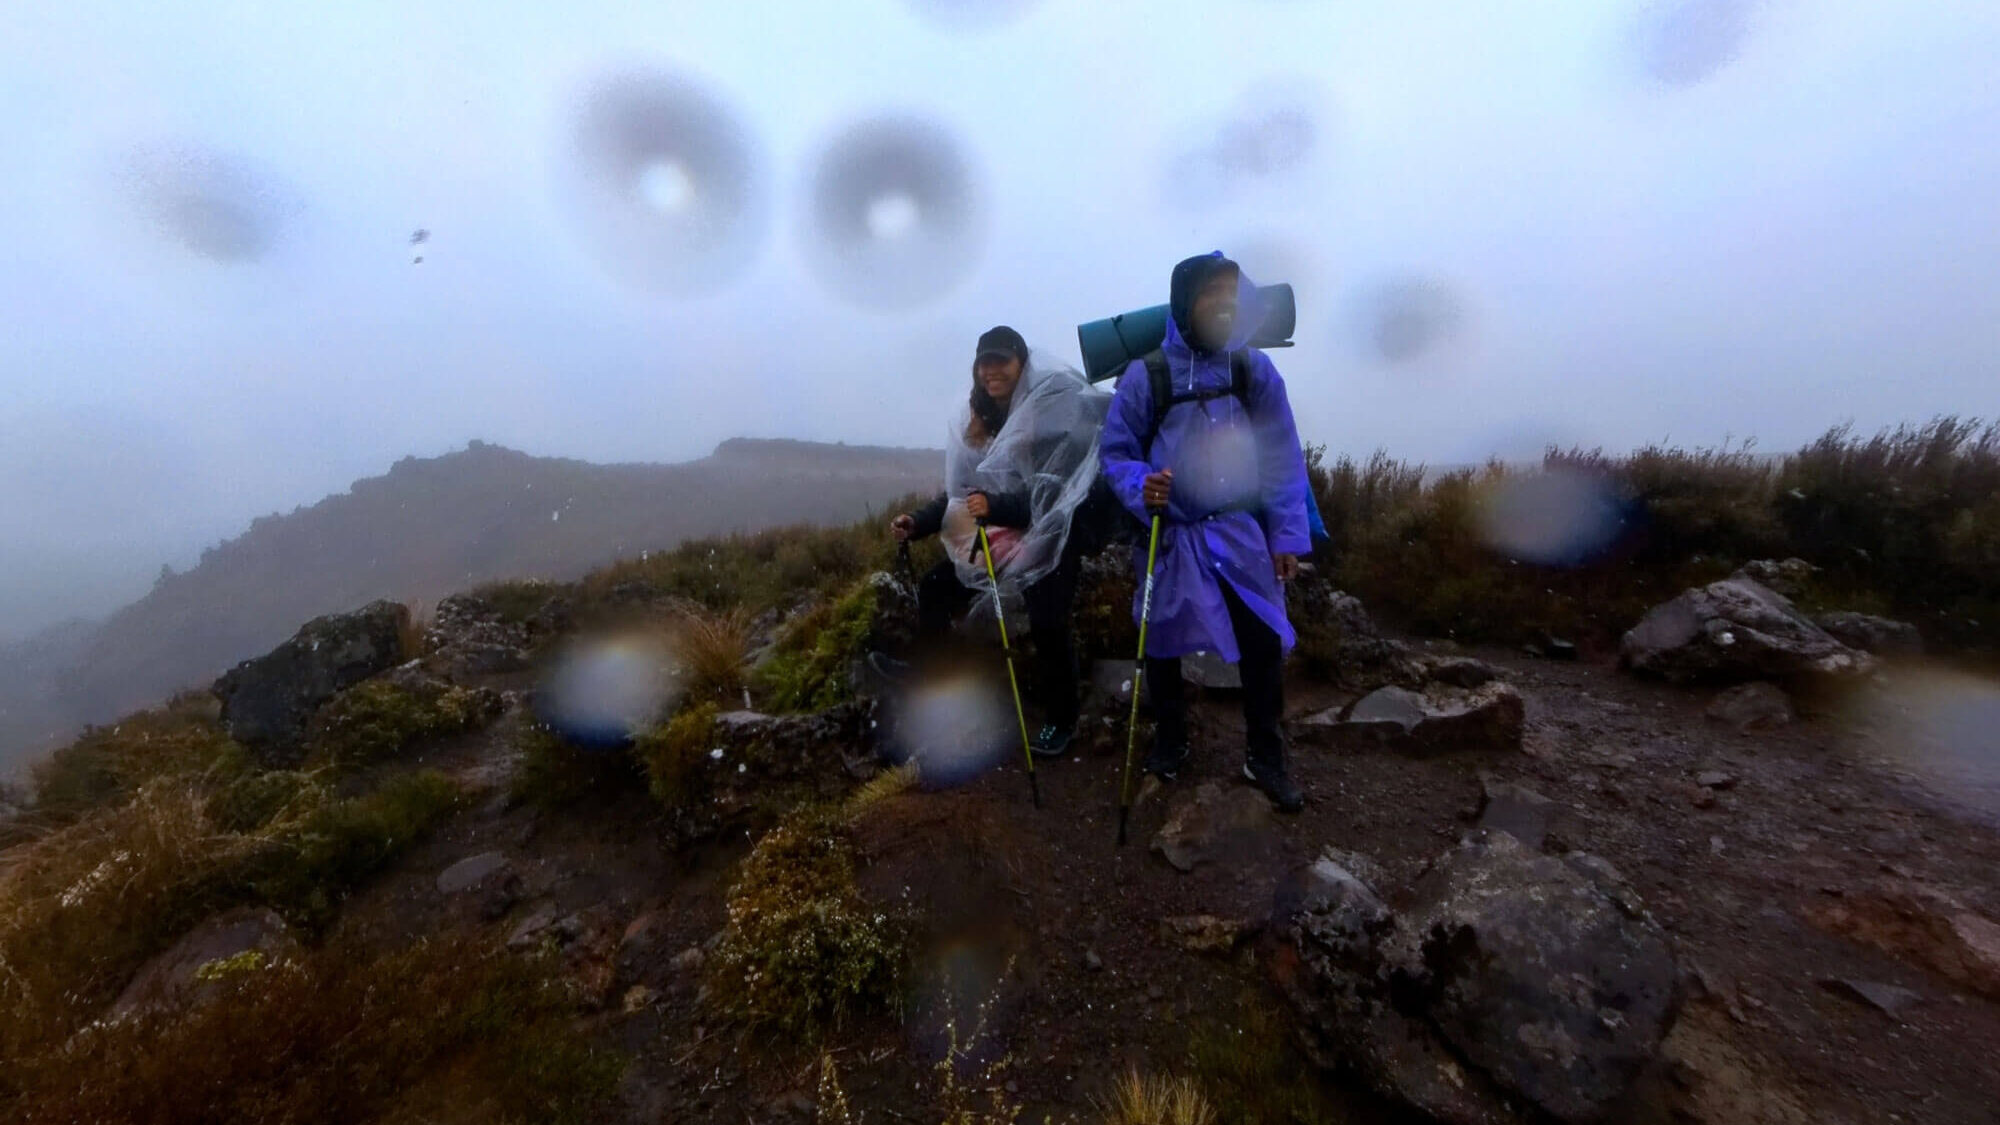
We decided to do the hike in four days, Anti Clockwise due to the campsite’s slots availability. We were fortunate to have hiked the reverse track from the day we started, despite the bad weather conditions. The Visitor Centre and Met service website had posted multiple hazard signs warning of heavy rainfall and strong winds in certain areas, particularly along the Tongariro Crossing Trail.
It was our first time doing a multi-day hike and camping, so we were both ecstatic and ready for an adventure, despite the weather condition.
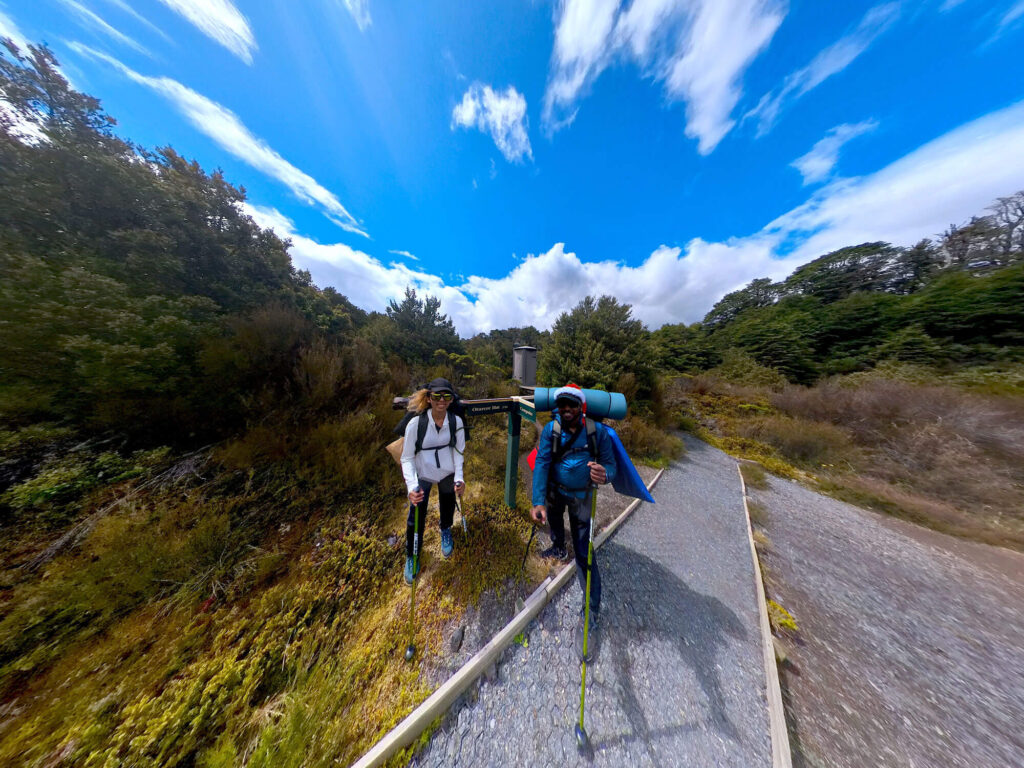
Day 1 – Whakapapa Village to Waihohonu Hut
The weather seemed to be in a festive mood, with rain pouring steadily from the sky and visibility limited to around 1km. We had to wear raincoats or jackets and secure our bags with waterproof covers. We filled up our water bottle at the visitor center’s water station. Additionally, there is a restroom available across the street in case you need to use it before your hike.
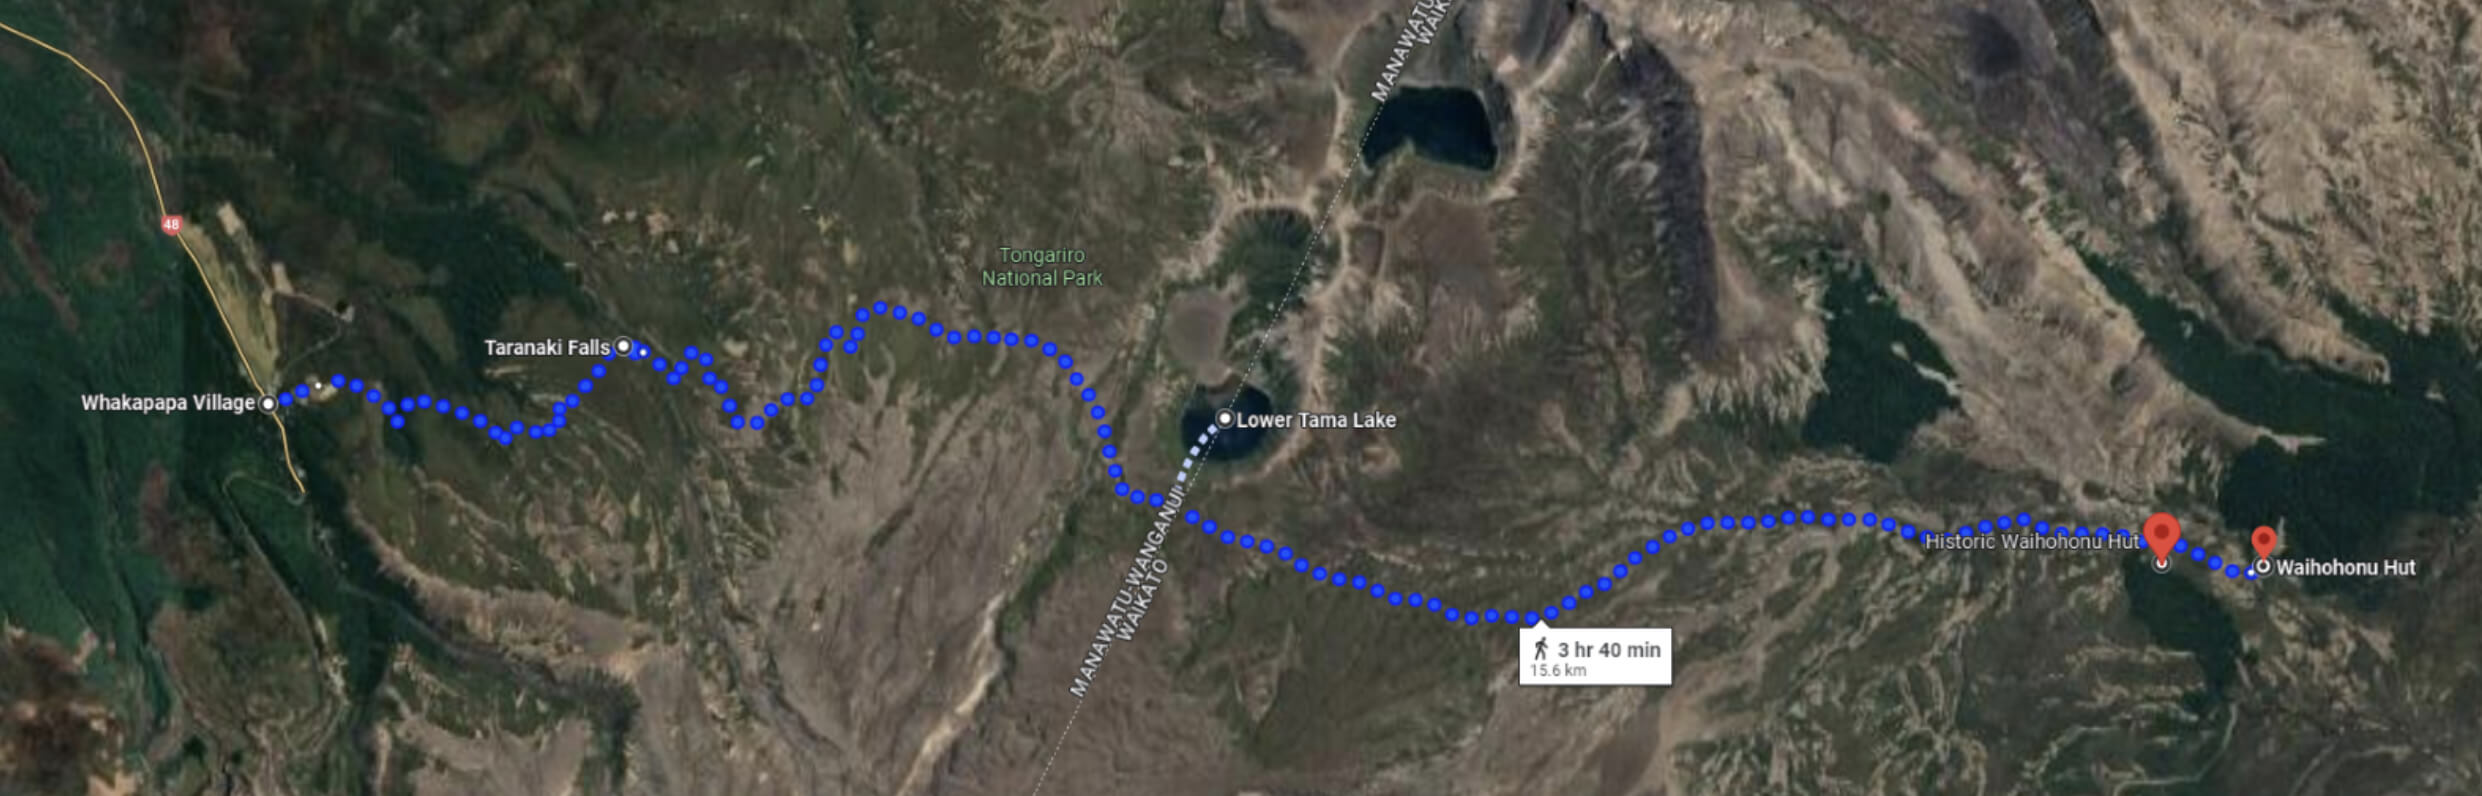
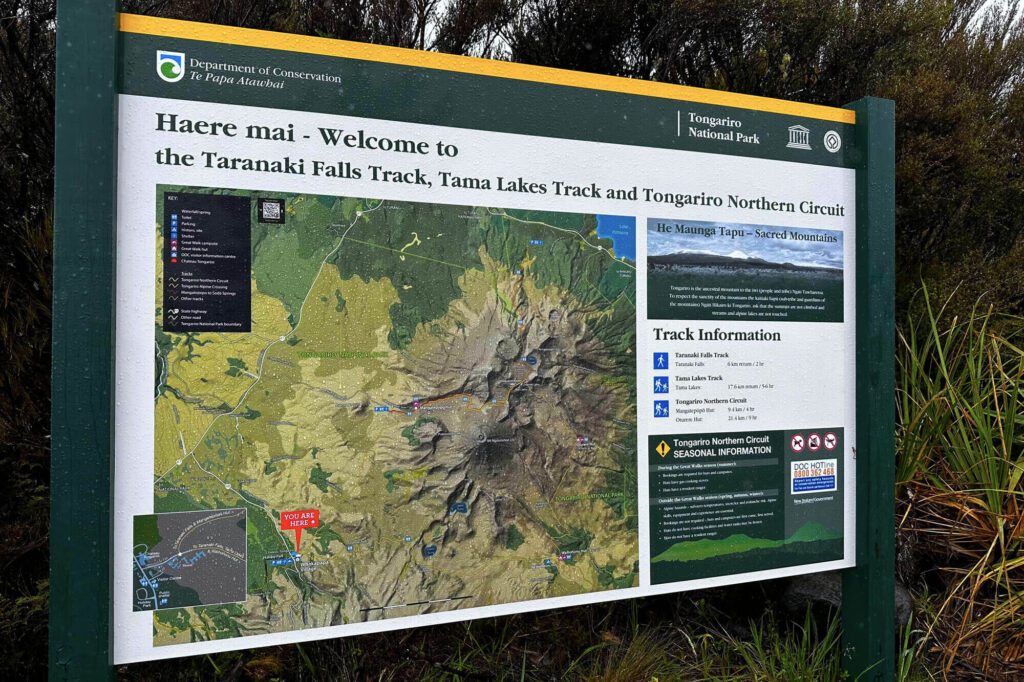
From the Visitor Centre main road, we followed the sign the board that says Taranaki Falls track going towards Waihohonu Hut. We encountered fellow adventurers; some were concluding their trek, while others opted for shorter routes, mostly those arriving via tour buses, aiming for Taranaki Falls.
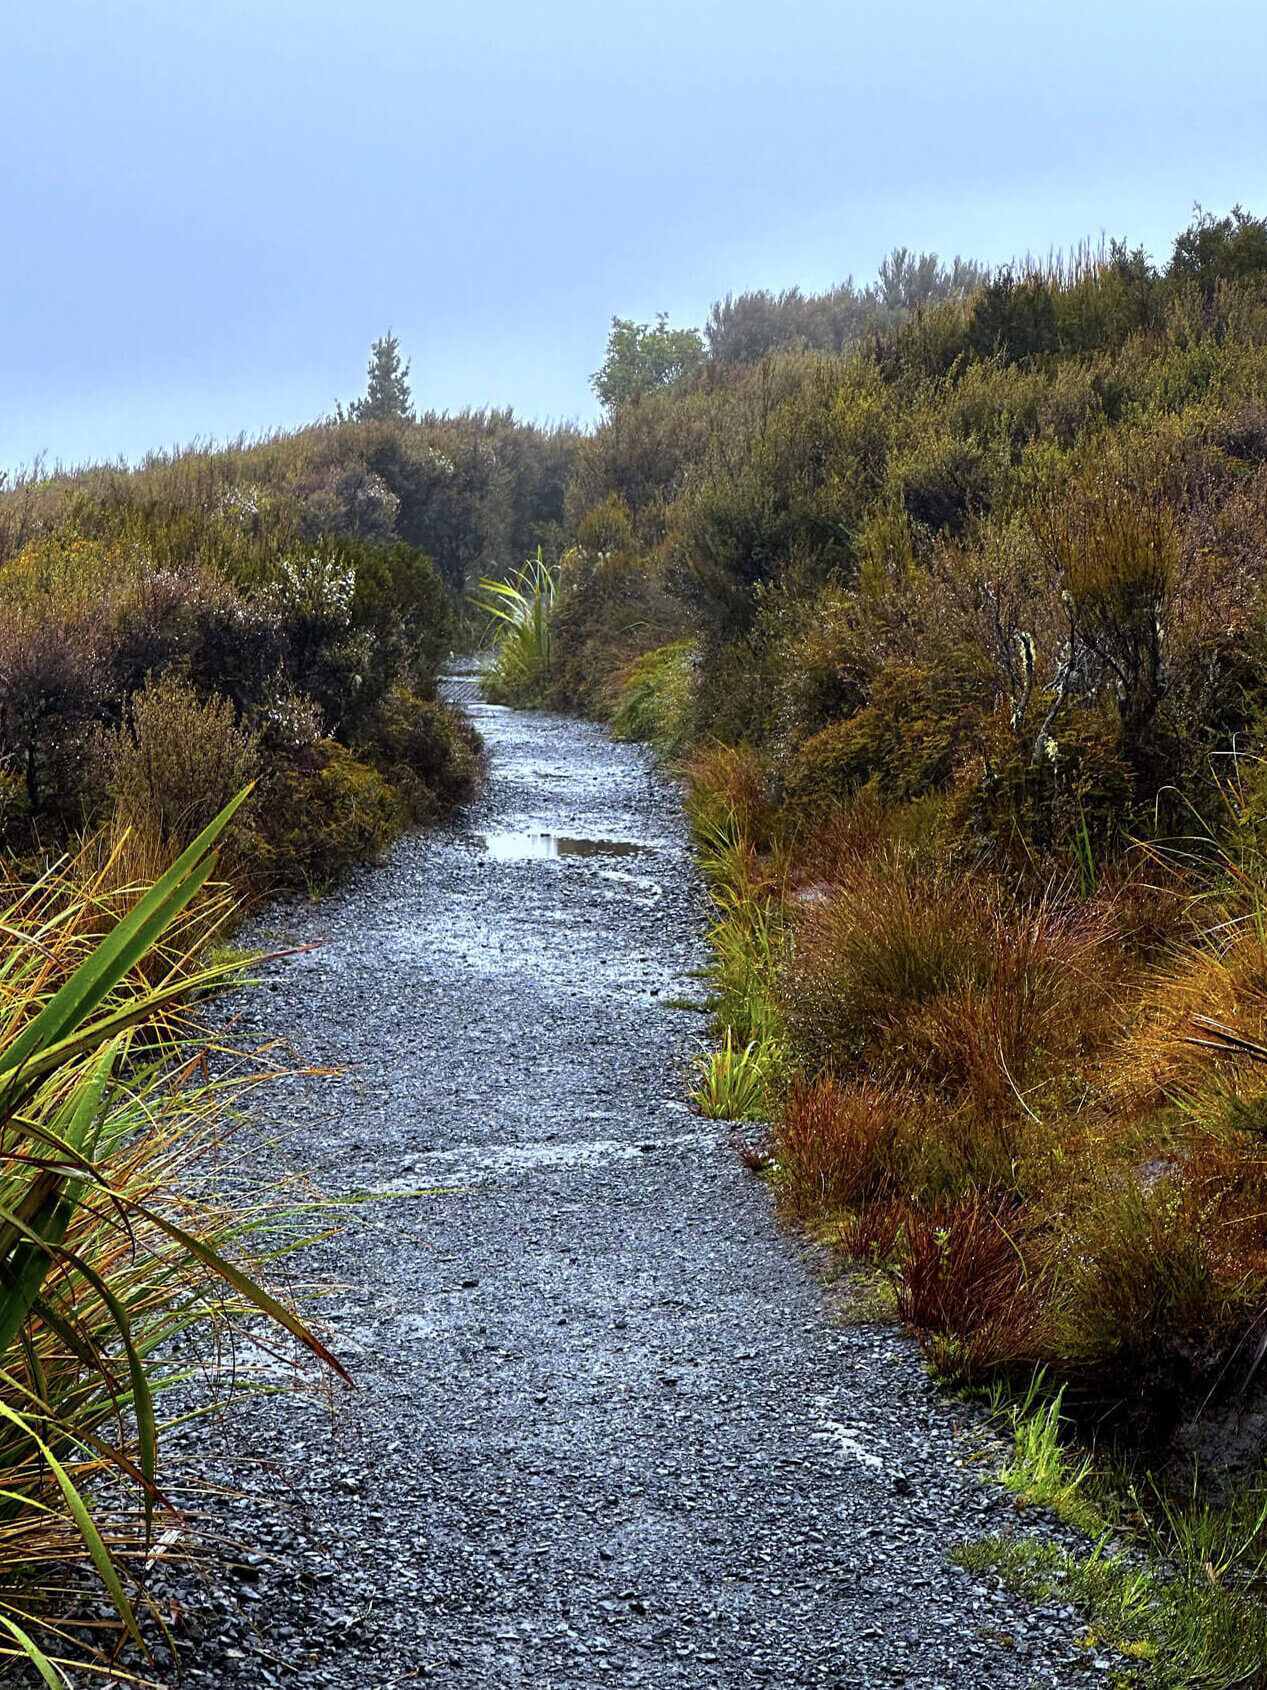
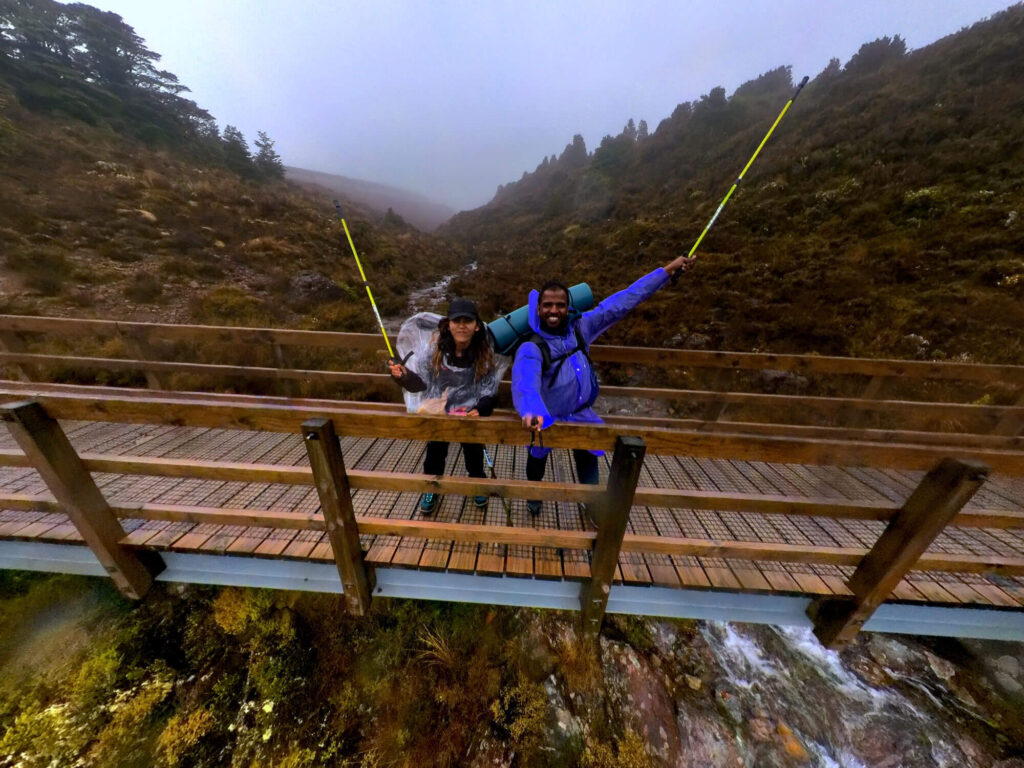
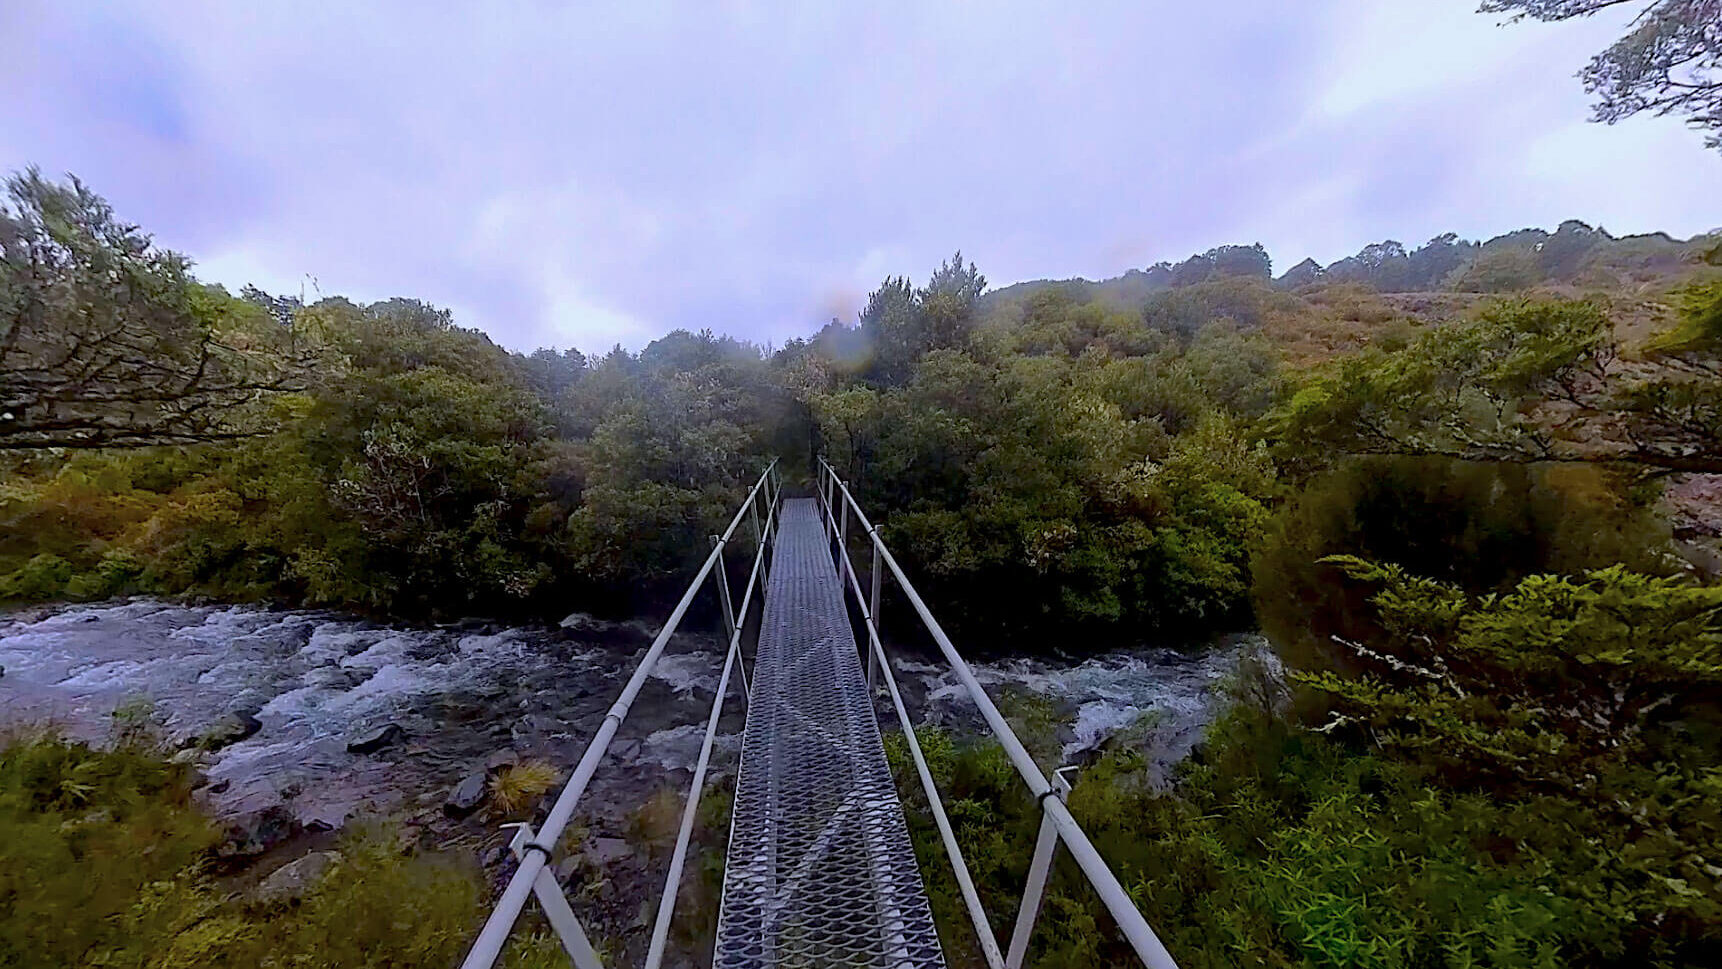
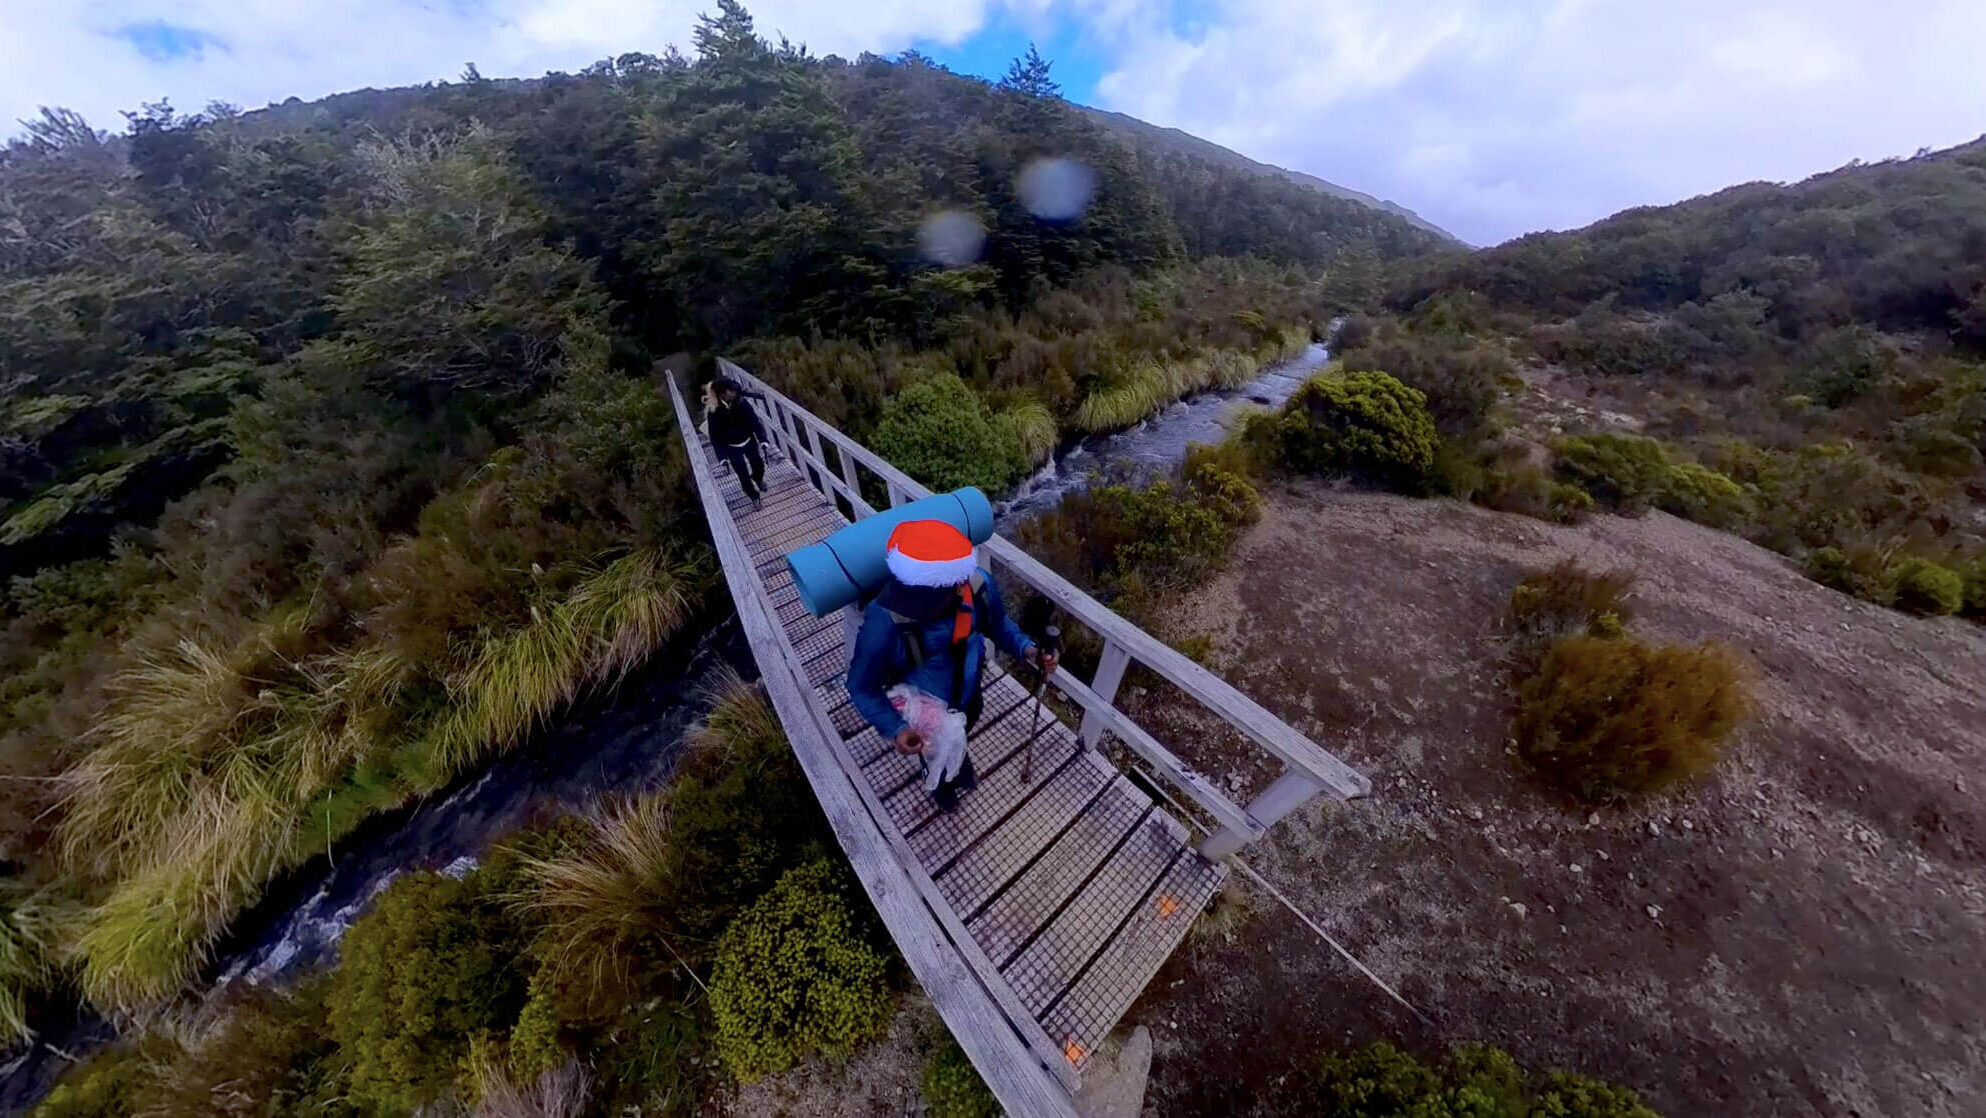
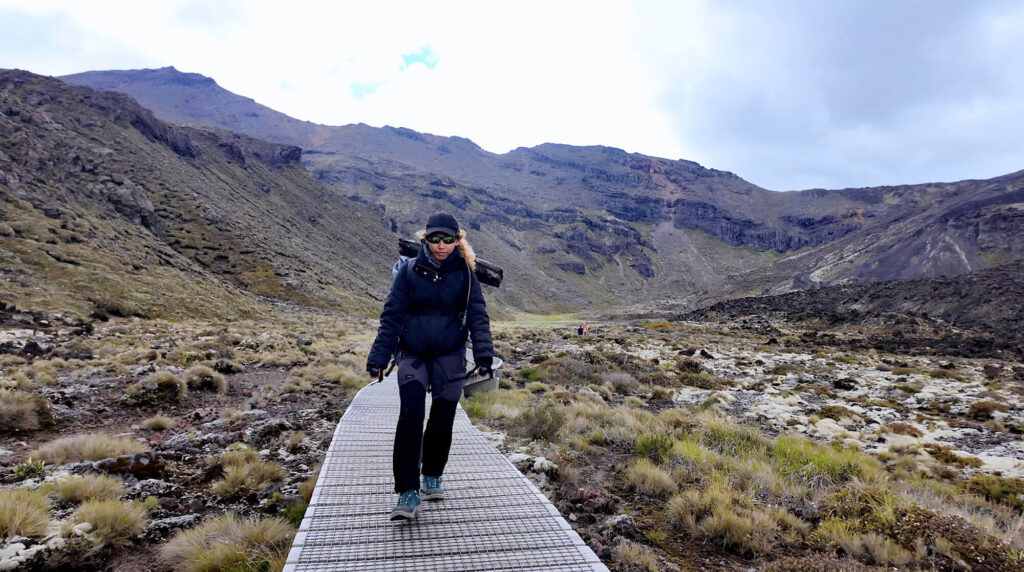
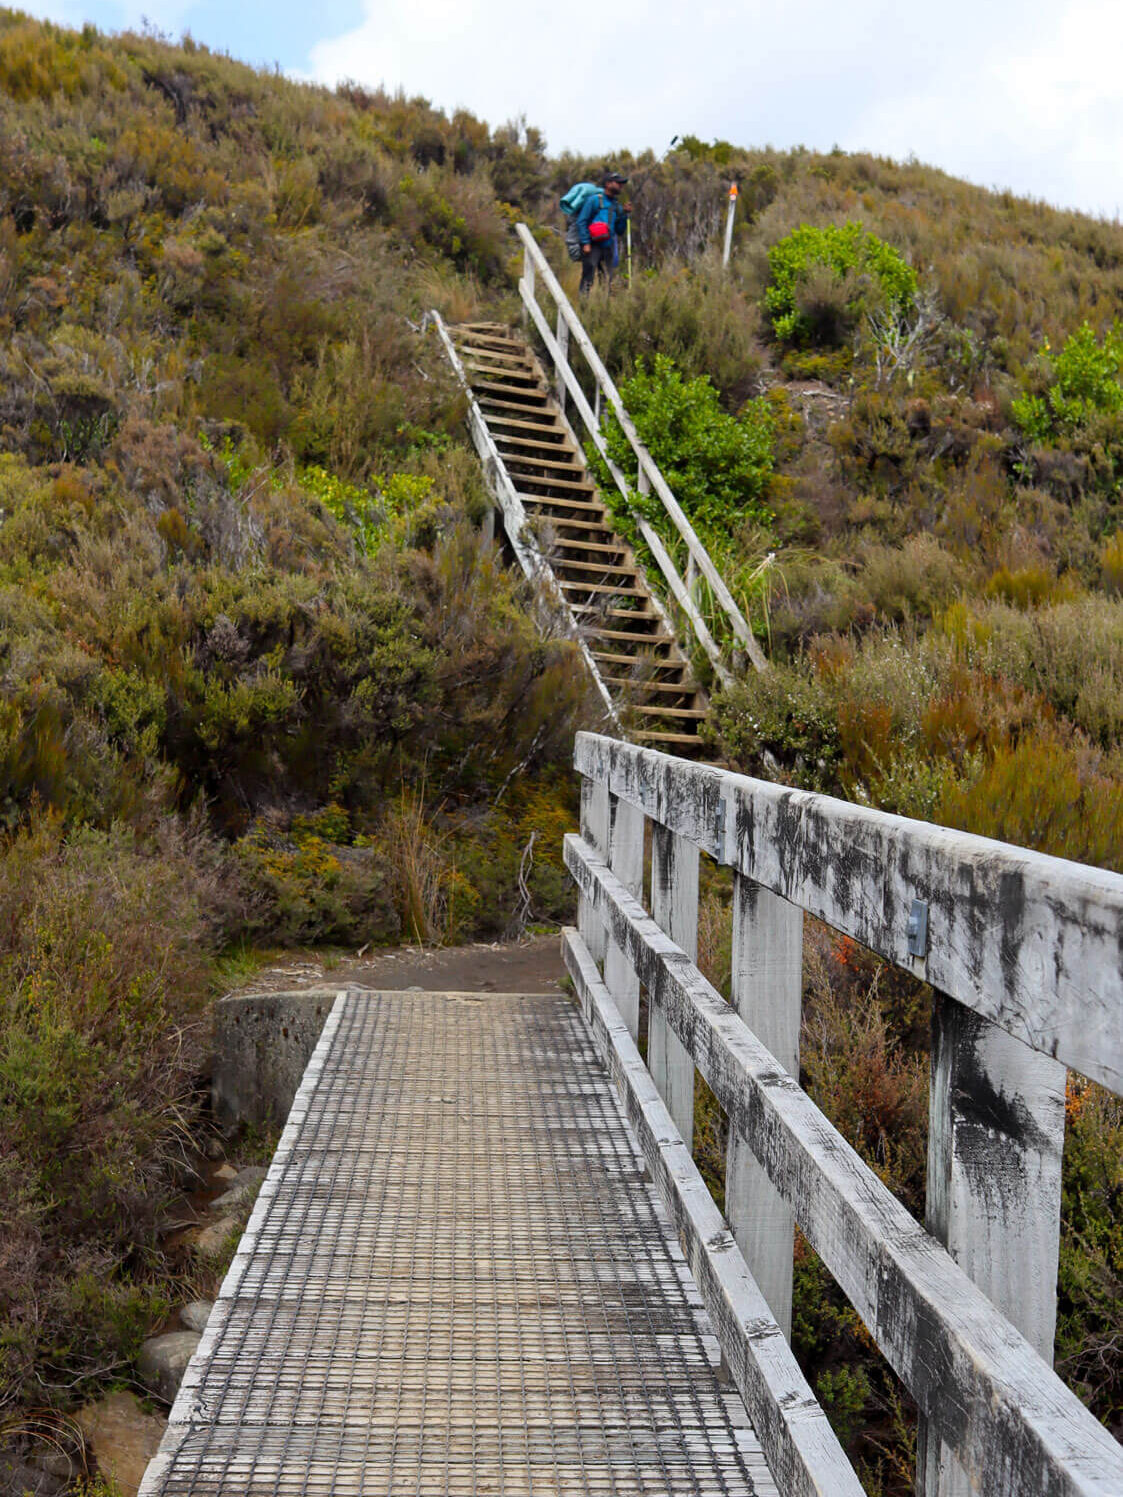
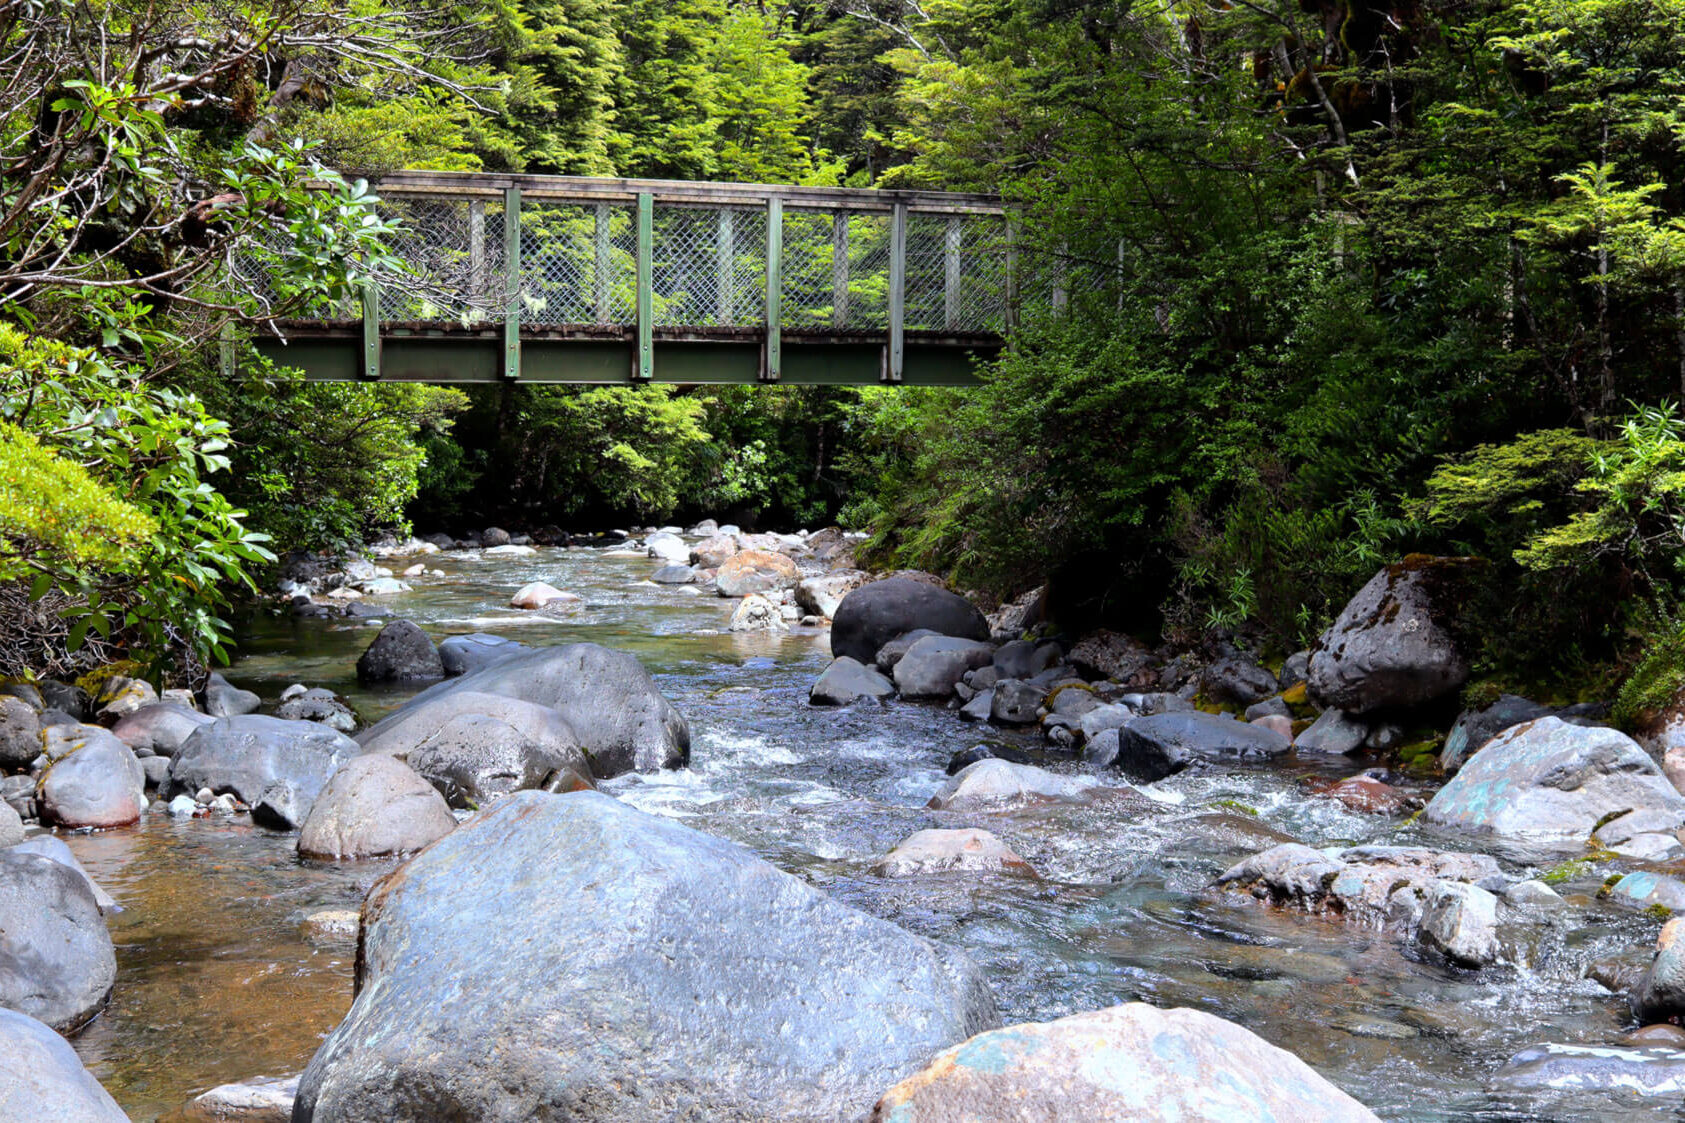
We walked along a muddy trail, passing by lush bushes and crossing several bridges.
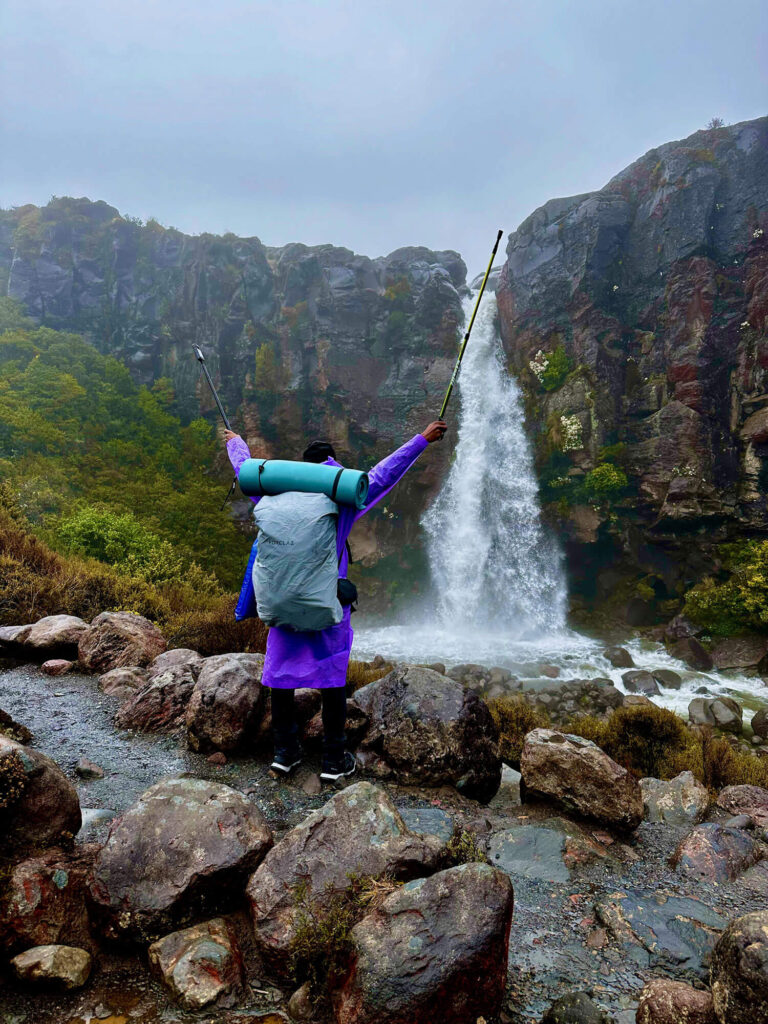
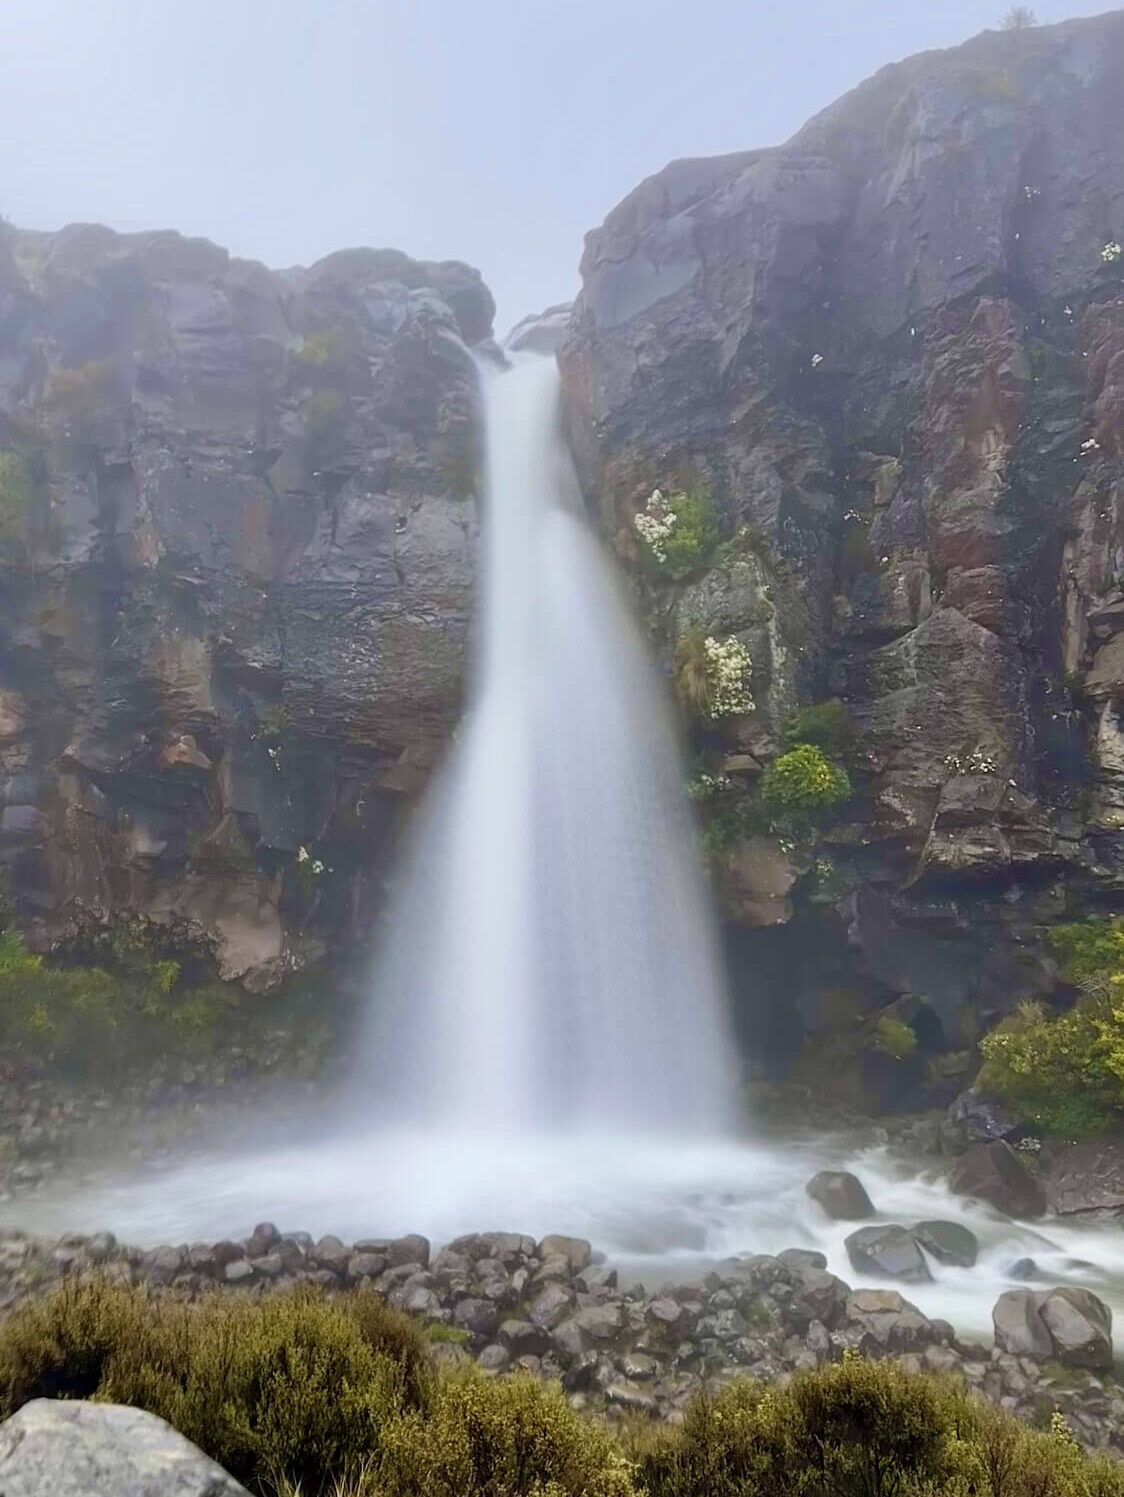
After walking for about 3 kilometres, we took a quick detour to see the Taranaki Falls. The steps going down to the falls were slippery due to rainy weather and the water was gushing loudly because of the heavy rain. Unfortunately, we were not able to get closer to the falls and could only view it from a distance. We took a quick lunch break at Taranaki Falls.
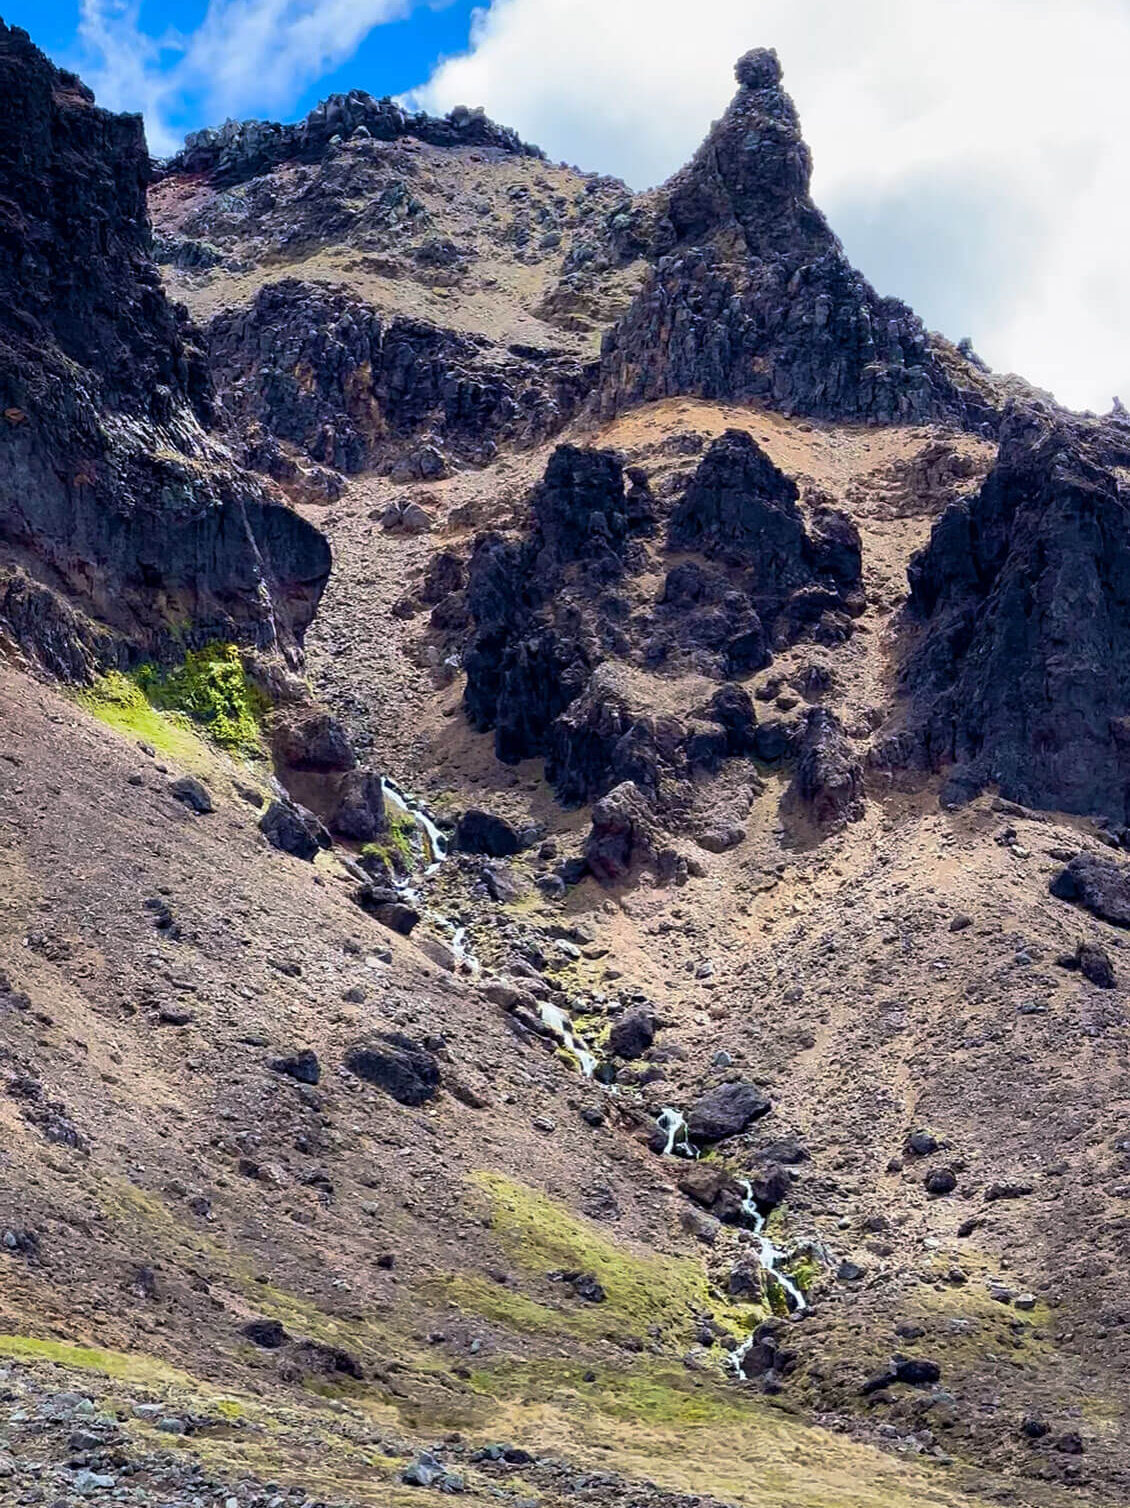
After our lunch break, we continued our hike and passed by Tama Lakes intersection for both upper and lower. These two crater lakes were formed by eruptions from Mt. Ngauruhoe. We decided to visit the lower lake only because of hazard warnings at the upper lake due to inclement weather. Strong winds and heavy rains made it unsafe for exploration.
The lower Tama Lake offered a quick glimpse before it vanished behind the clouds again. It was a beautiful sight, with different shades of blue and green.
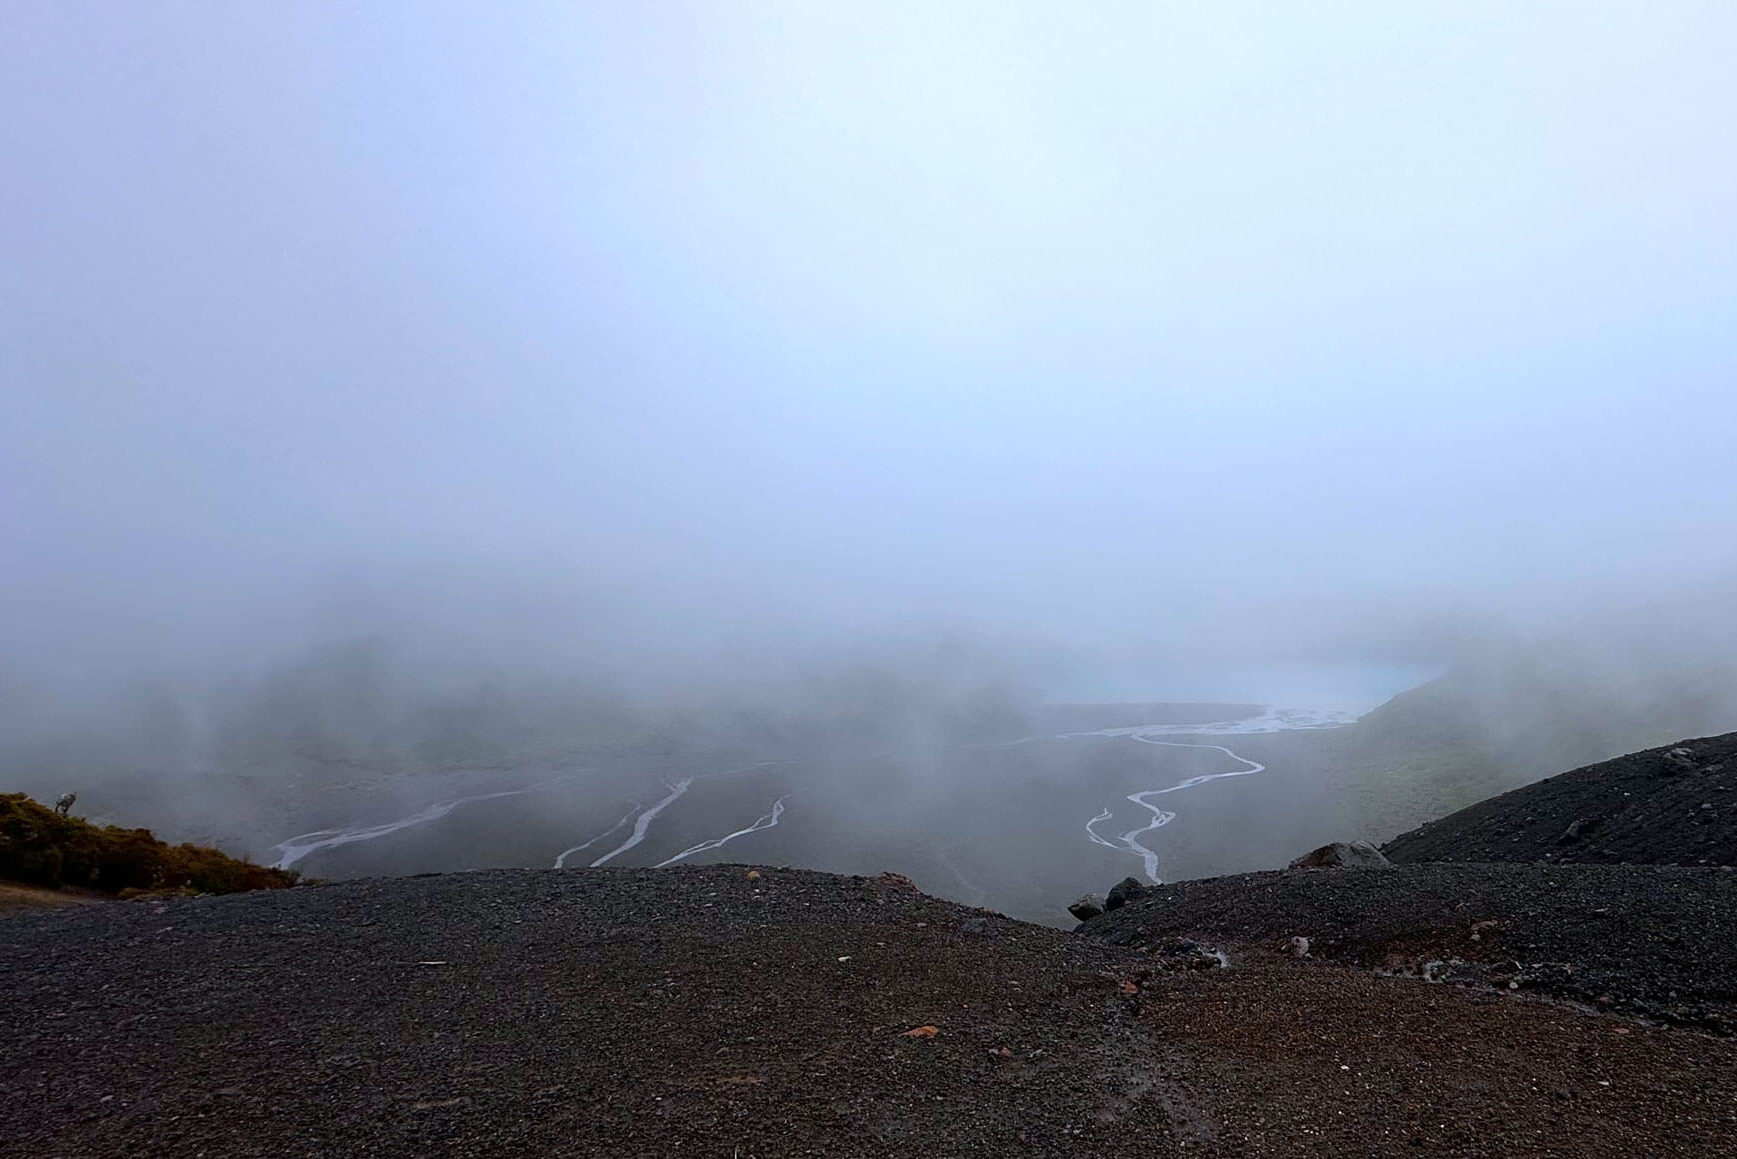
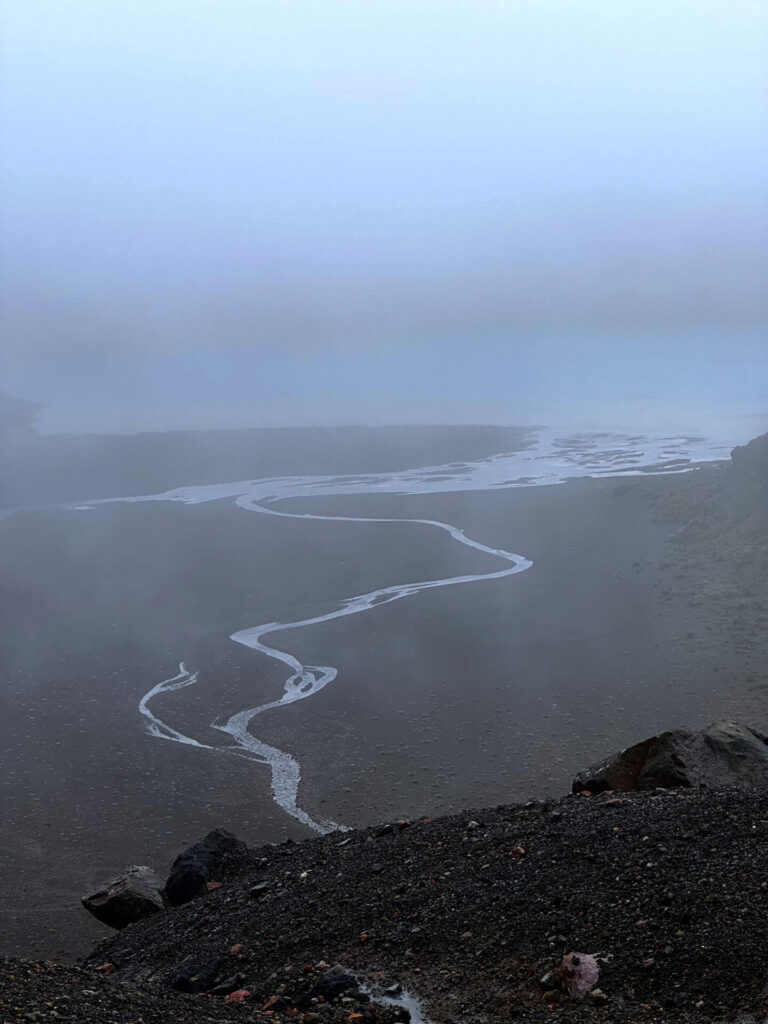
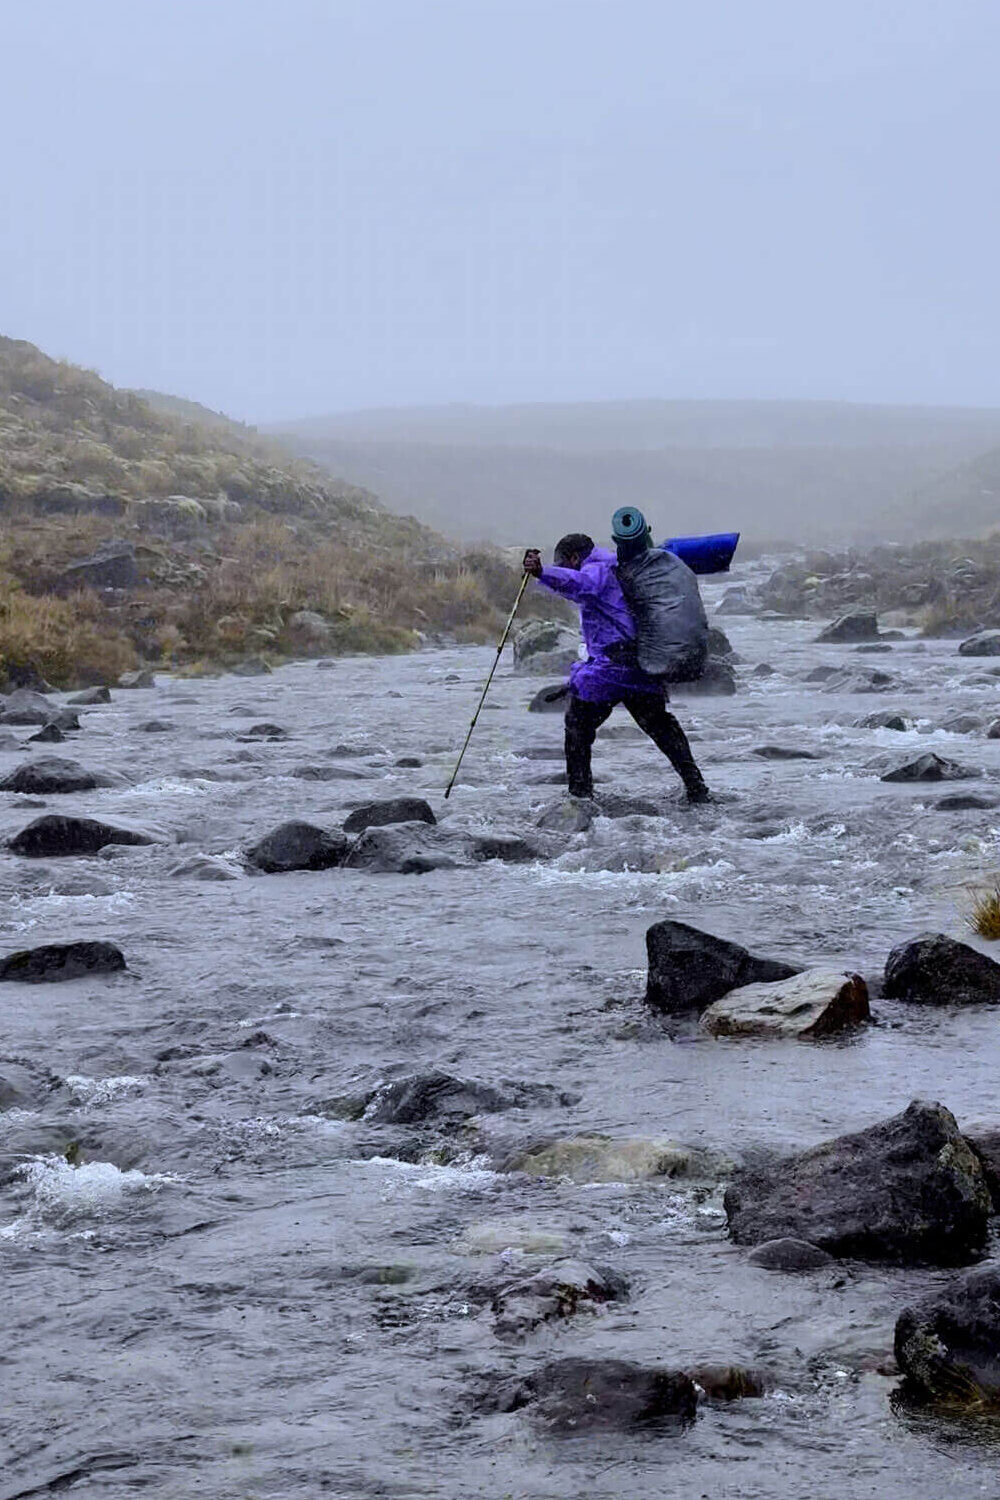
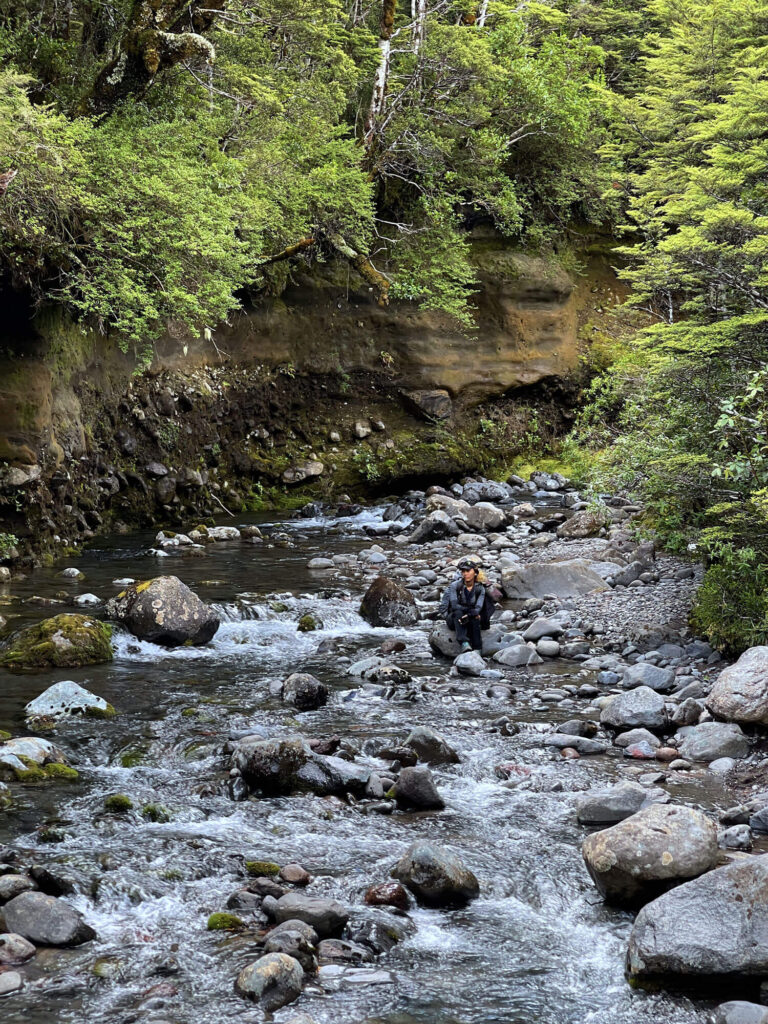
During our hike, we encountered several rivers/streams which we had to cross. Since it was raining heavily that day, the water level was higher than usual, and our hiking shoes got completely soaked in the gushing water.
After a few up-and-down climbs, we arrived at an area where the track gradually descended, and we could catch a glimpse of the mountain with occasional rays of sunshine.

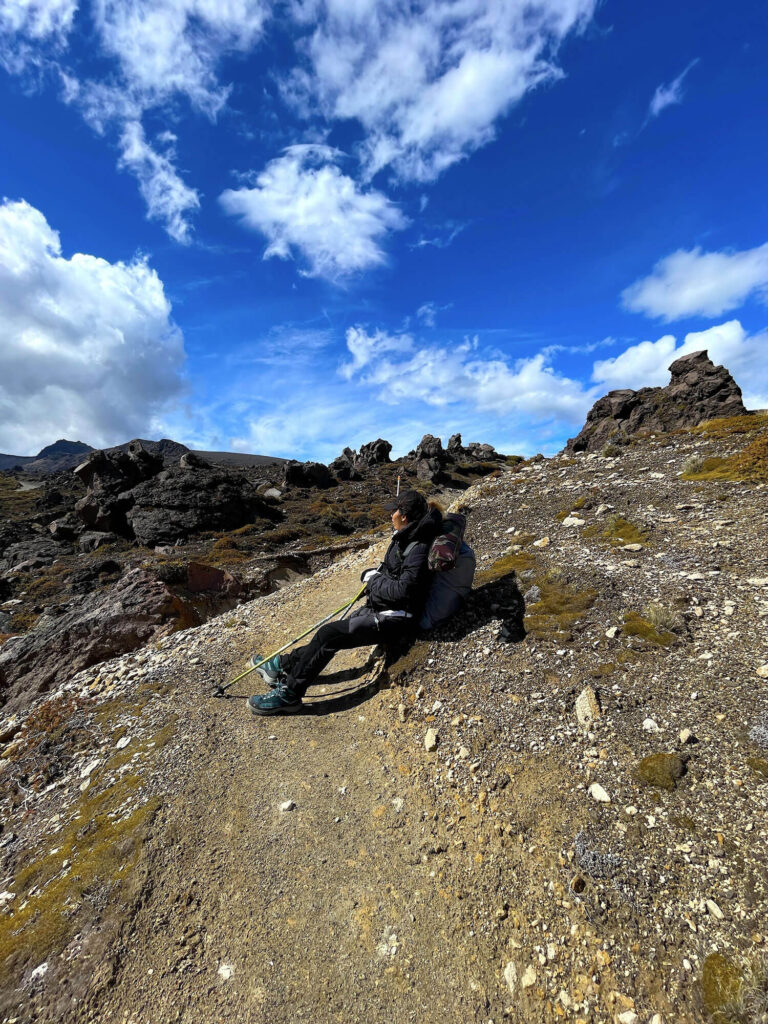
We crossed a few valleys and took quick breaks for snacks while sheltering from sudden rain and wind, but we persisted until we finally reached the Waihohonu Historic hut.
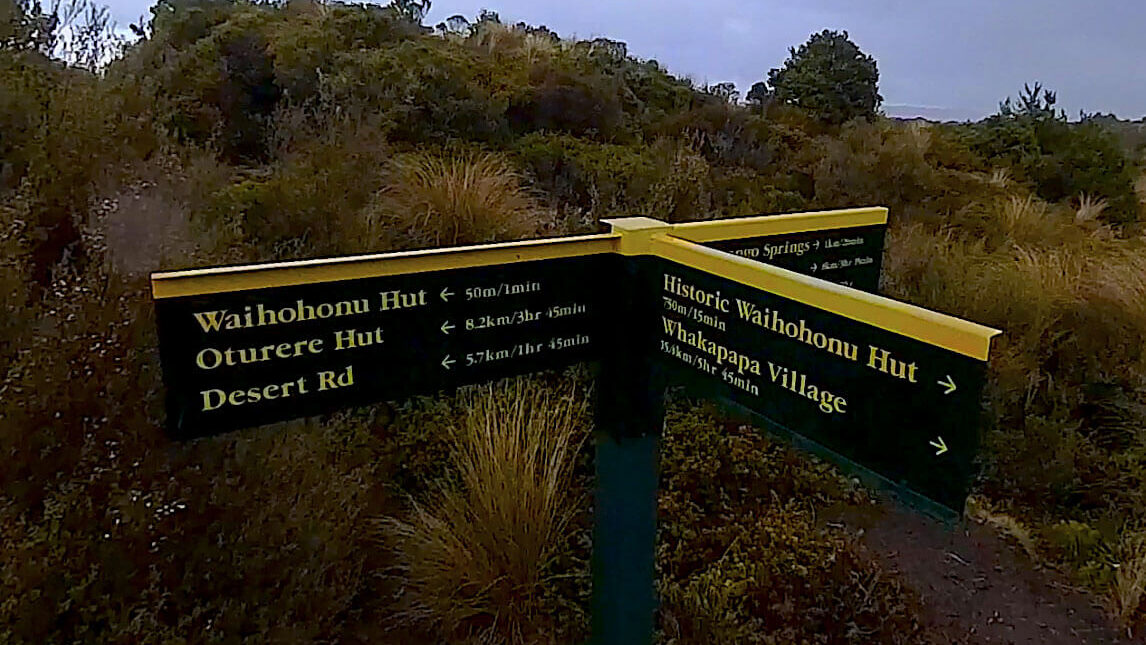
Built in 1904, Historic Waihohonu Hut is New Zealand’s oldest recreational mountain hut and was the first hut built in Tongariro National Park. From here approx. 800m away is modern Waihohonu Hut, our first destination.
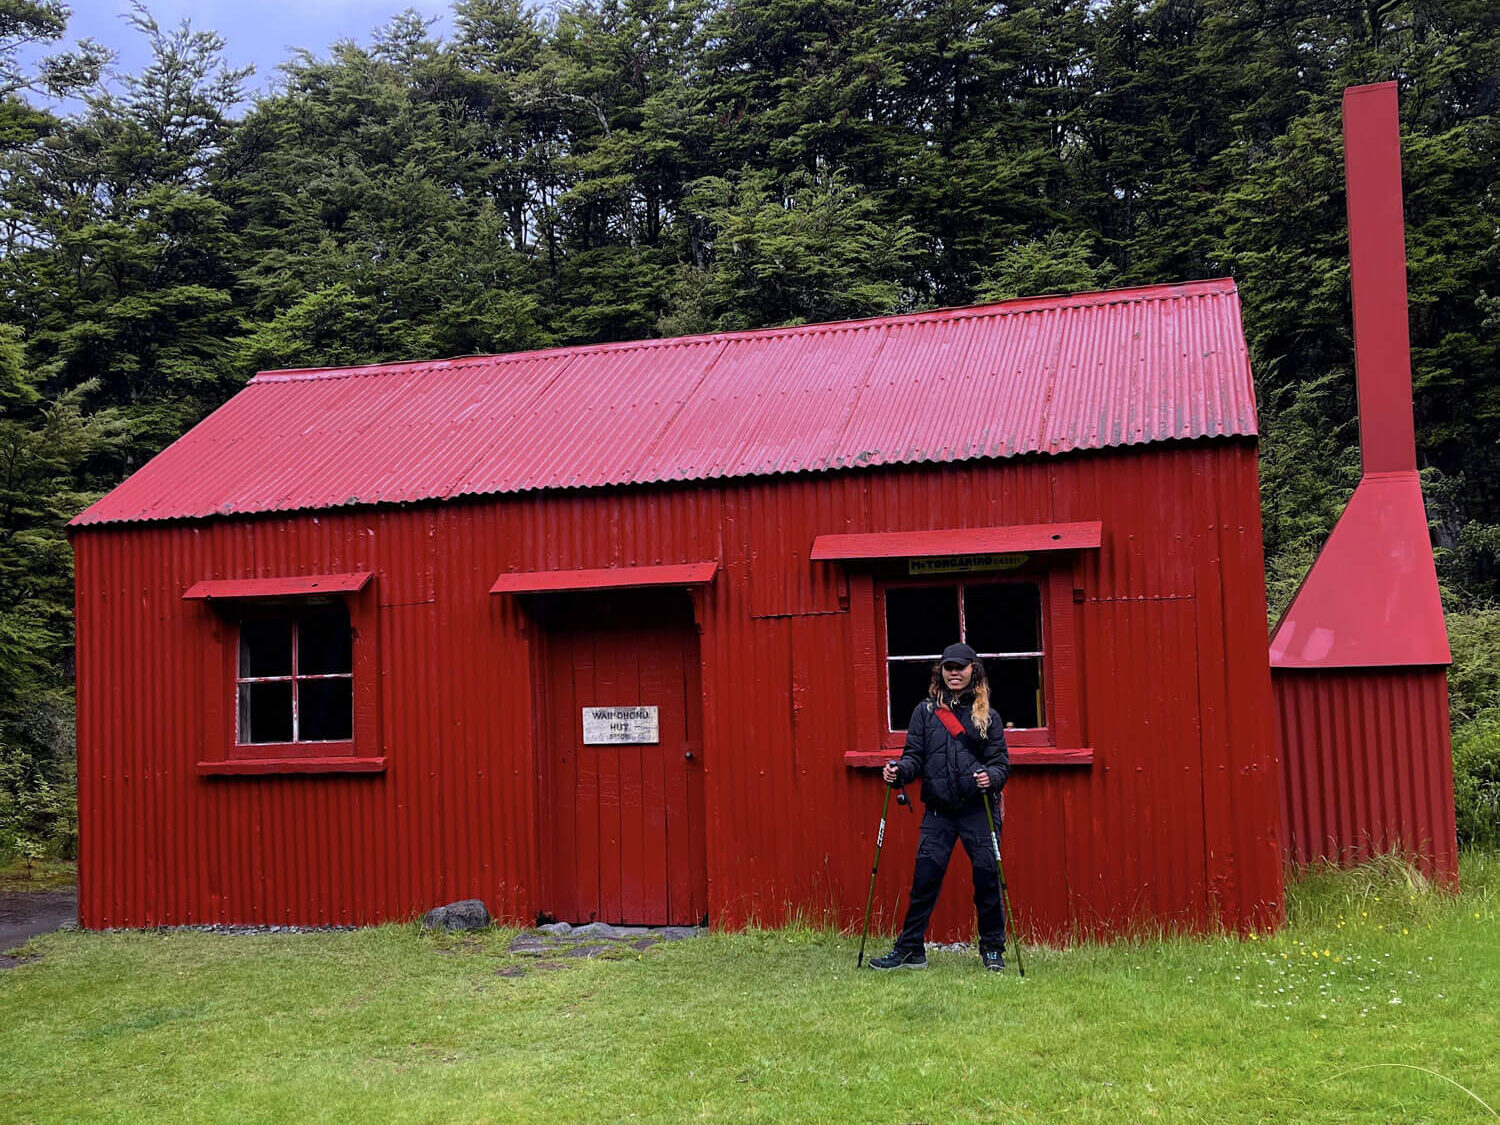
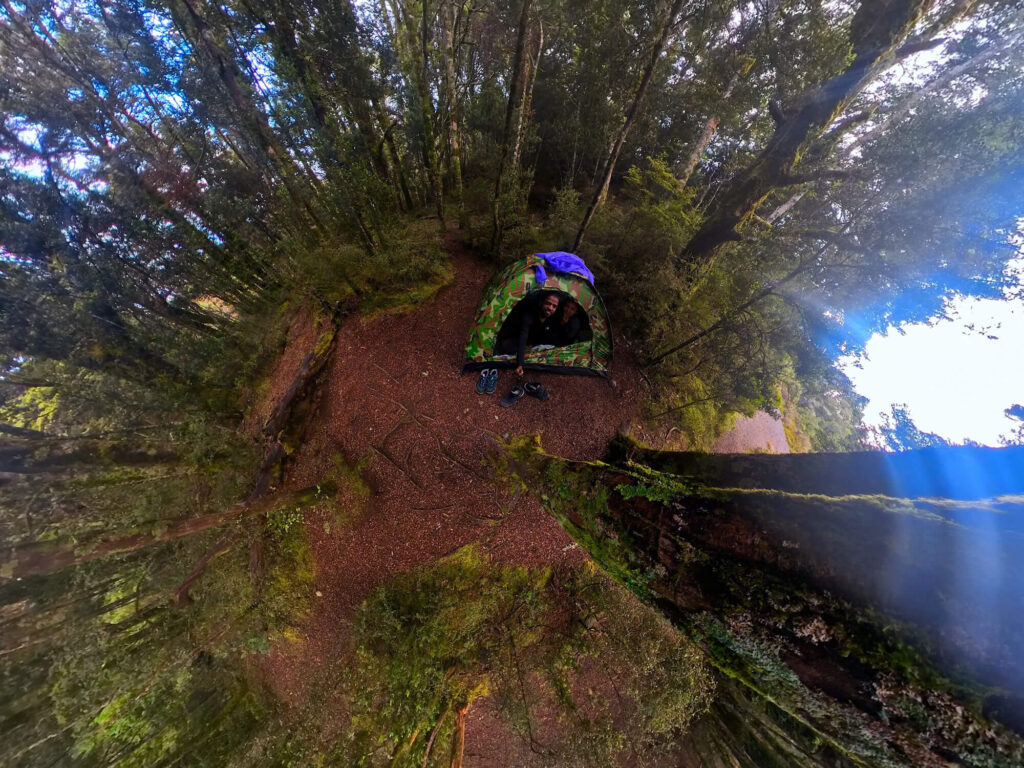
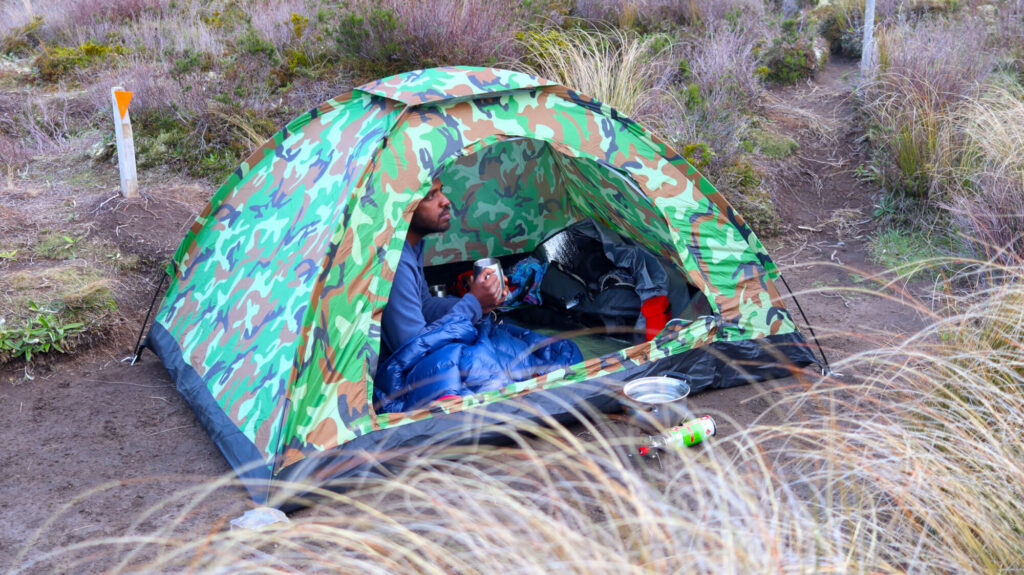
We reached Waihohonu Hut around 6 pm and were advised by the hut ranger to stay in the hut due to the weather. However, as we wanted to experience camping in New Zealand for the first time, we decided to stay at the campsite.
The campsite is located a bit further away than the hut, probably a 2-minute walk, and requires crossing a small bridge.
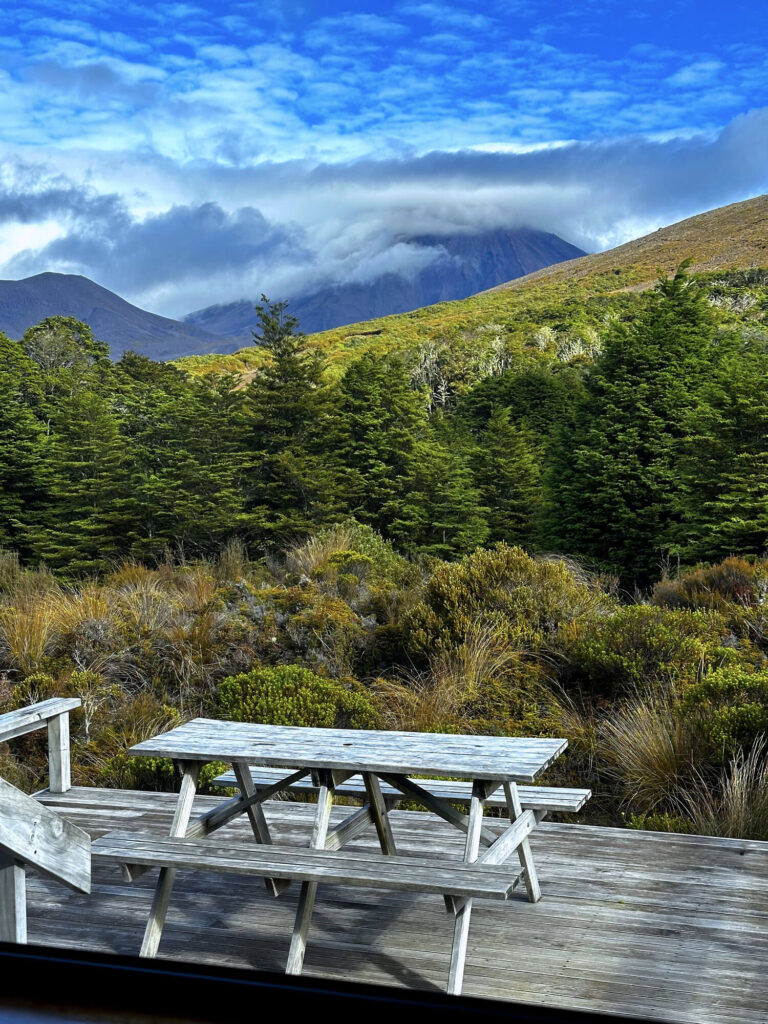
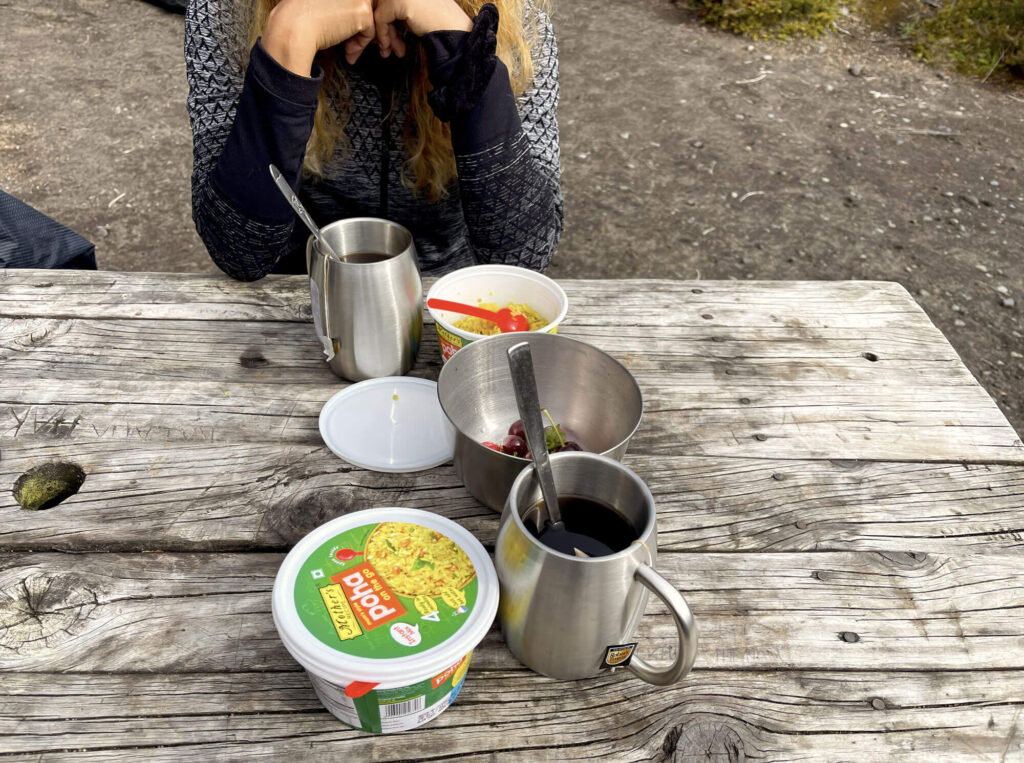
There is one outdoor table with a bench and a separate toilet facility, which is a plus. The campsite is located very close to the river, and you can hear the refreshing sound of water gushing down. There were only two of us setting up the tent in that area that night, while the rest of the people were staying in the hut. We had the luxury of easy access to the water source and could boil it for our use.
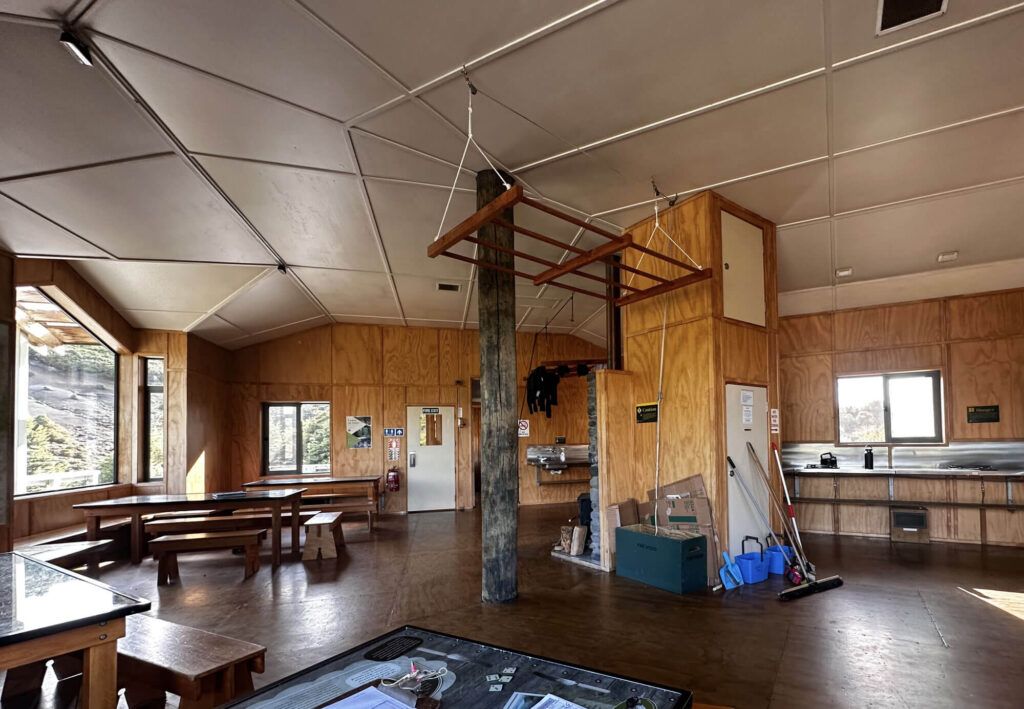
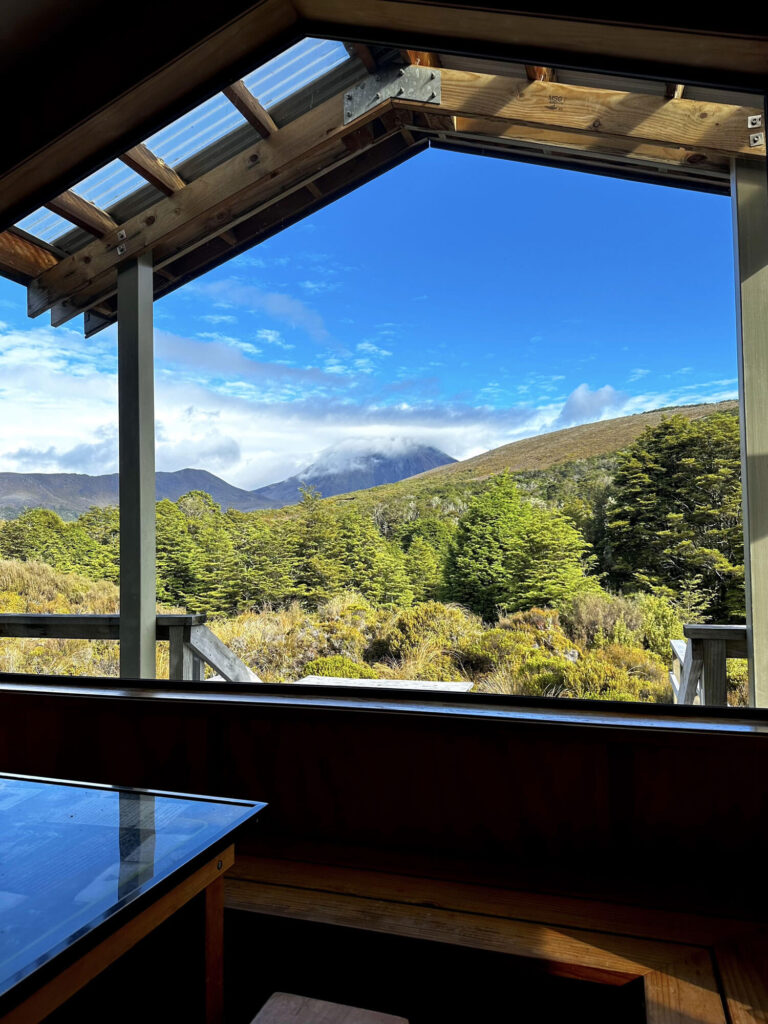
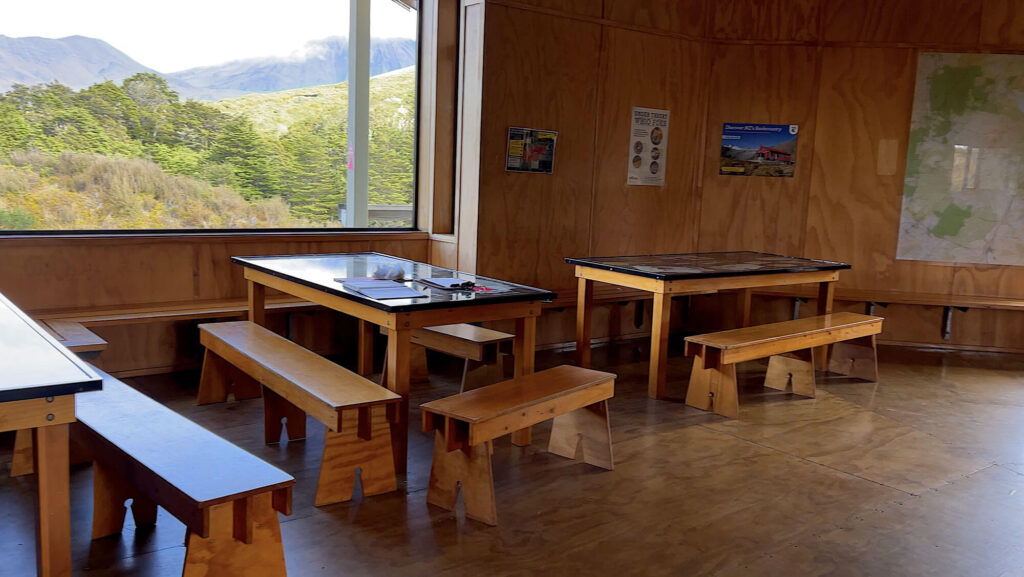
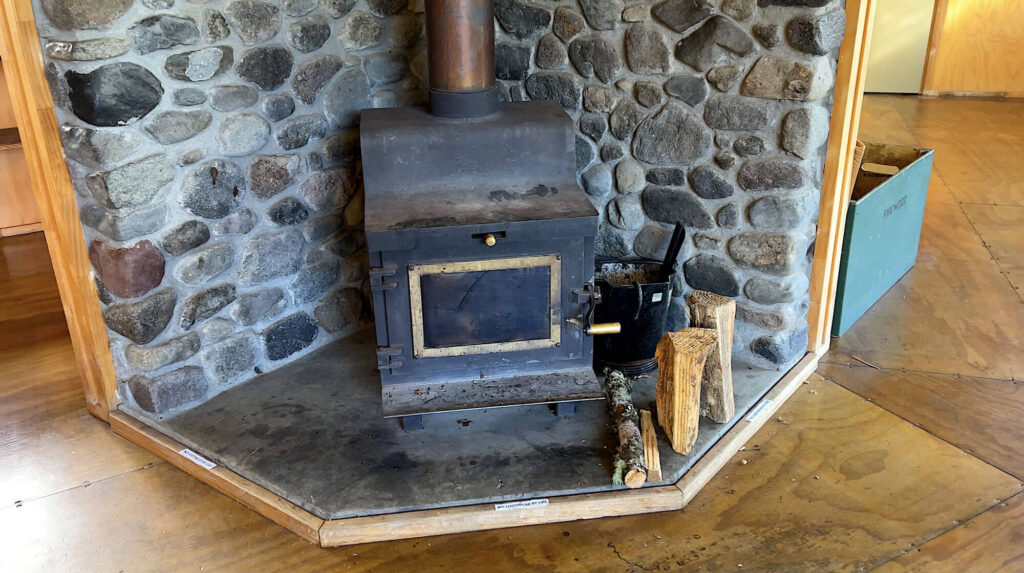
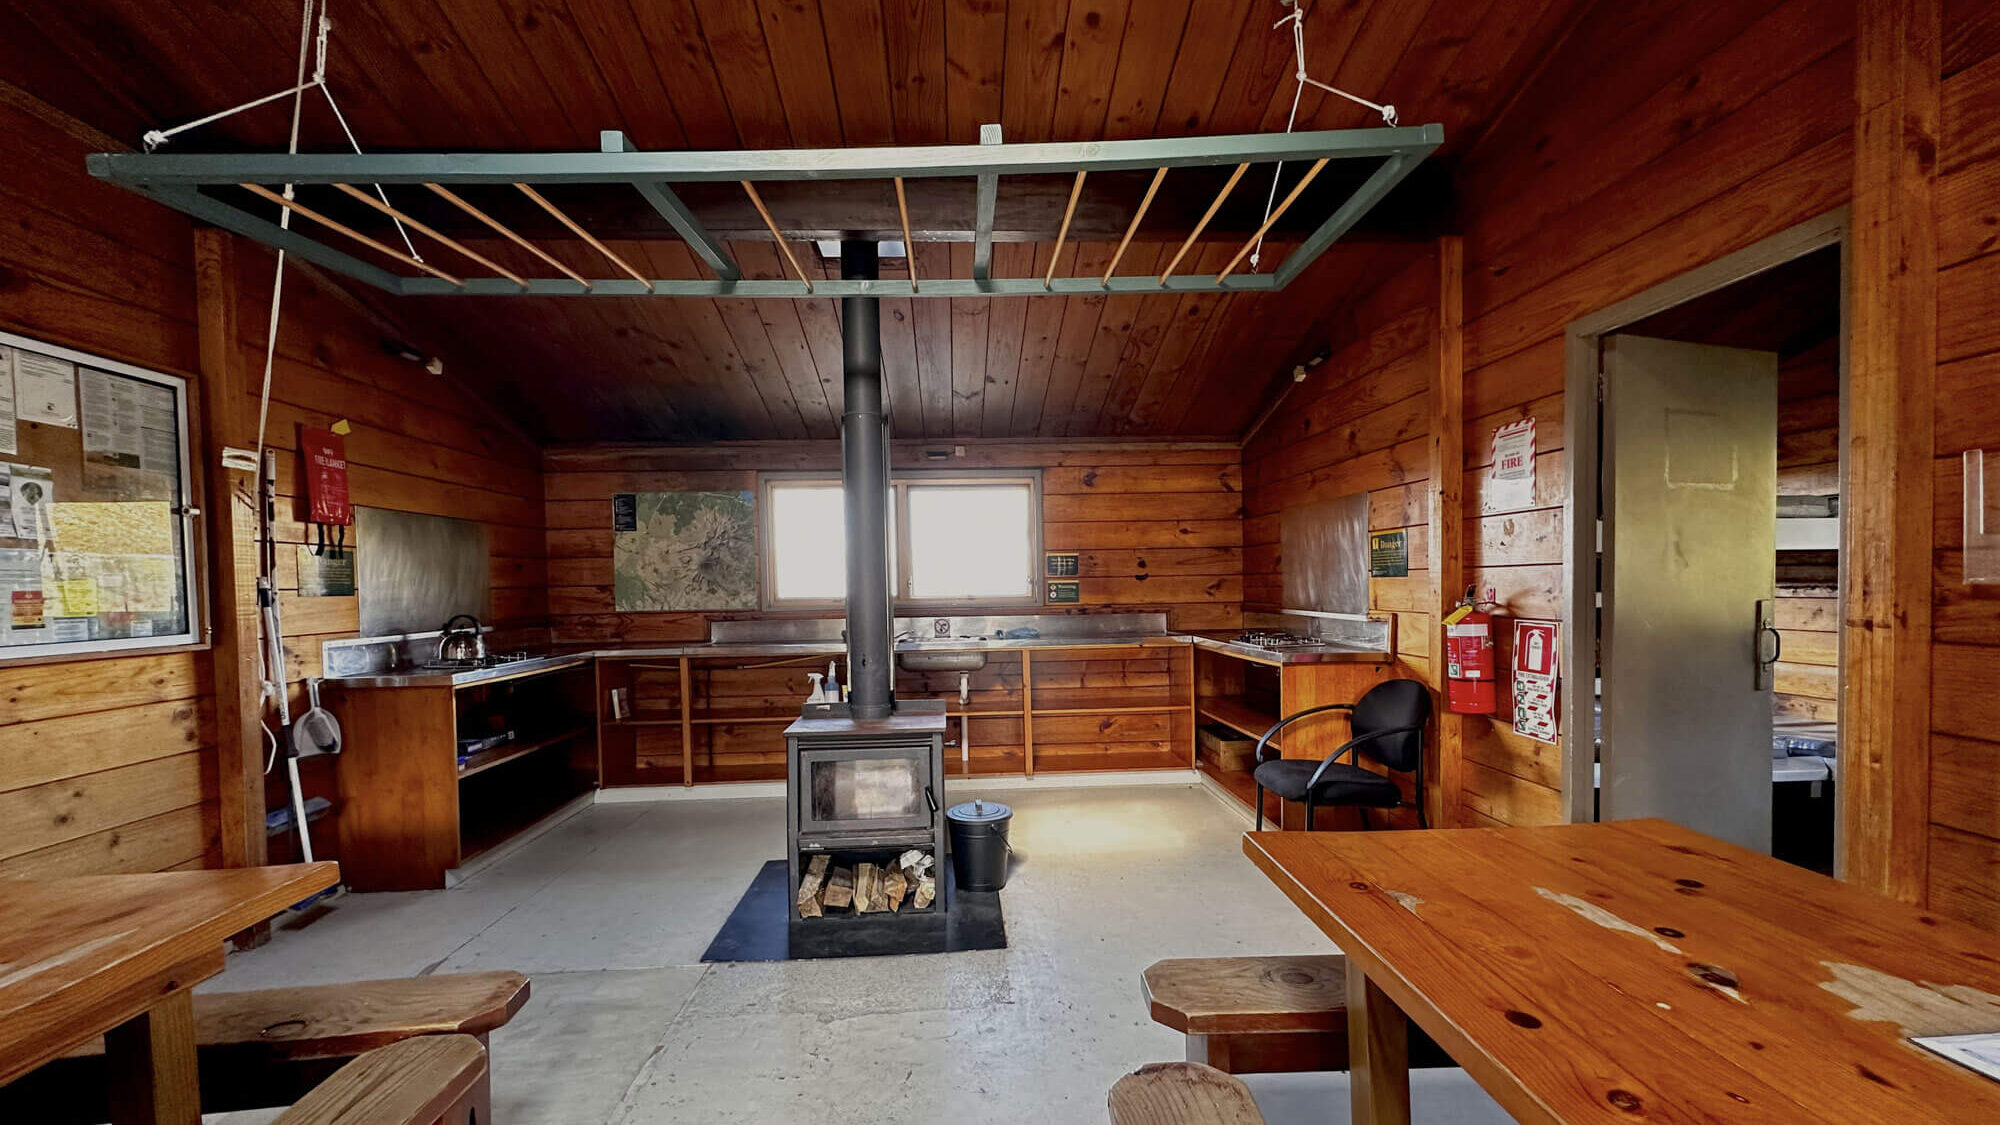
We went back to the hut to dry our wet clothes on the wooden hanger hanging from the ceiling and left them there to dry overnight as the heater helped to speed up the process. While in the hut, we took a quick look around to explore the facilities. The hut is spacious, with a large kitchen, a common area, and a porch. It has gas for cooking, as well as solar lights, but charging devices is not possible. There are multiple outdoor tables and benches with stunning mountain views to relax and chill. Additionally, there are many indoor board games available to play inside the hut.
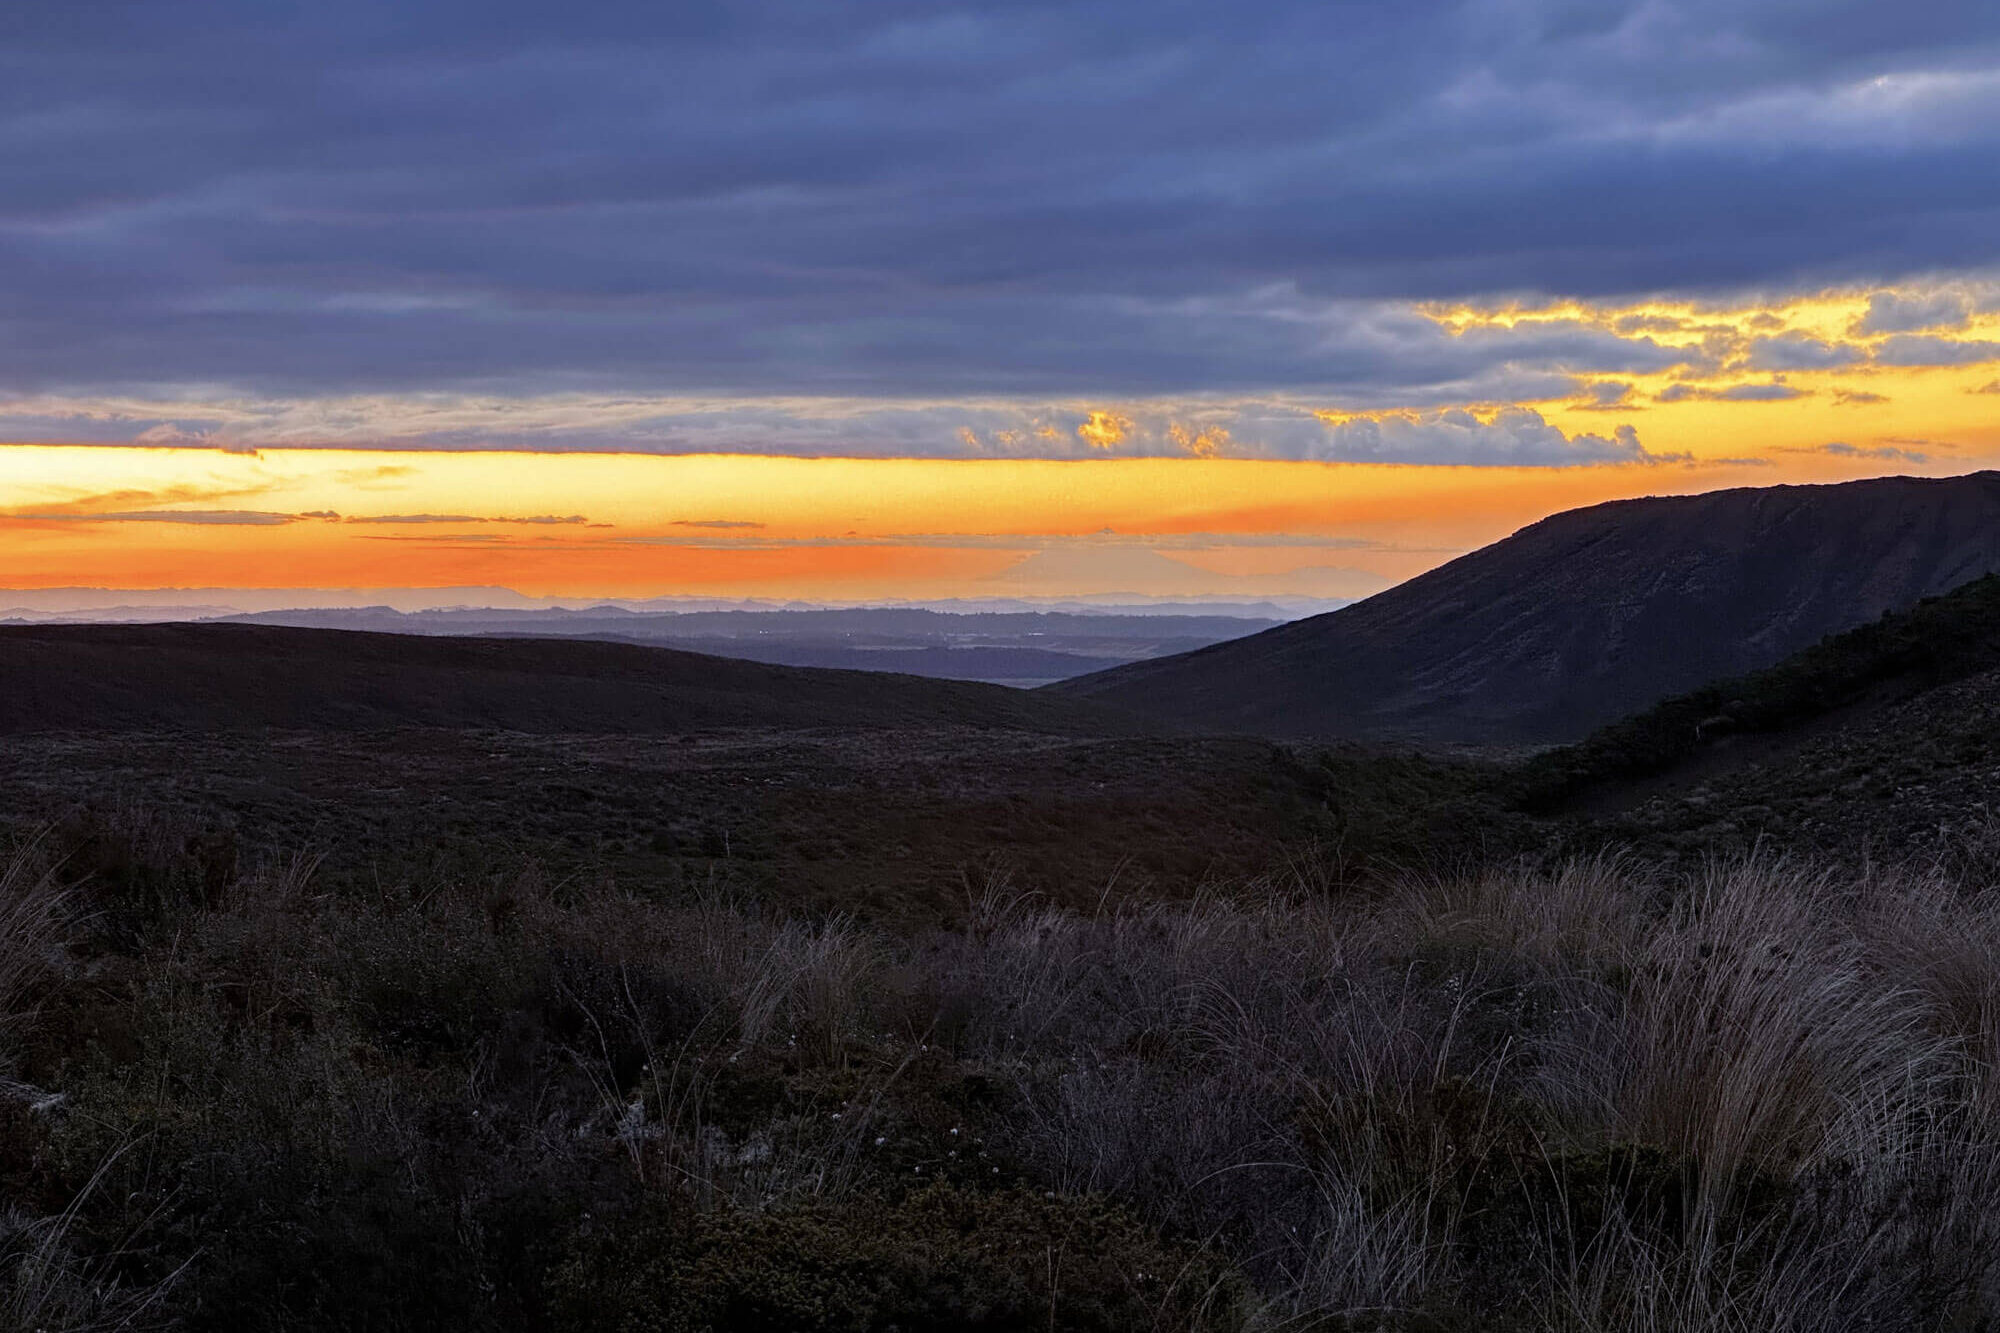
As we were leaving to head back to our tent, we were greeted by an incredible sunset with the sight of Mount Ruapehu. The golden yellow sky made Mount Ruapehu look even more spectacular. Other people from the hut noticed the view as well and followed us, taking photos. After getting some amazing sunset shots, we returned to our tent and started cooking dinner. Due to our sore backs and muscle pains, we slept like babies.

Overall, the rainy day made our first day of the hike both enjoyable and thrilling. We crossed several streams and rivers that were full of gushing water, and we weren’t toasted by the hot sun, which made it easier for us to carry our heavy bags filled with food.
Day 2 – Waihohonu Hut to Oturere Hut

Our second day began with the promise of good weather. The sun was shining, the sky was blue, and we could hear the sound of flowing water from a nearby stream. The birds were chirping, and the bees were humming. We woke up late, thinking that the track for the day would be shorter than the previous day.
As it was a sunny day, we took some of our wet clothes and hung them out to dry. We then went back to the hut to collect our other wet clothes and hot water for coffee and breakfast.

The hut was very quiet, as everyone had left early in the morning, around 5 am, as informed by the hut ranger. He mentioned that we had made a good decision to stay in our tent, as we would have been disturbed by the noise of people rushing to leave early morning.
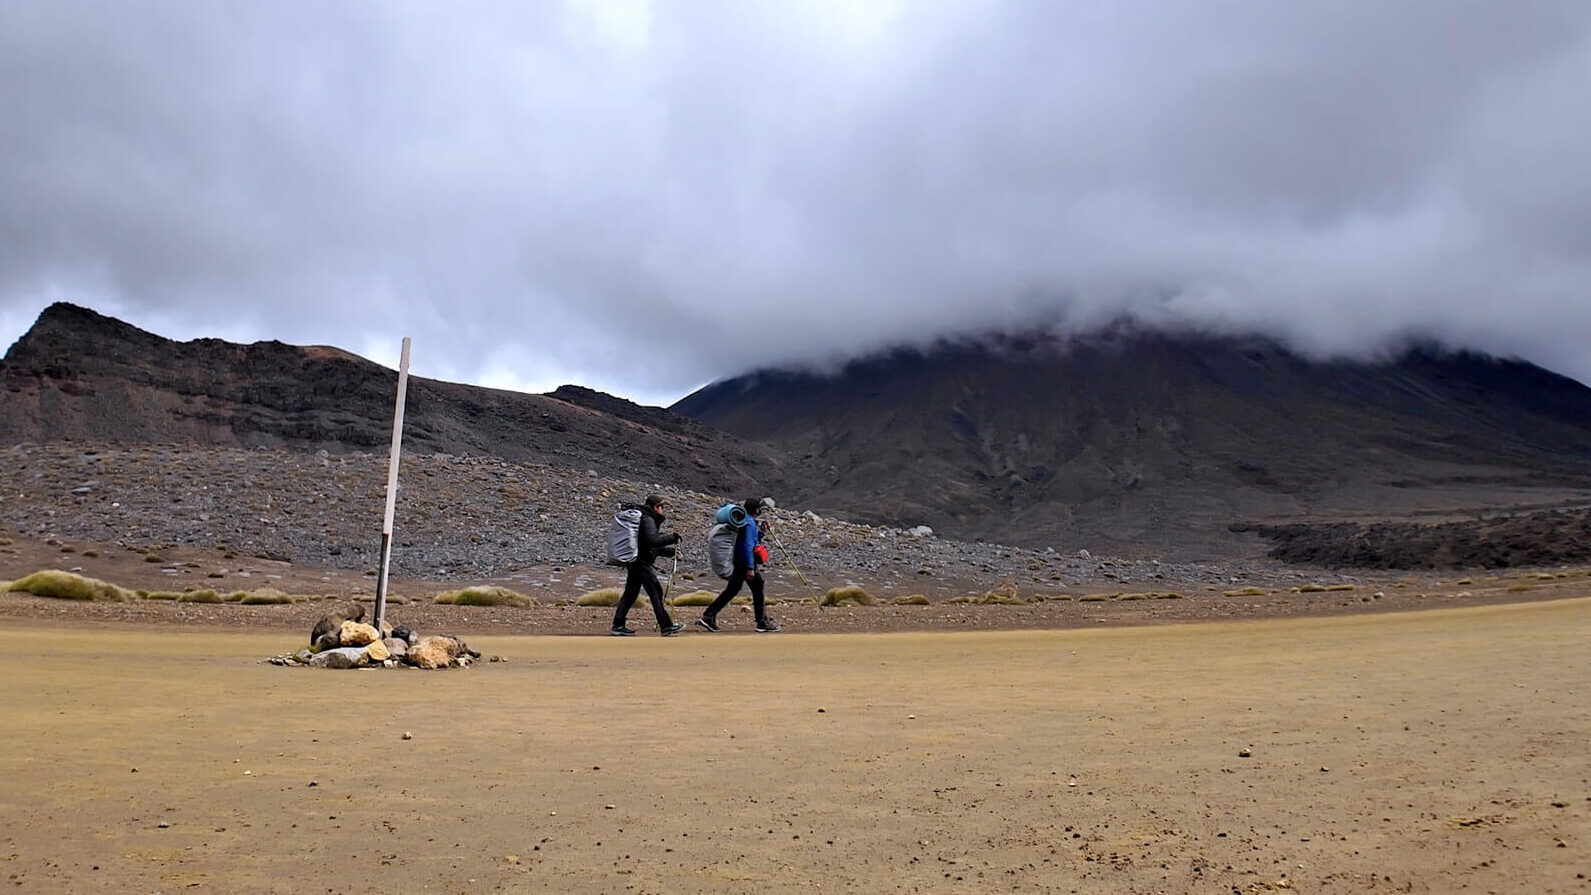
After having breakfast while enjoying the sunlight, we packed our things and left nothing behind. We started our ascent towards the mountains and valleys for Oturere hut. We were the last ones to leave the area, but we didn’t mind as we were happy to have enjoyed a peaceful morning at the campsite after a rainy day.
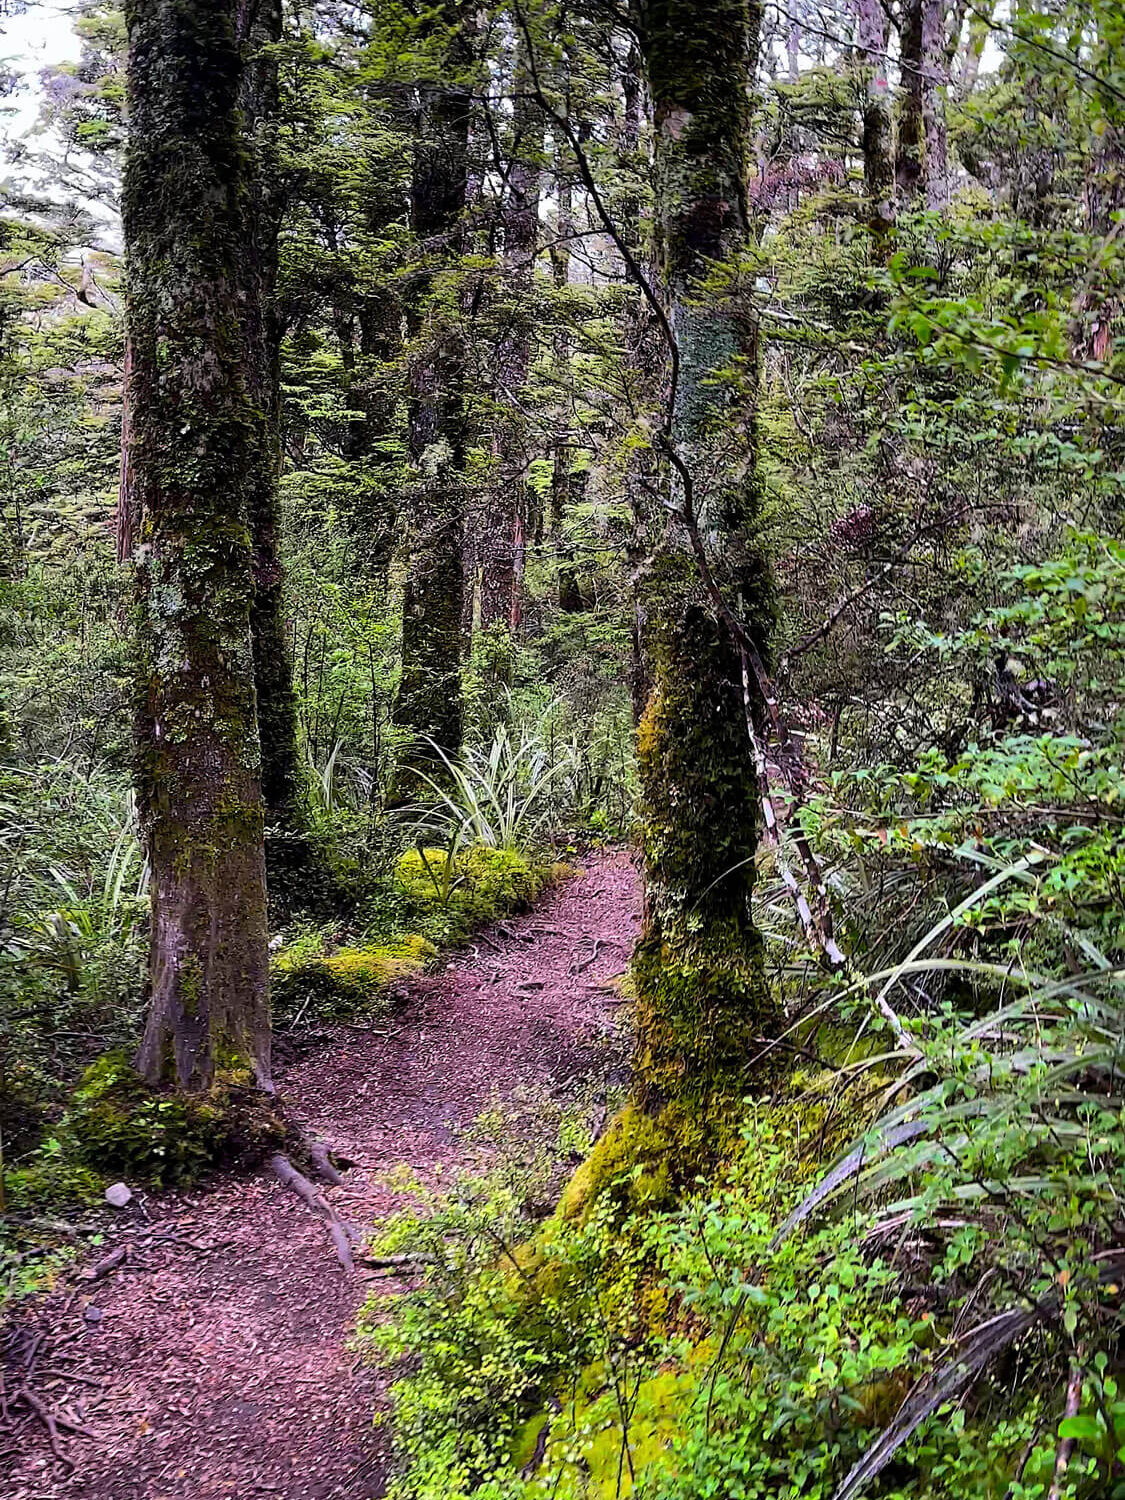
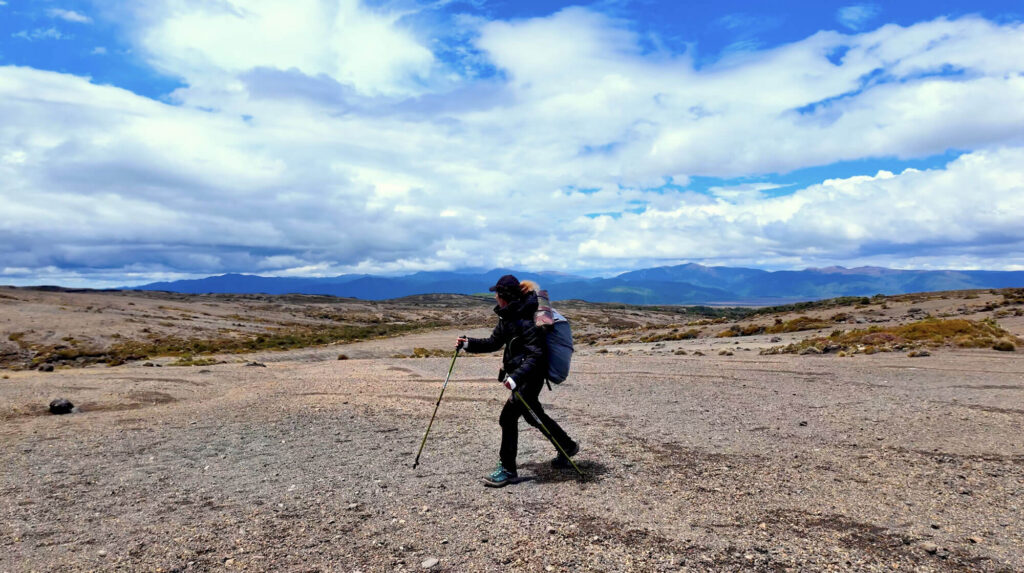
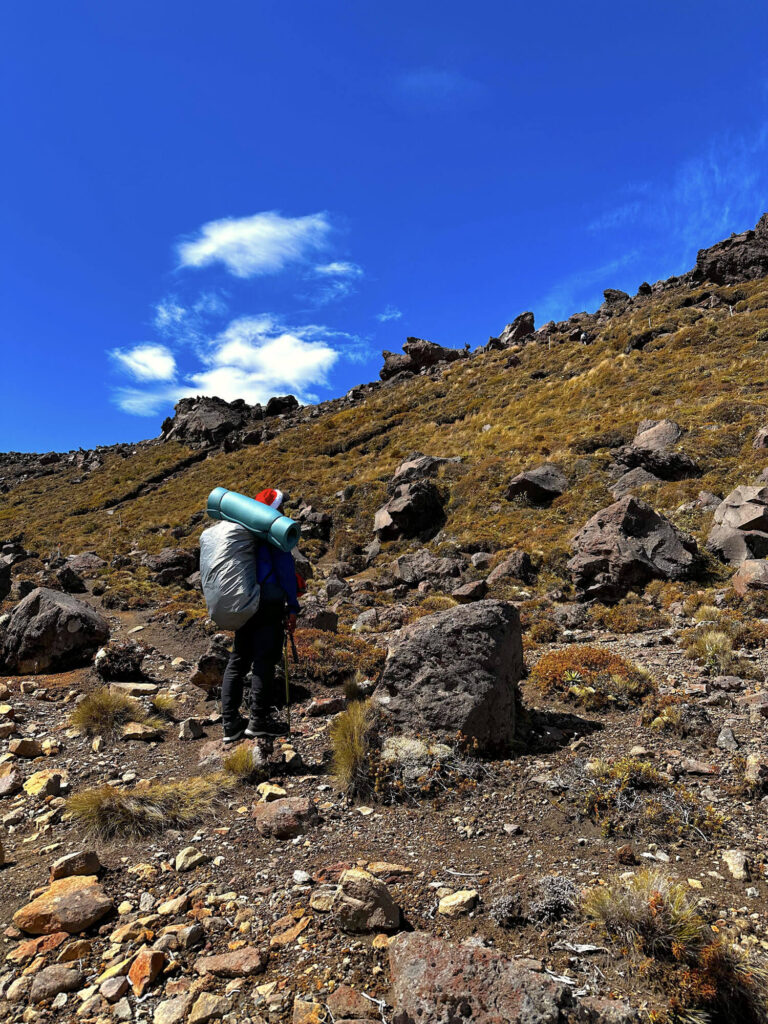
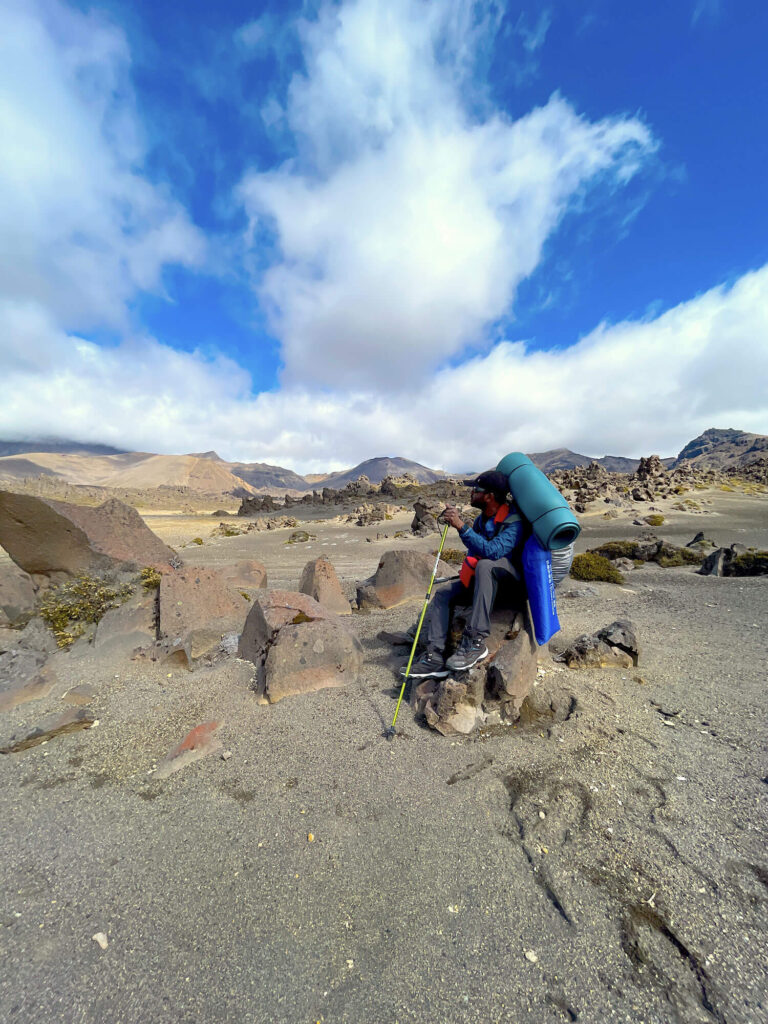
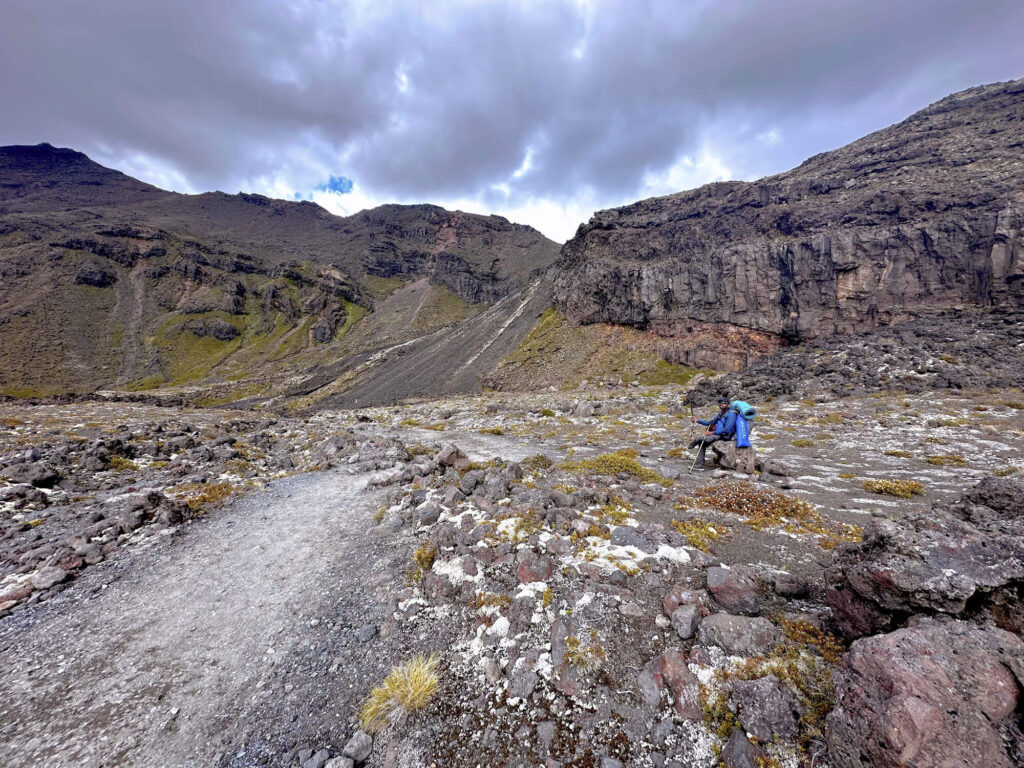
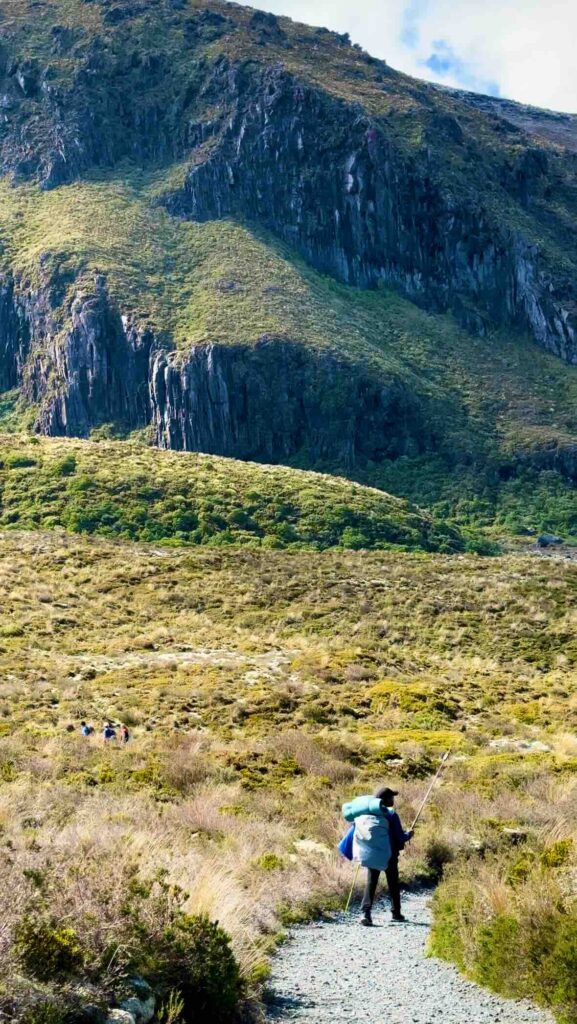
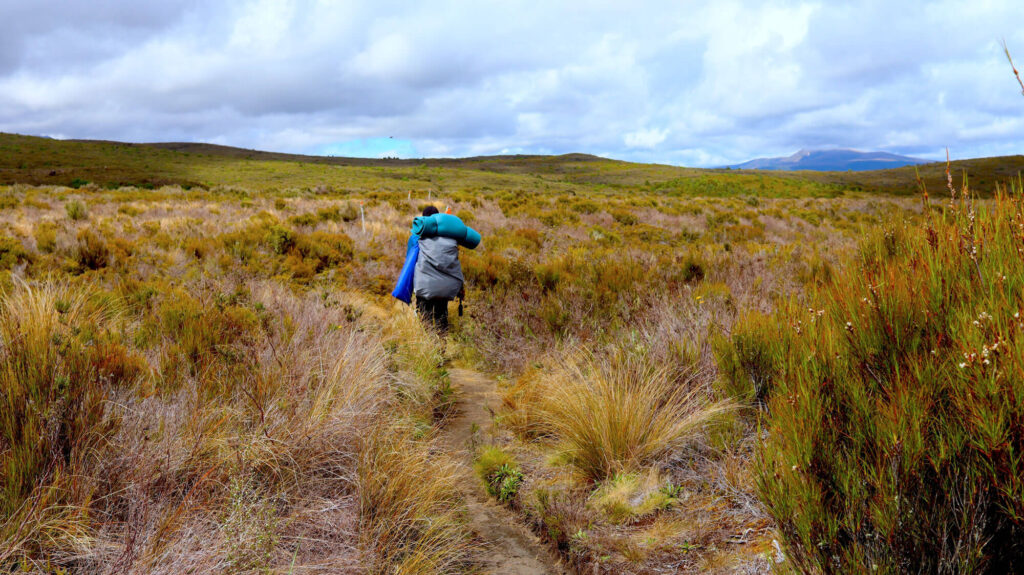
Oturere Hut is 3 – 4hrs away from the Waihohonu Hut. The tracks are mostly dry, with uphill and downhill climbs, so you should prepare to bring enough water. The terrain is mixed, and at times, you will find yourself walking in lush green bushes, and then later in deserted areas with volcanic rocks.
Although the distance is shorter, you may still feel tired due to constant climbing, especially in sunny weather, and there are also a few steep sections to watch out for. Therefore, take some breaks wherever possible, grab some snacks, and make sure to hydrate properly.
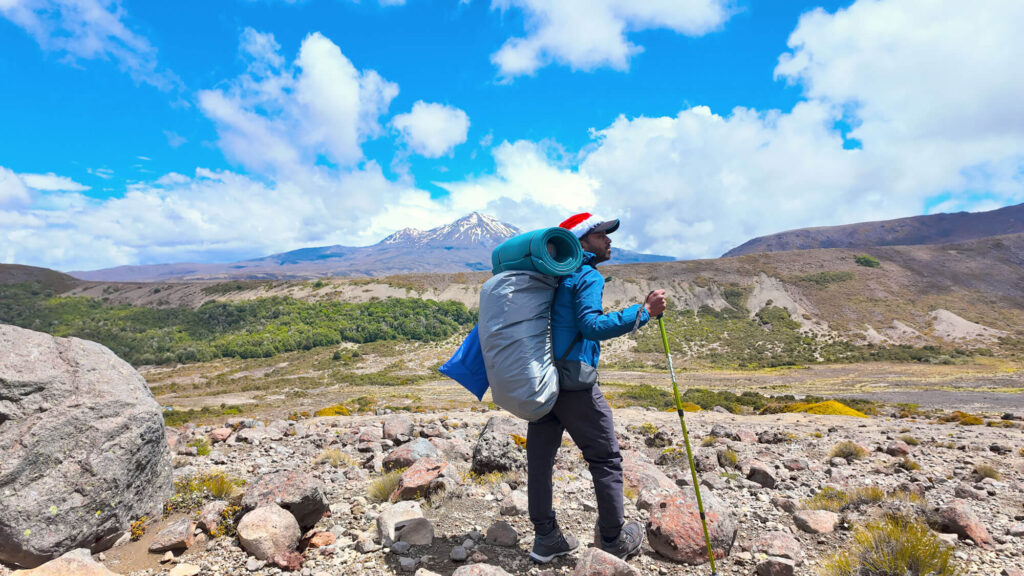
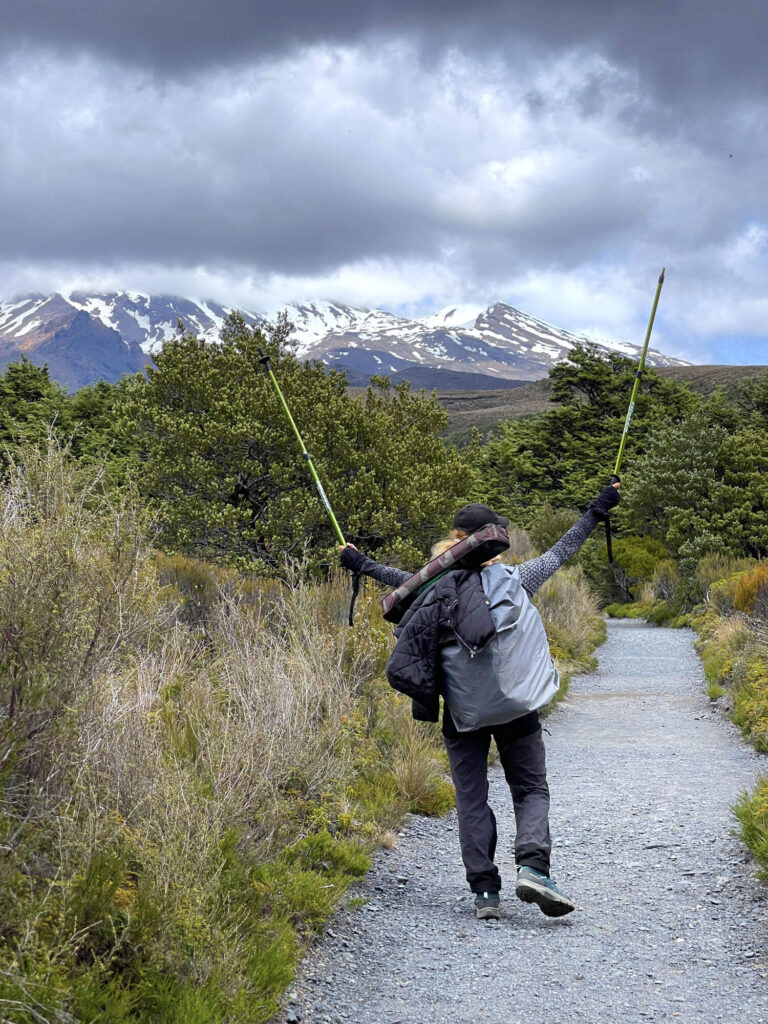
As we couldn’t celebrate Christmas on rainy Christmas day, one of us decided to keep the Christmas spirit alive, so he wore santa hat while hiking and makes passing-by people laugh or smile for keeping the Christmas spirit burning.
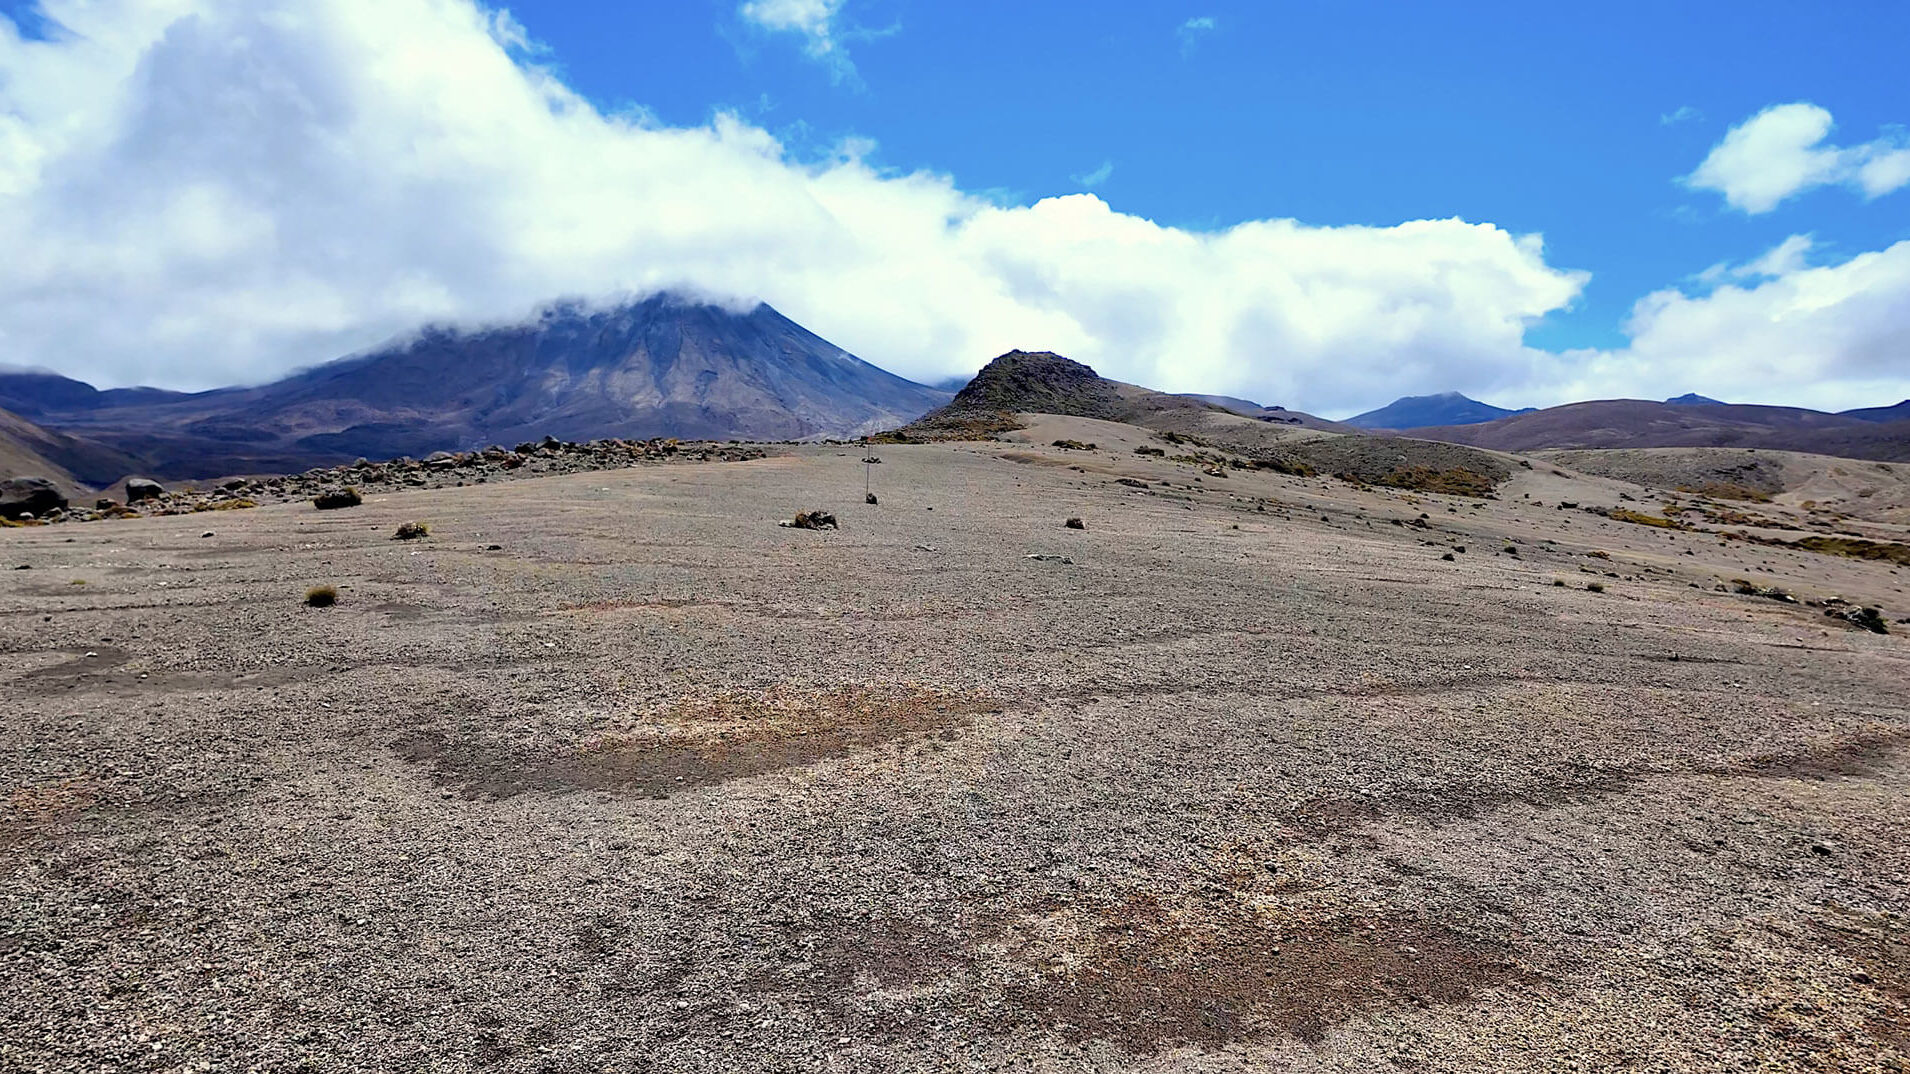
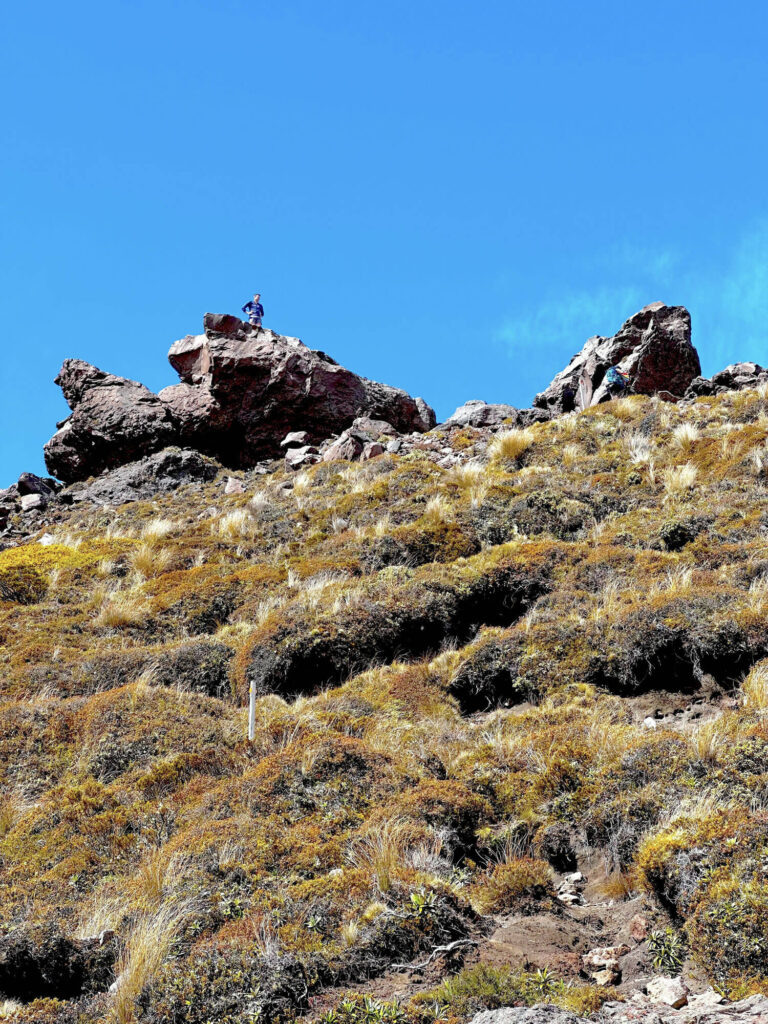
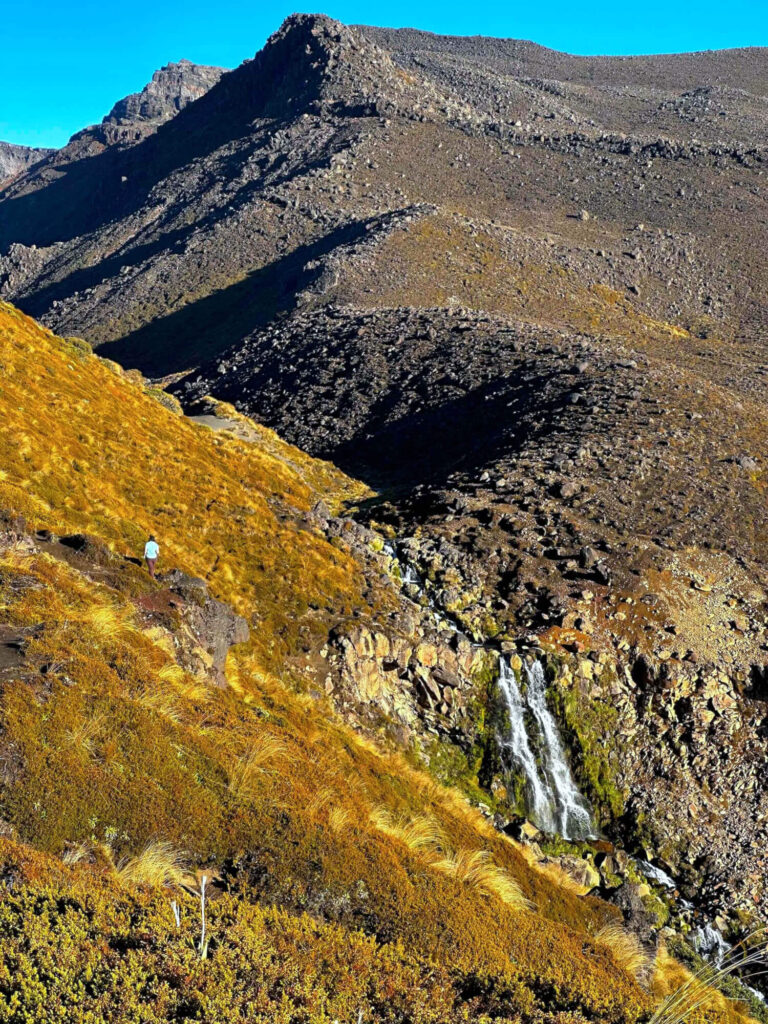
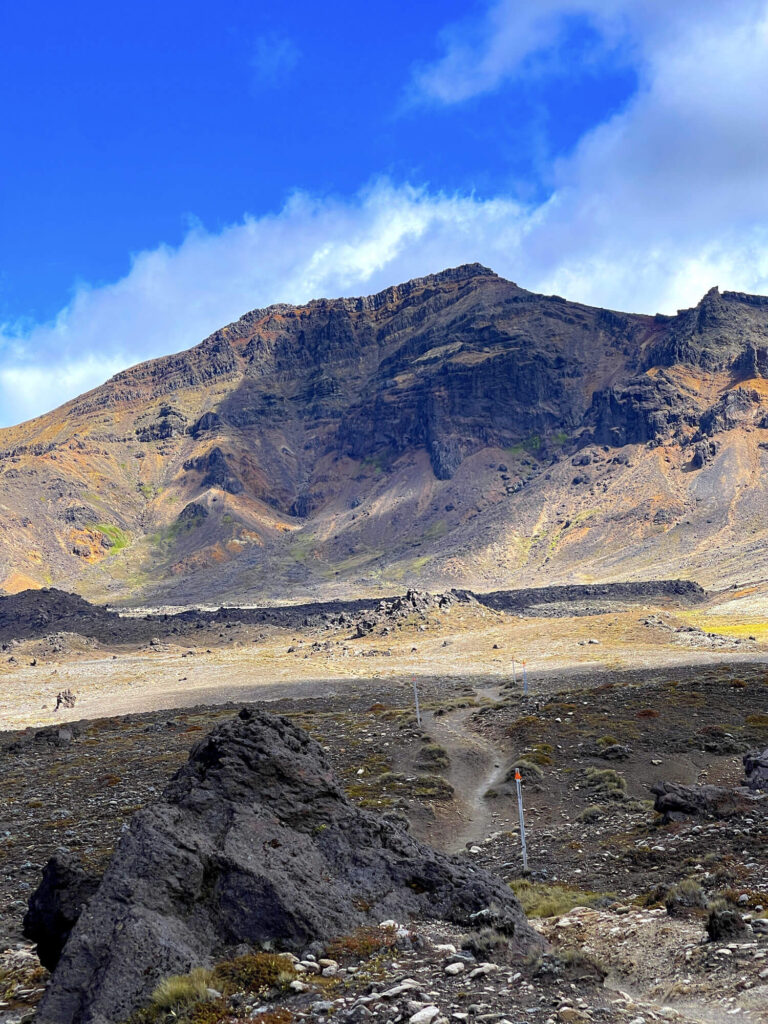
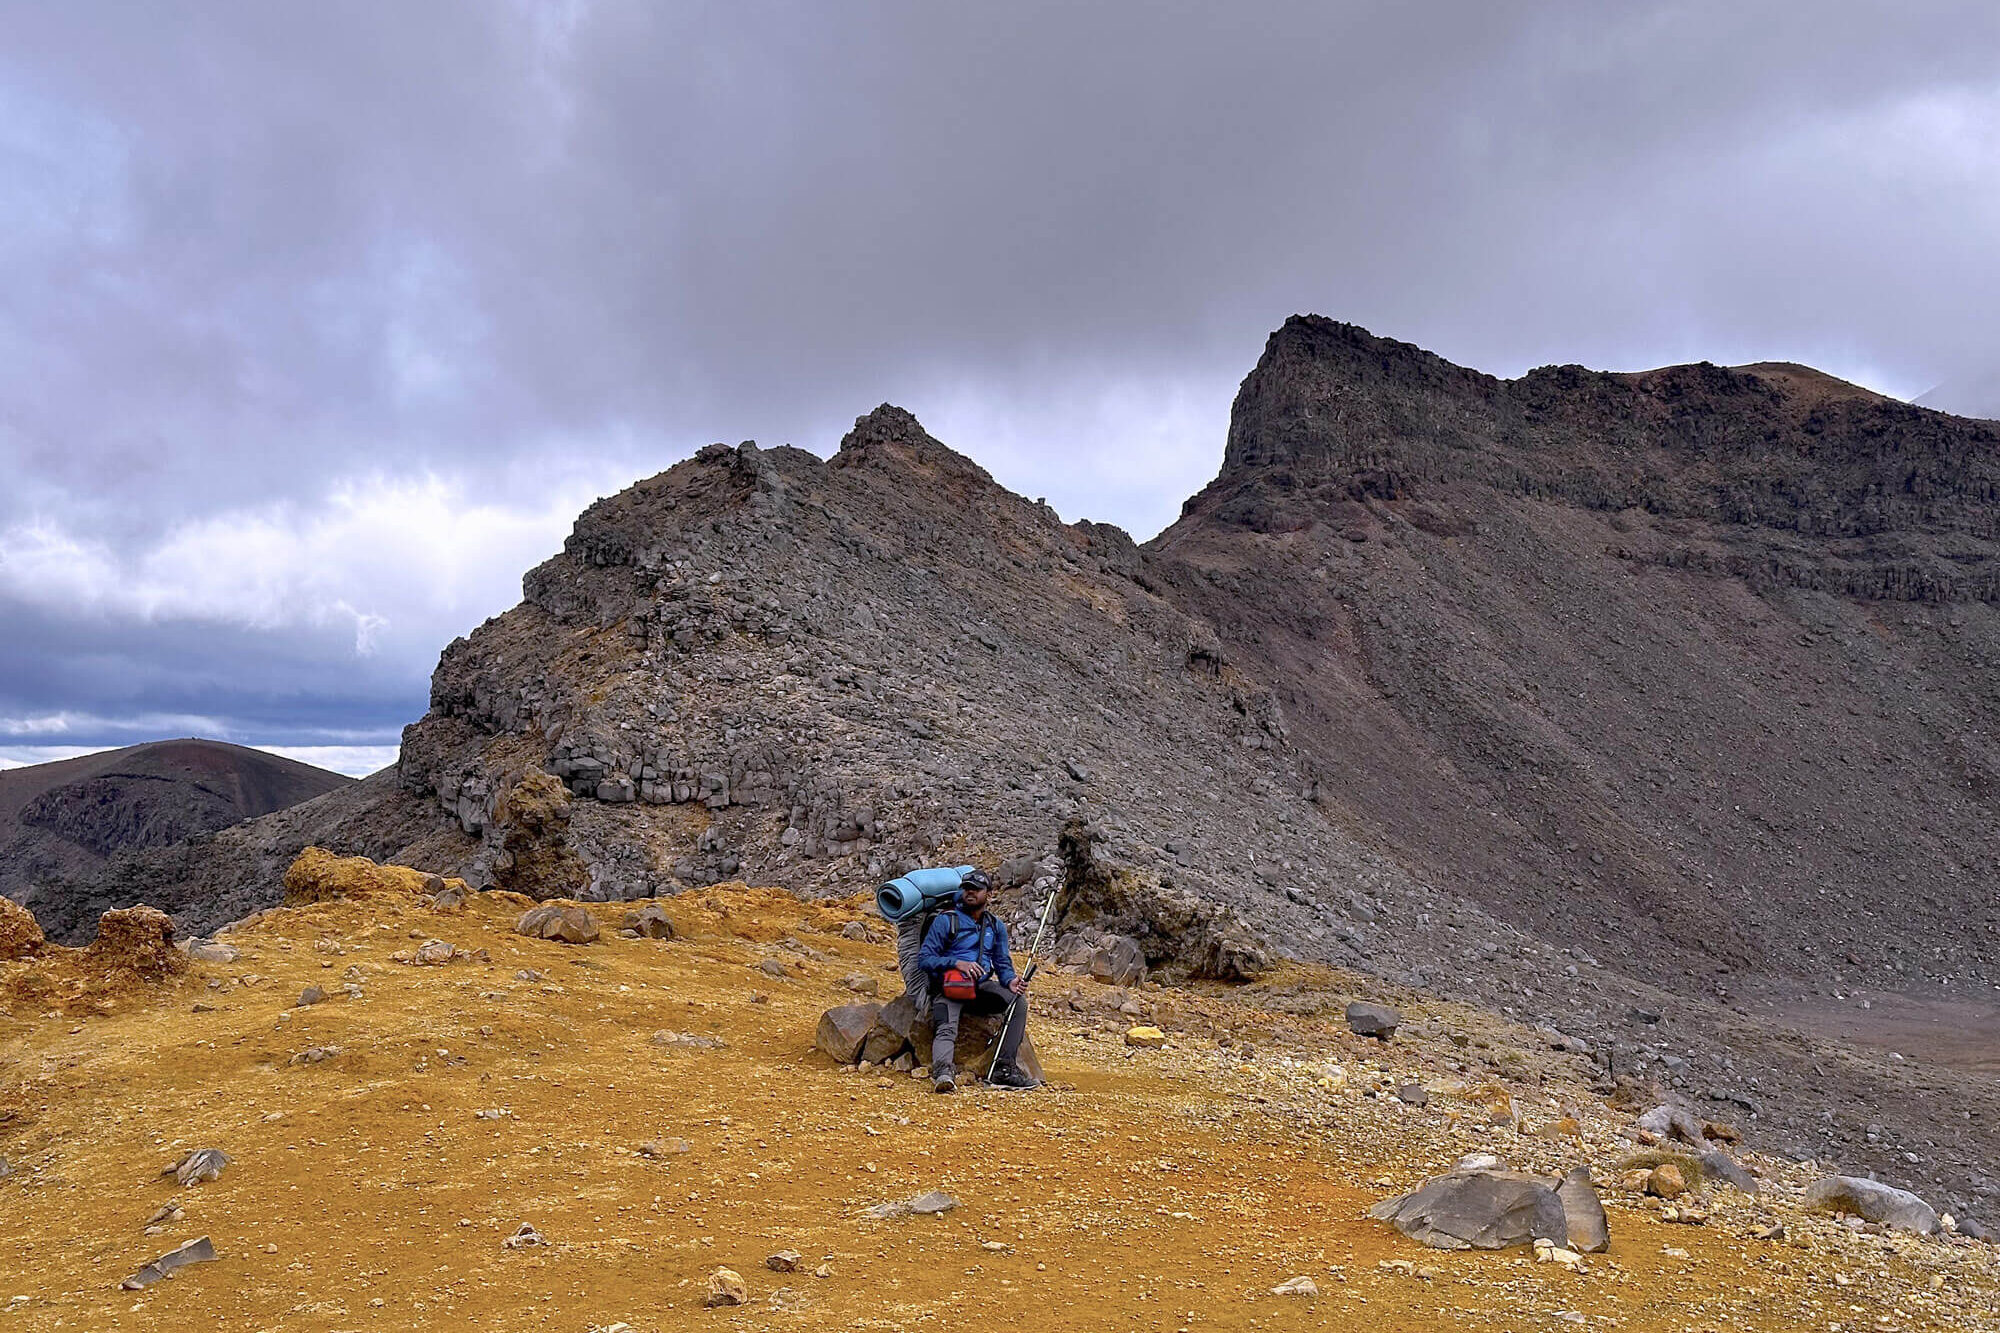
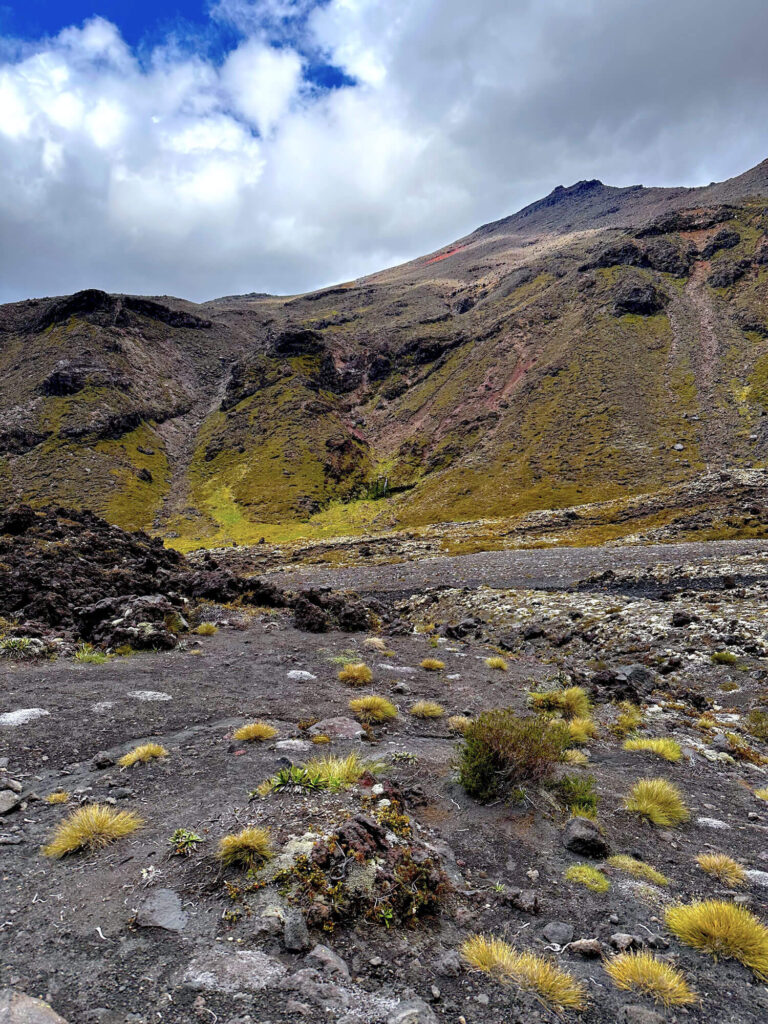
As you approach Oturere Hut, you’ll be treated to breathtaking views of rock formations and mountains, and as you get closer to Mount Ngauruhoe, the scenery becomes even more spectacular.
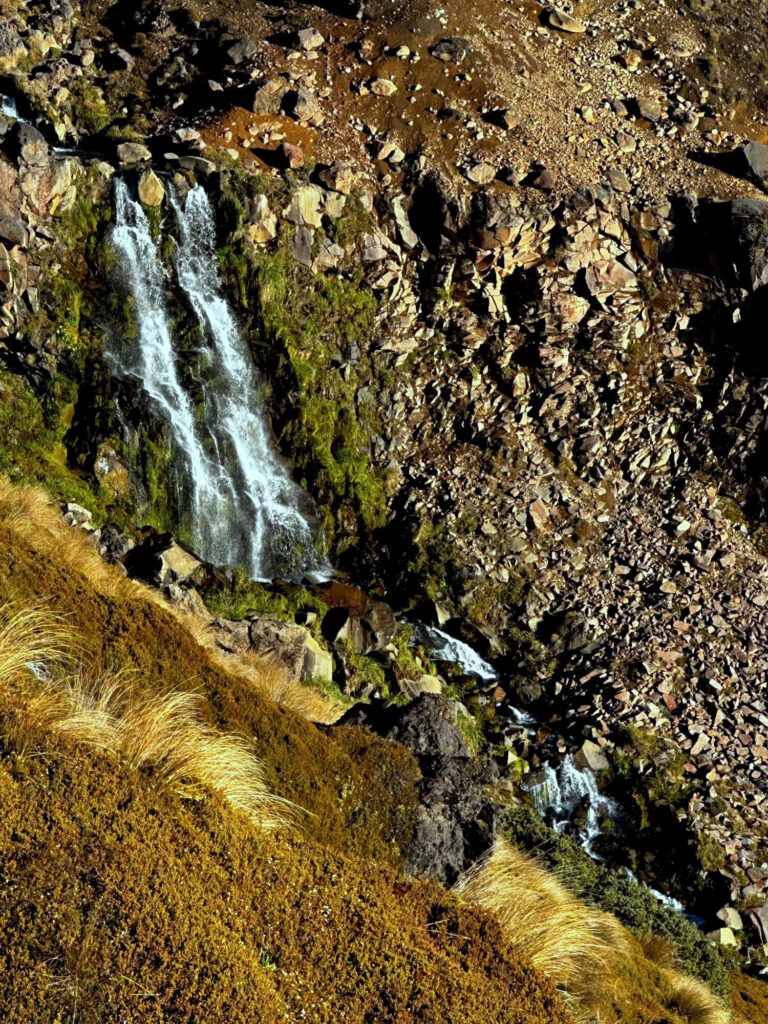
After a challenging climb, we finally reached Oturere Hut, where we were greeted by the stunning Oturere waterfall. It’s just a quick, short walk down the side of the Oturere Camping Site.
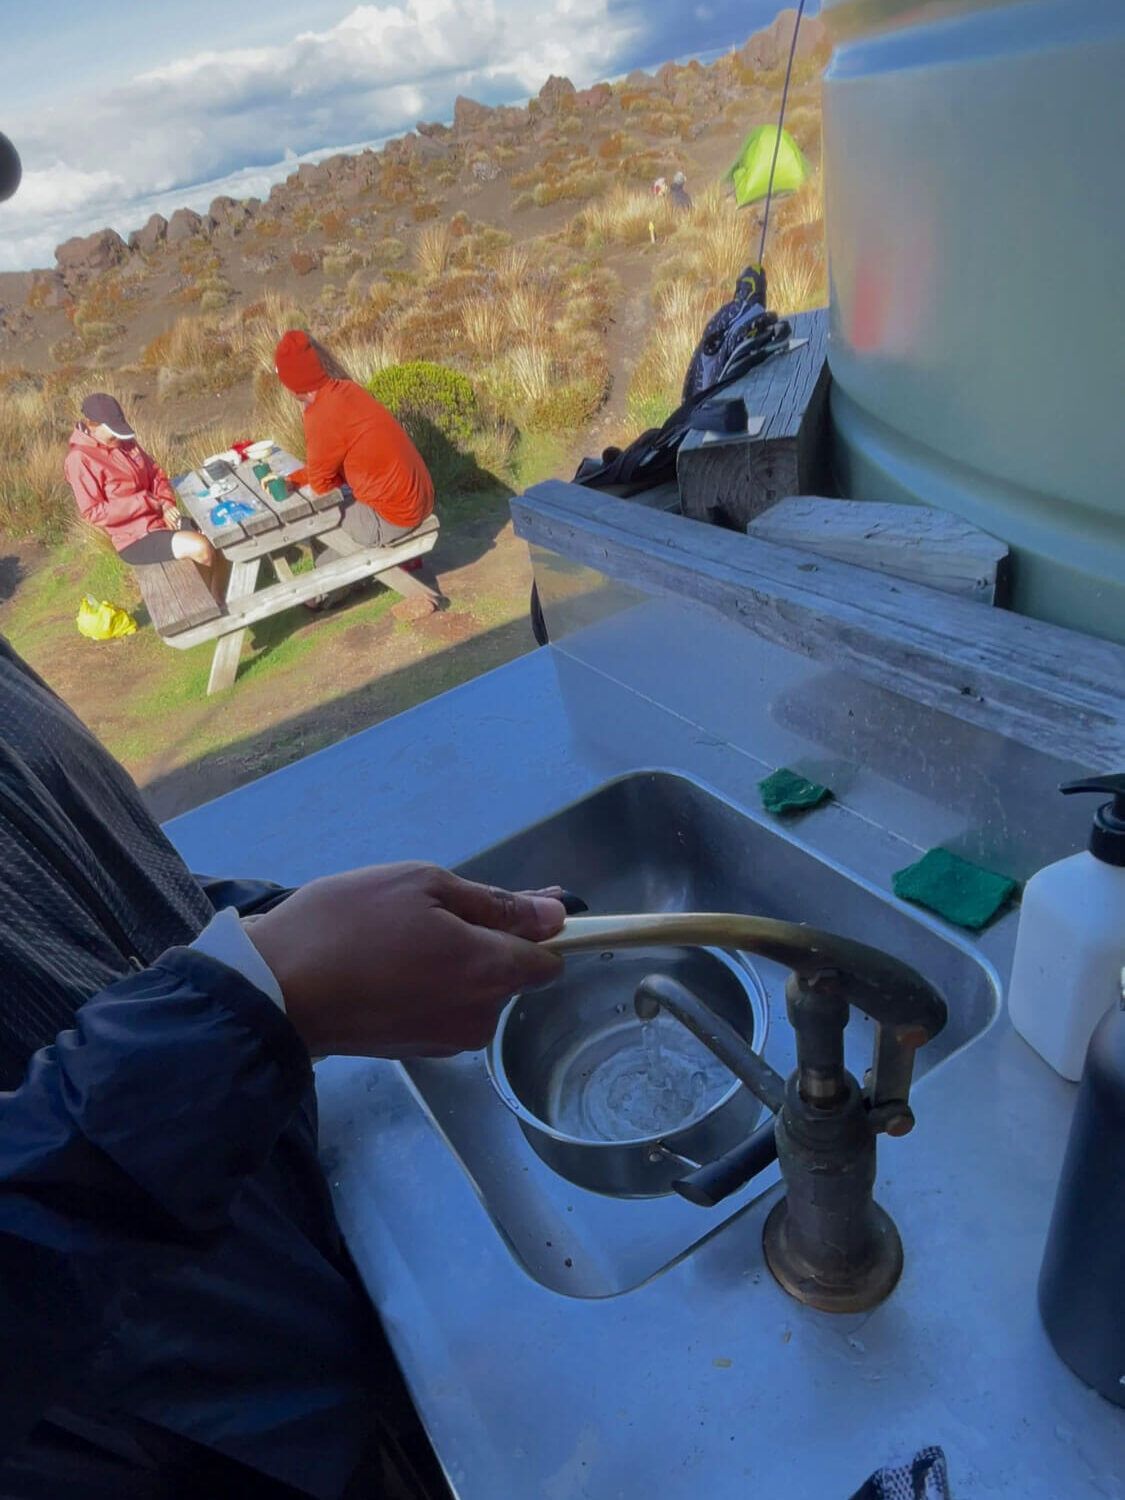
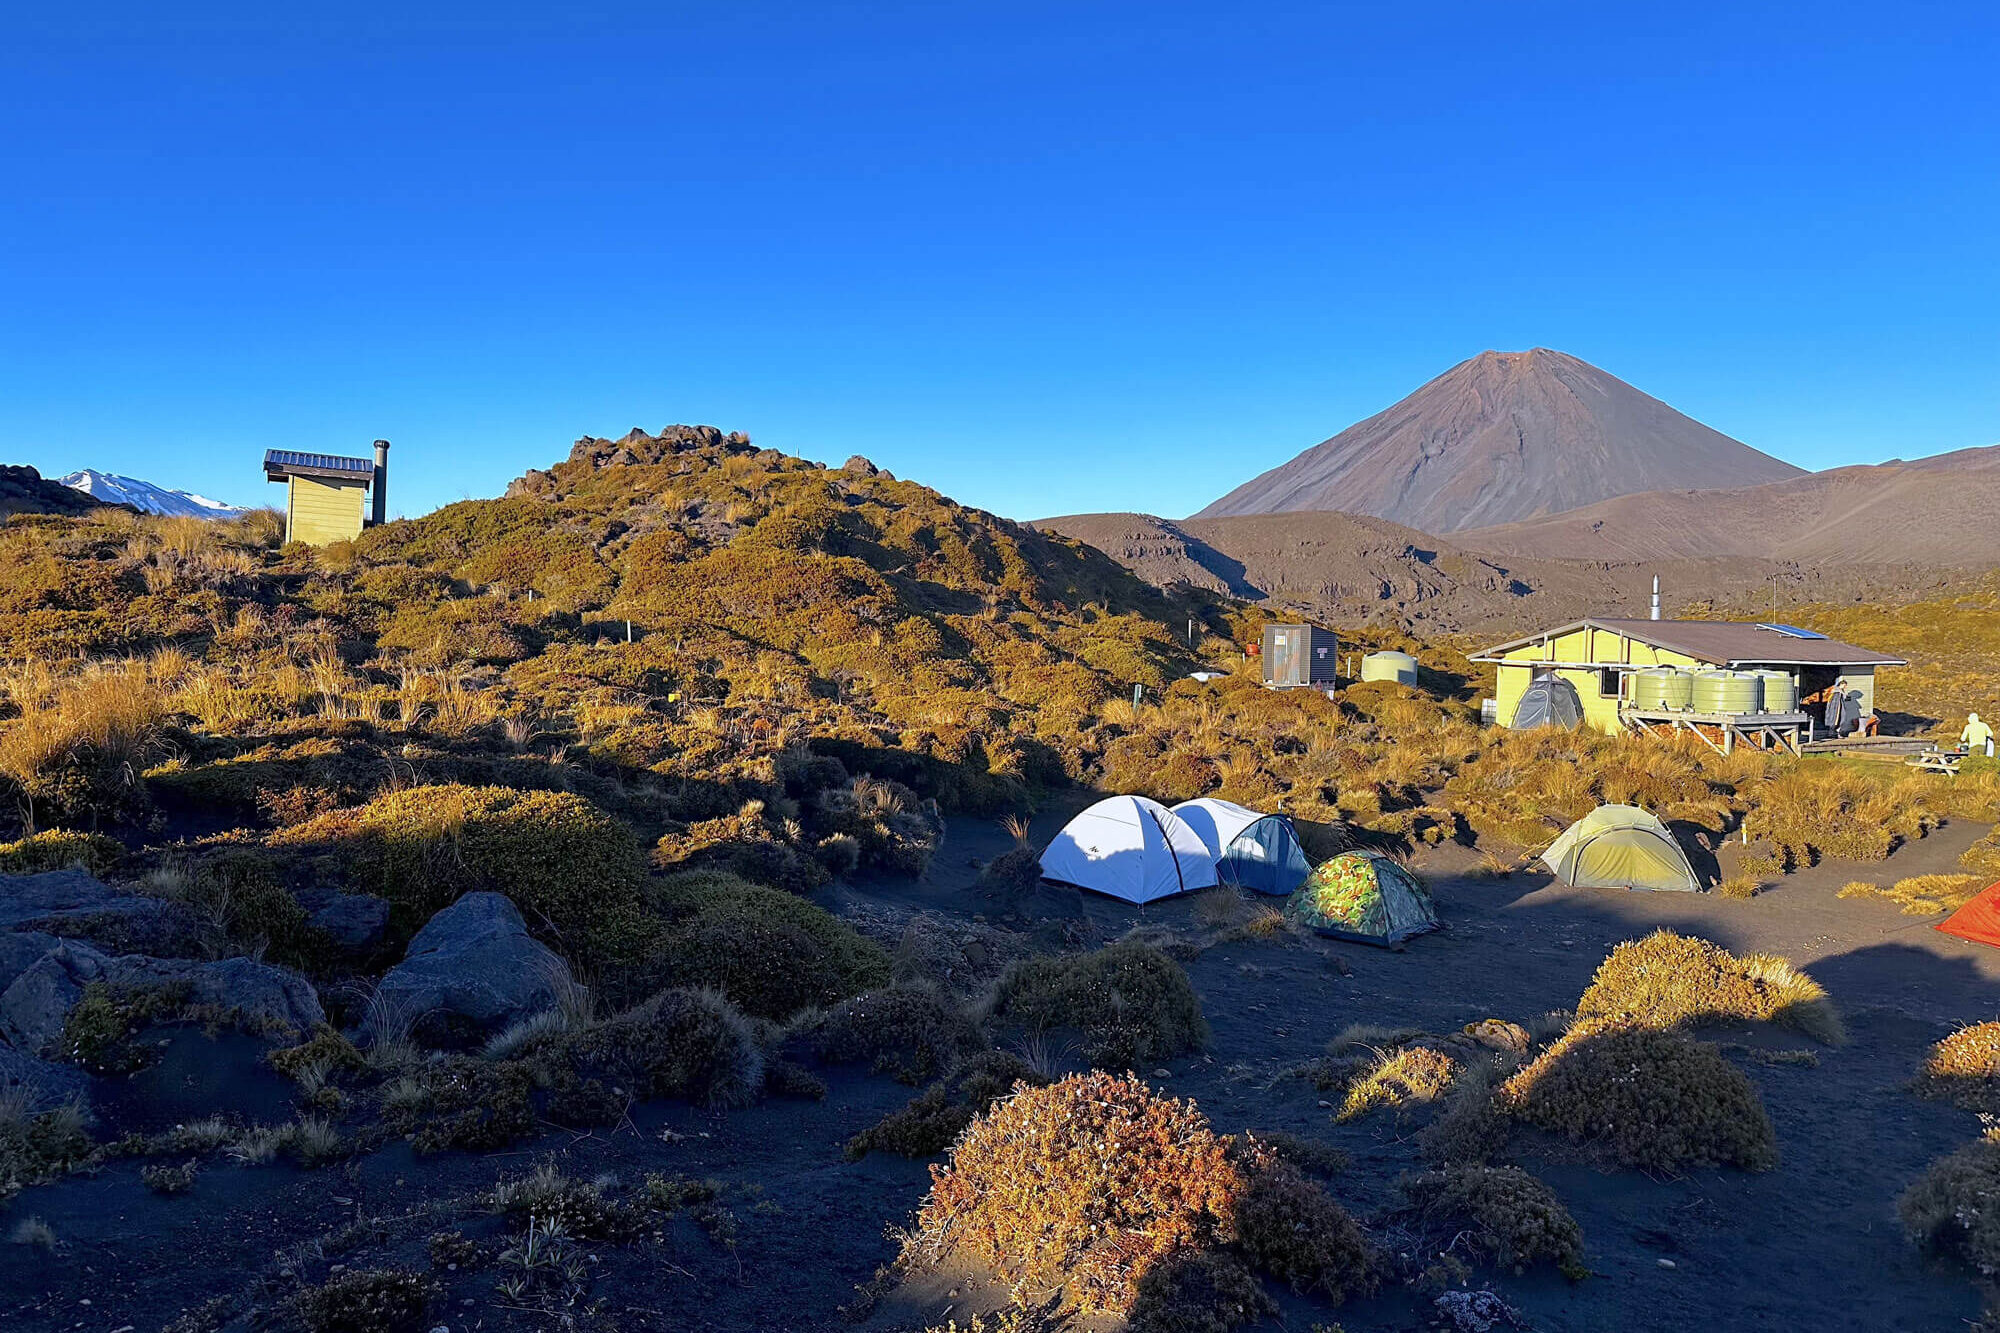
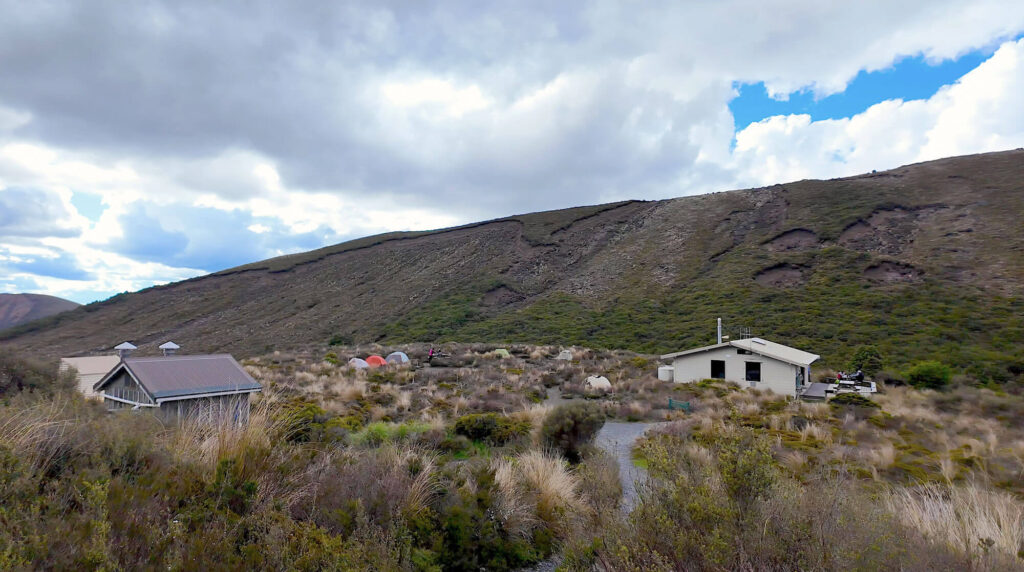
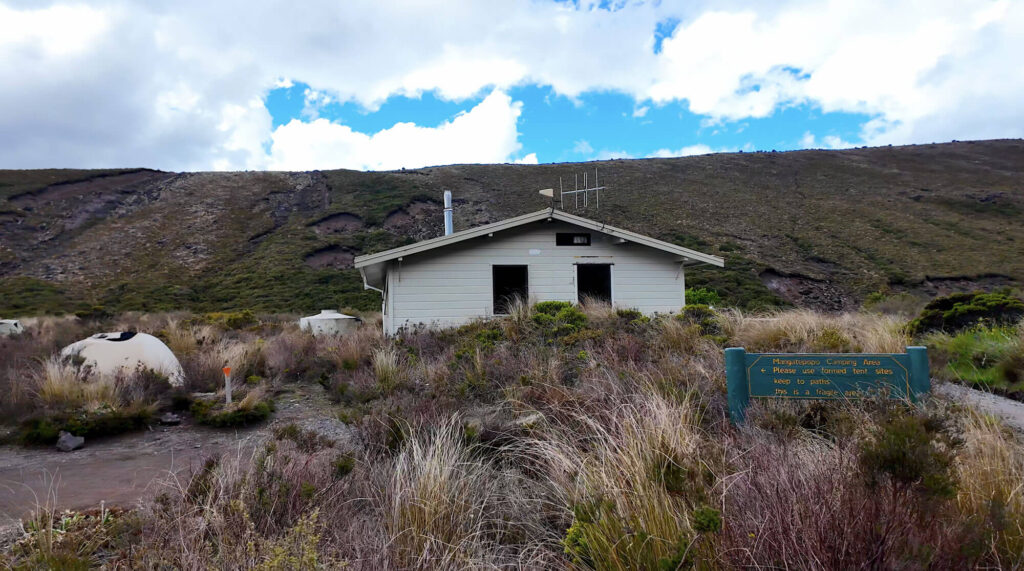
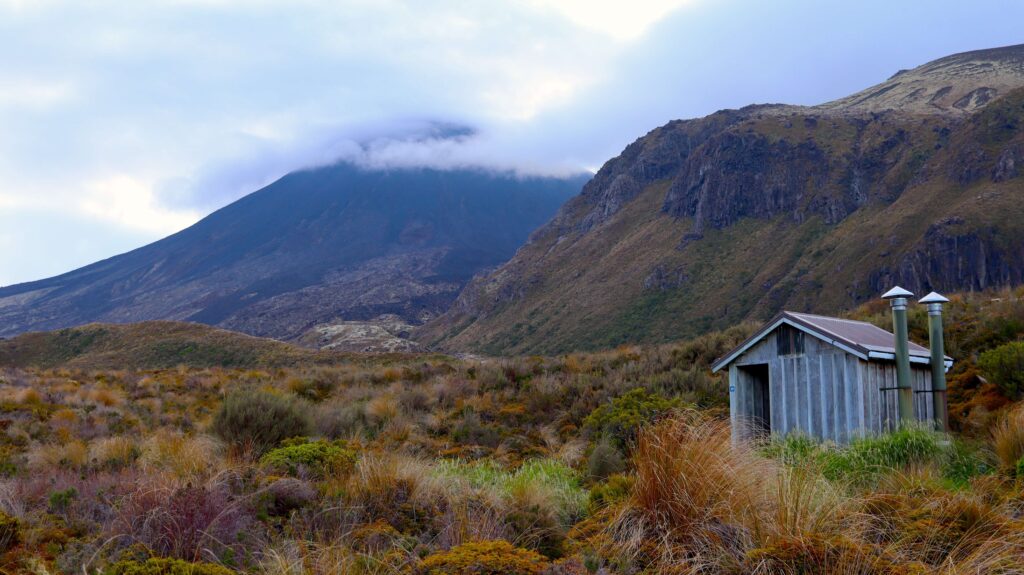
The Oturere Hut is a modest abode, smaller than the Waihohonu Hut but equipped with similar amenities such as gas for cooking, a kettle for boiling water, bunk beds, and toilets. There are two toilets shared by both the campsites and the hut, which is located nearby. During our visit, we utilized the hut’s facilities to boil water for our dinner, breakfast, and drinking needs for the next day’s hike. One unique feature of the hut is the old-fashioned mini hand water pump, which was interesting to use.
The hut is located at a higher elevation than other huts in the northern circuit, so one can expect some winds in the area. We pitched our tent amidst some bushes, ensuring it was protected from the wind. Although the campsites were a bit crowded due to many people opting for tents, it was still manageable. We found the people to be kind, generous, and helpful during our stay.
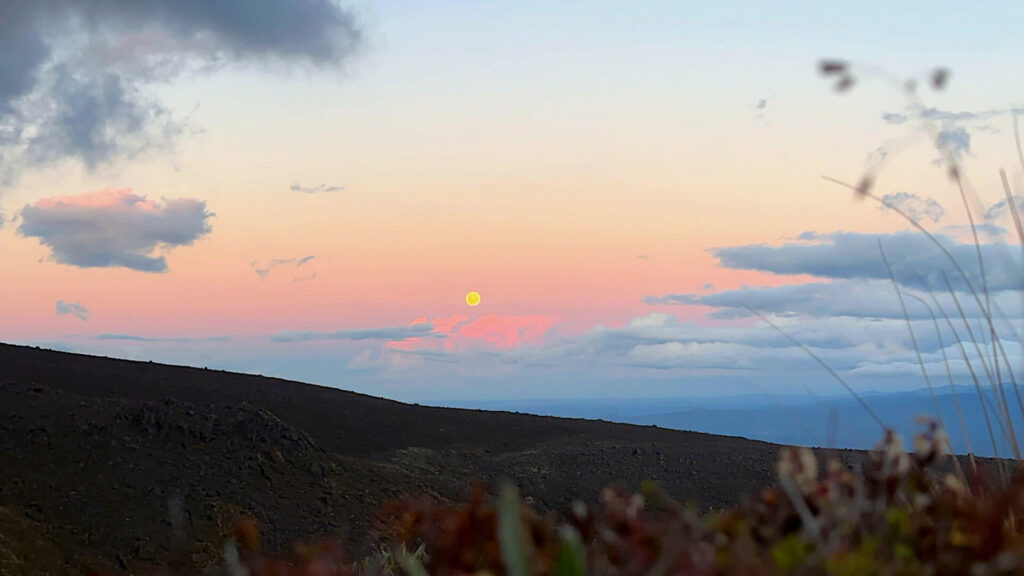
We were lucky to witness the moonrise on a full moon night. It made our experience more magical to sleep under the stars and moonlight. After dinner, we slept early to prepare for the summit the next day.
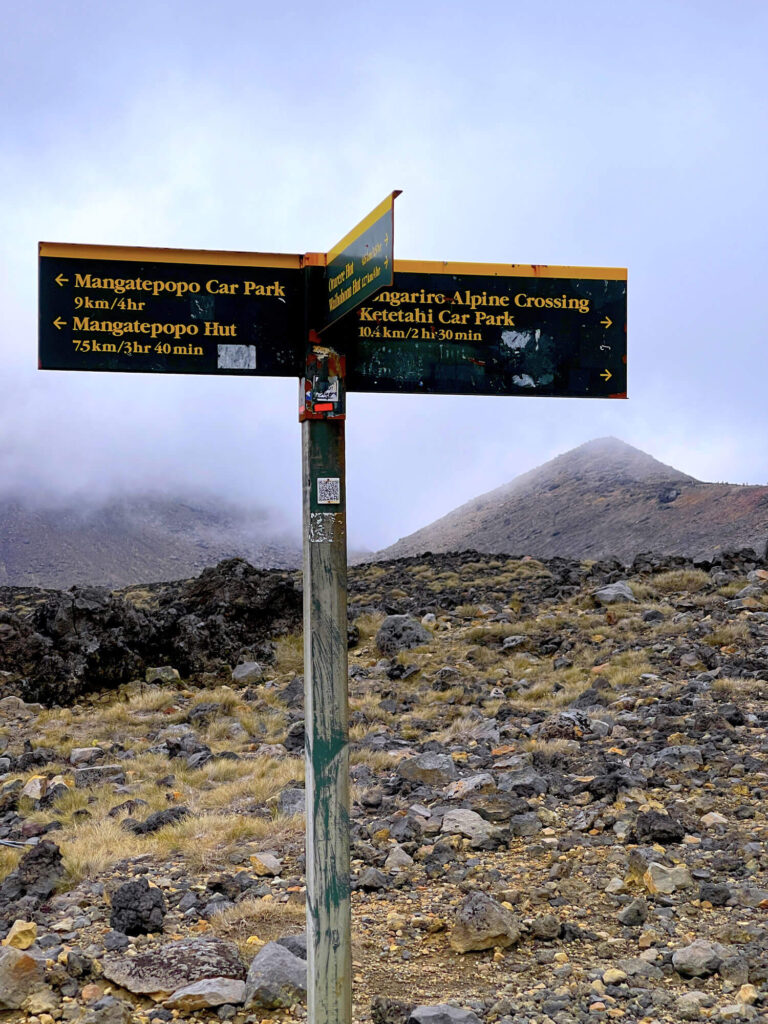
Day 3 – Oturere Hut to Mangatepopo Hut (Summit Day)

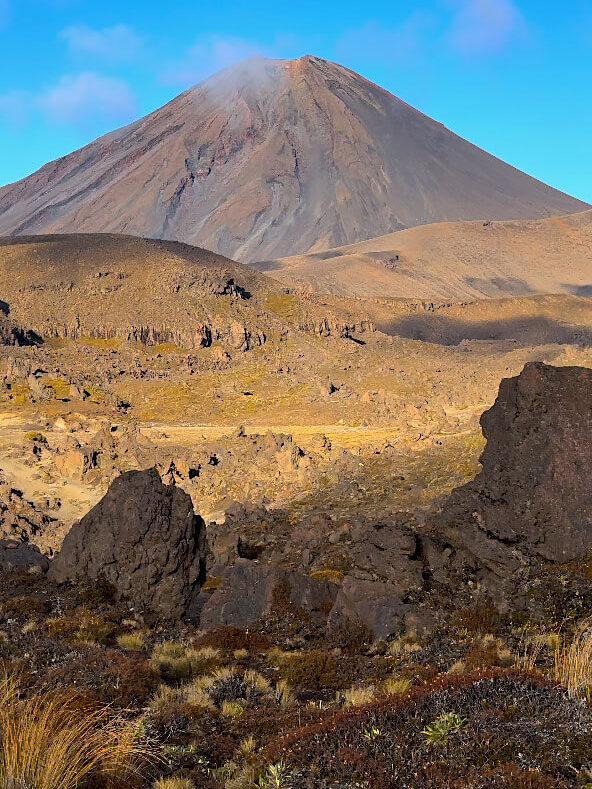
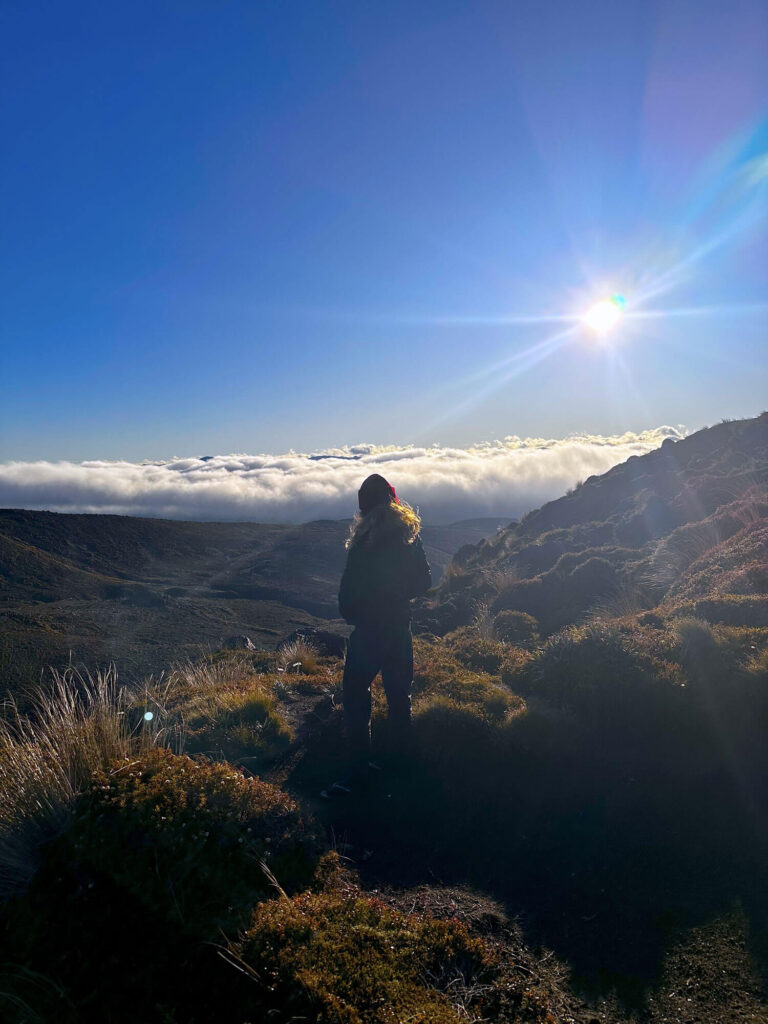
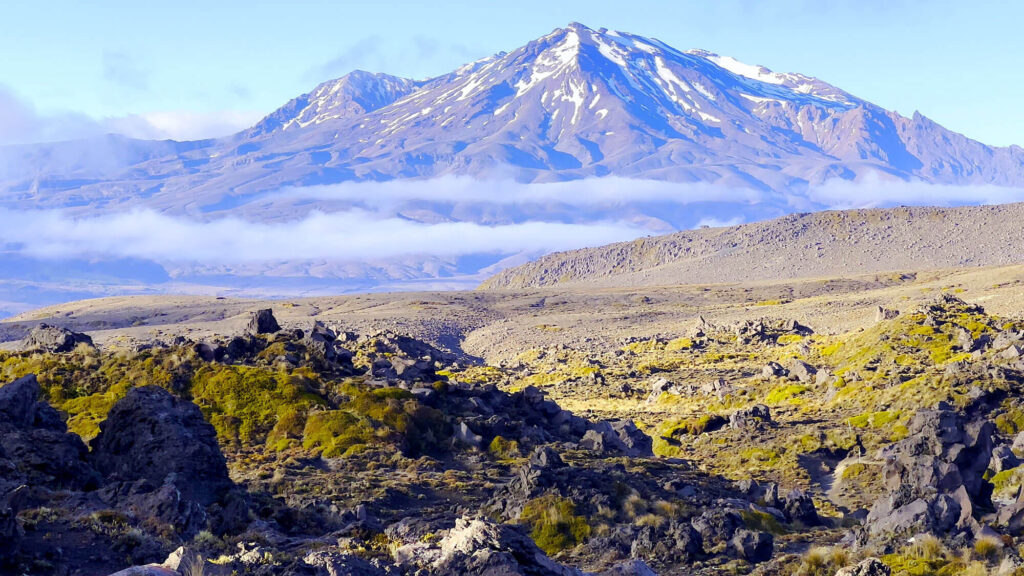
We woke up to a bright and sunny day with a few mists in the air and took a short walk behind the hut to see a magnificent view of both Mount Ngauruhoe and snow-covered Mount Ruapehu, especially on a bright day with little or no clouds covering the mountain top.
We prepared our breakfast earlier than usual because it would be another long hike ahead, especially climbing to the summit or peak for the Tongariro Alpine Crossing.
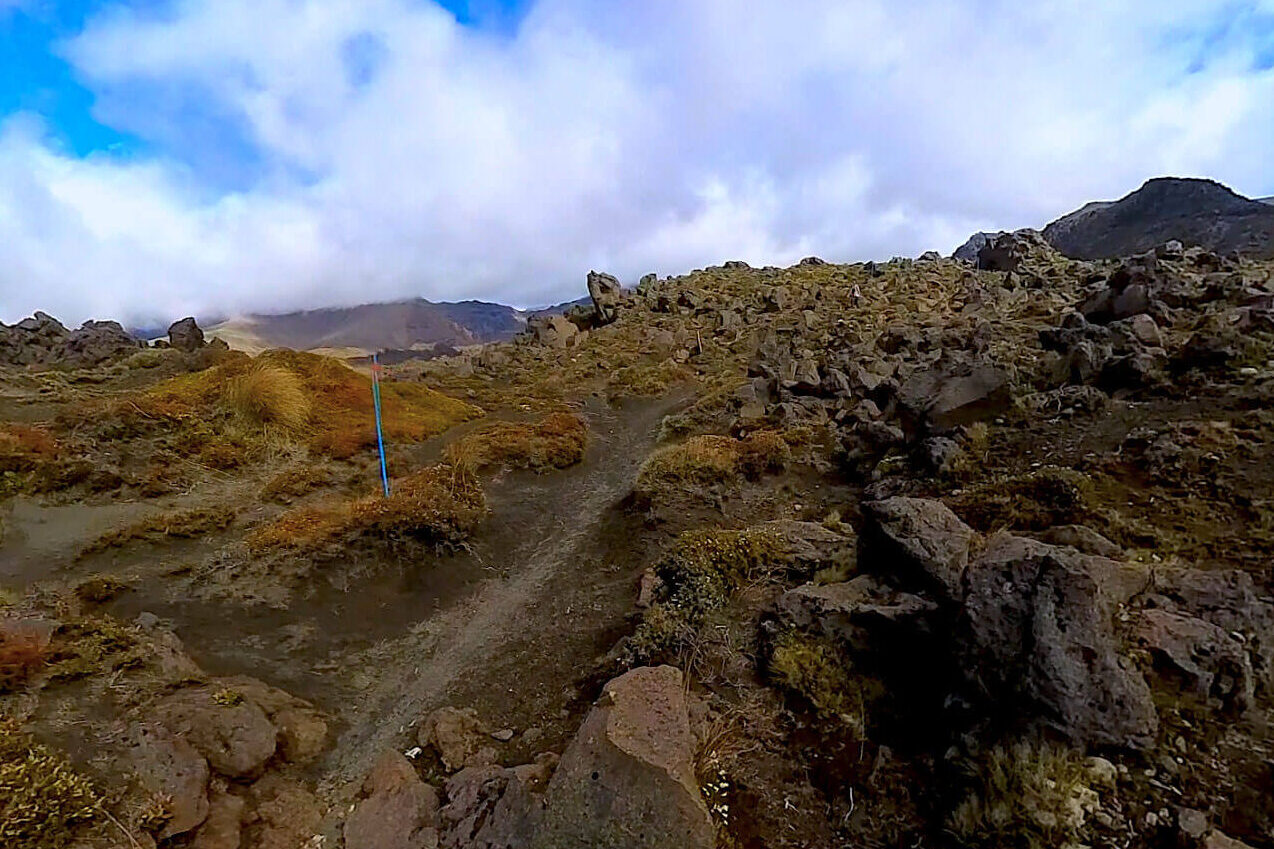
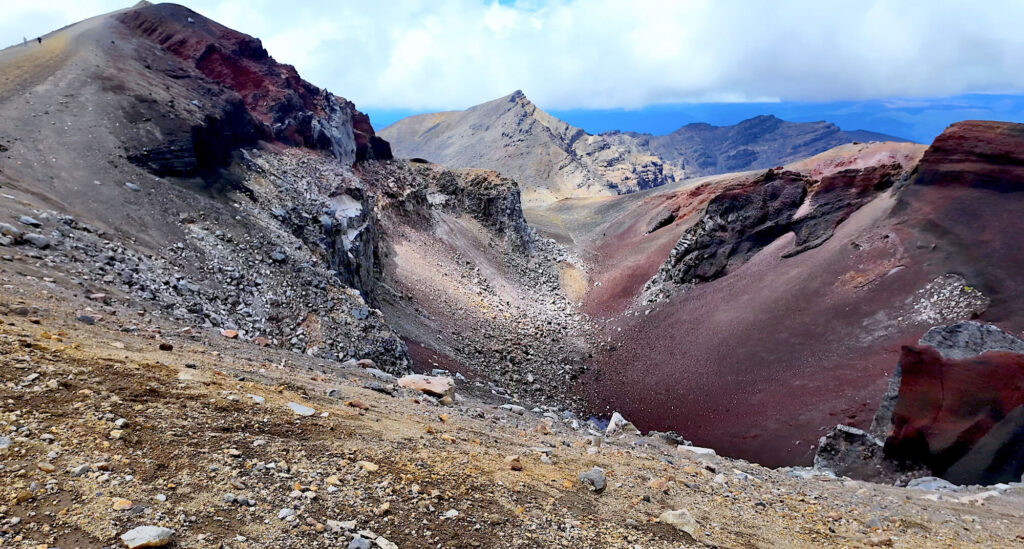
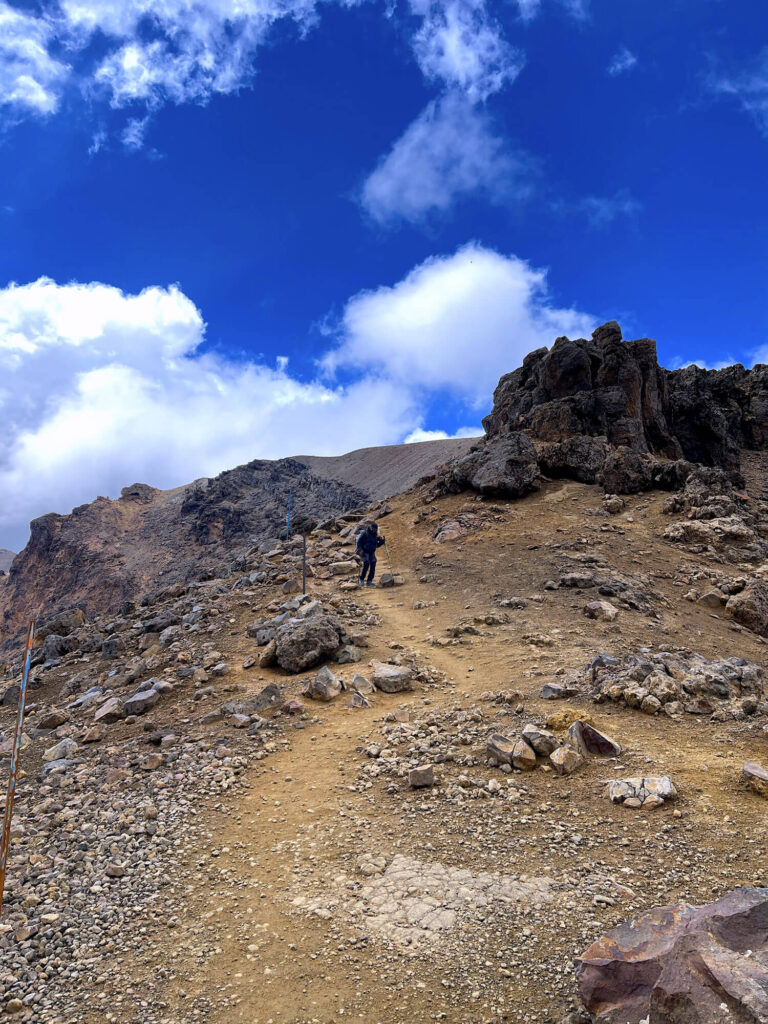
The track starts with views of rock formations and volcanic rocks that are larger than what you see from Waihohonu hut to Oturere Hut. The mountain views on the side reminds us about Grand Canyon in the USA.
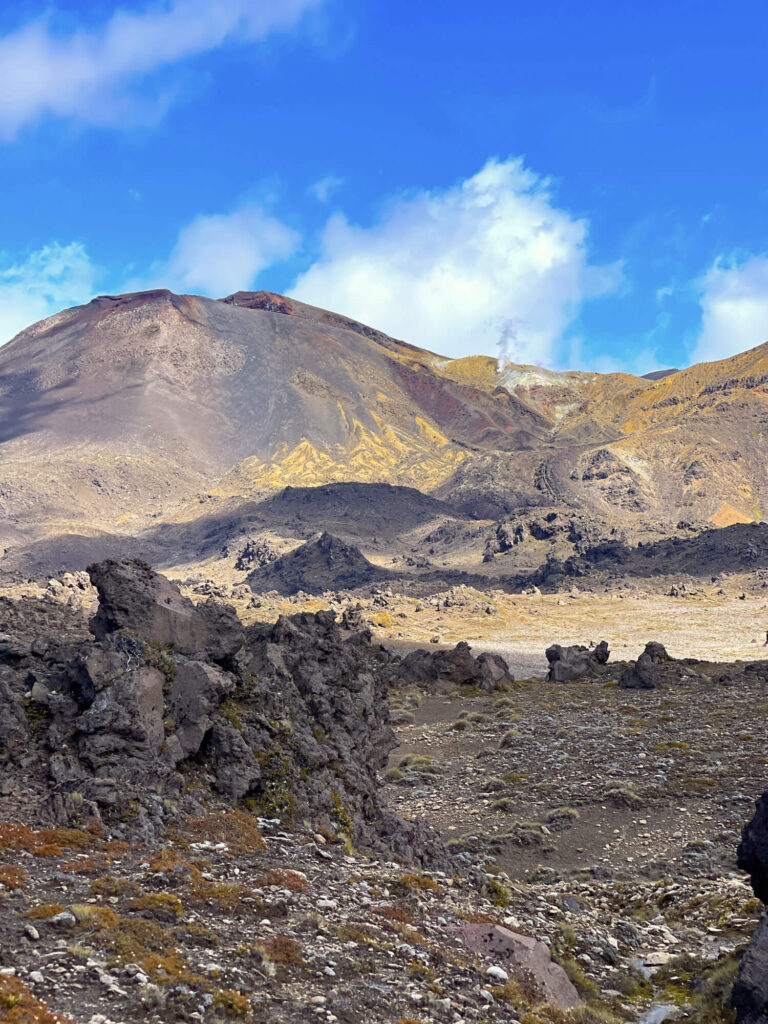
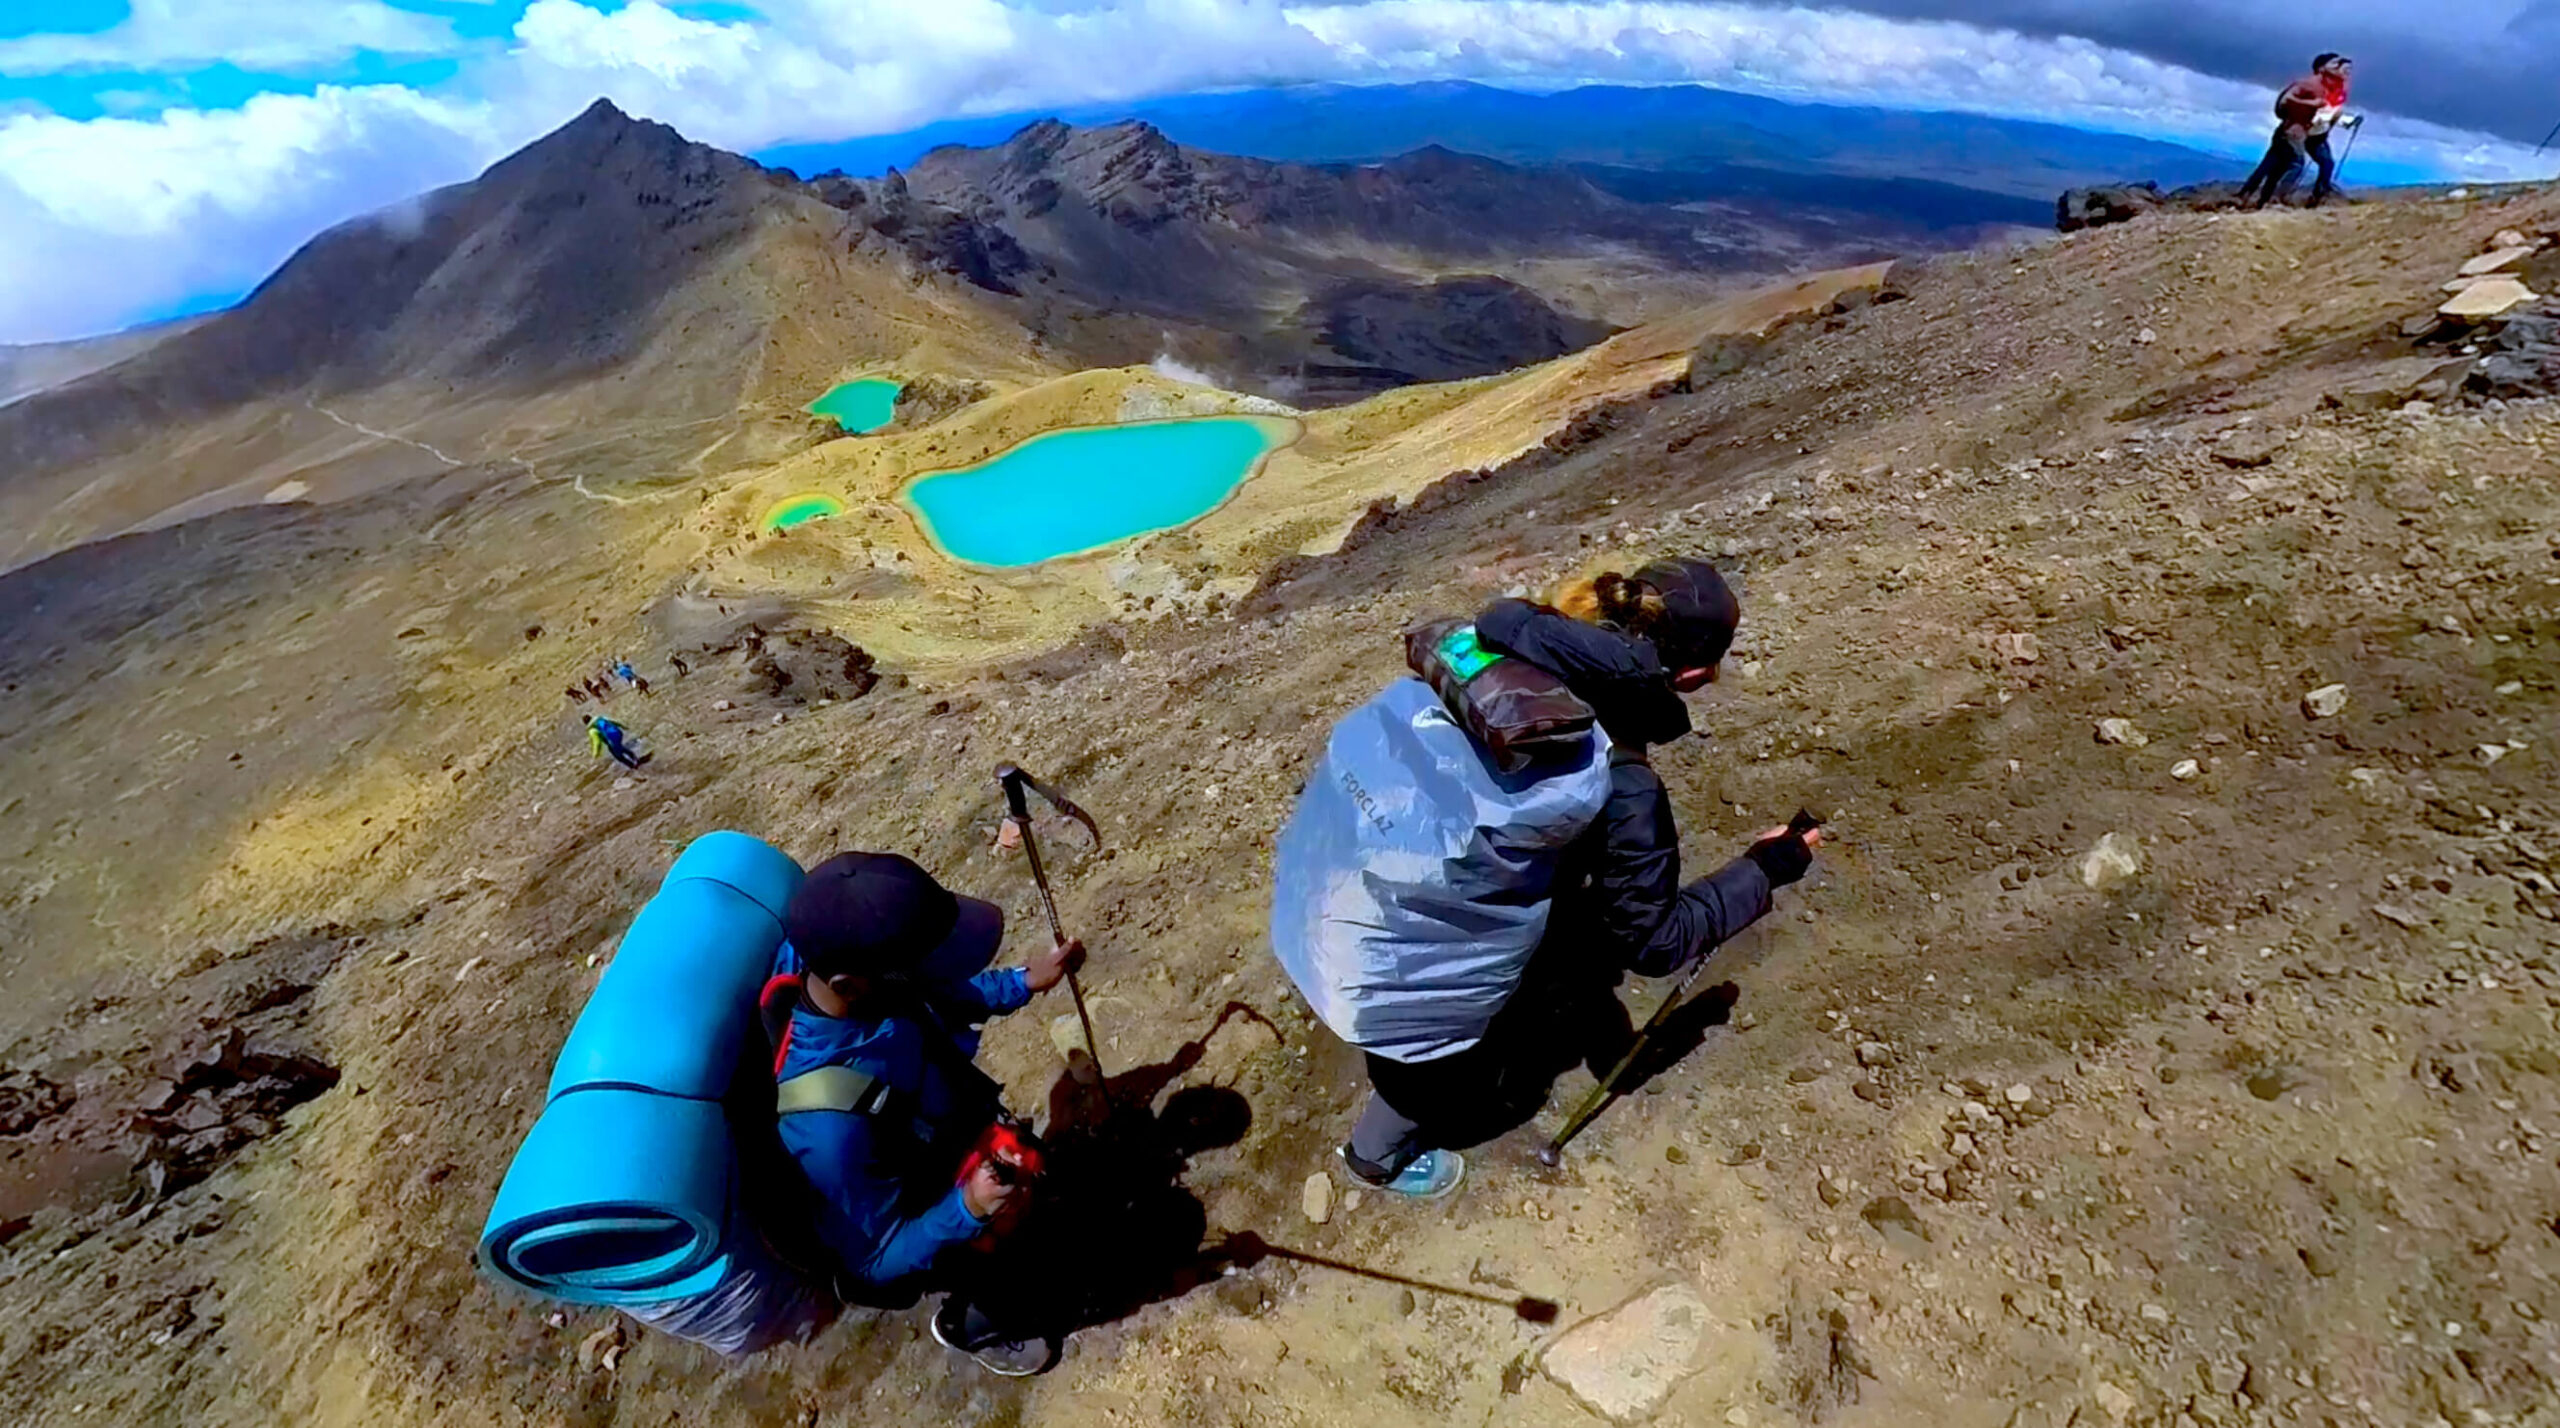
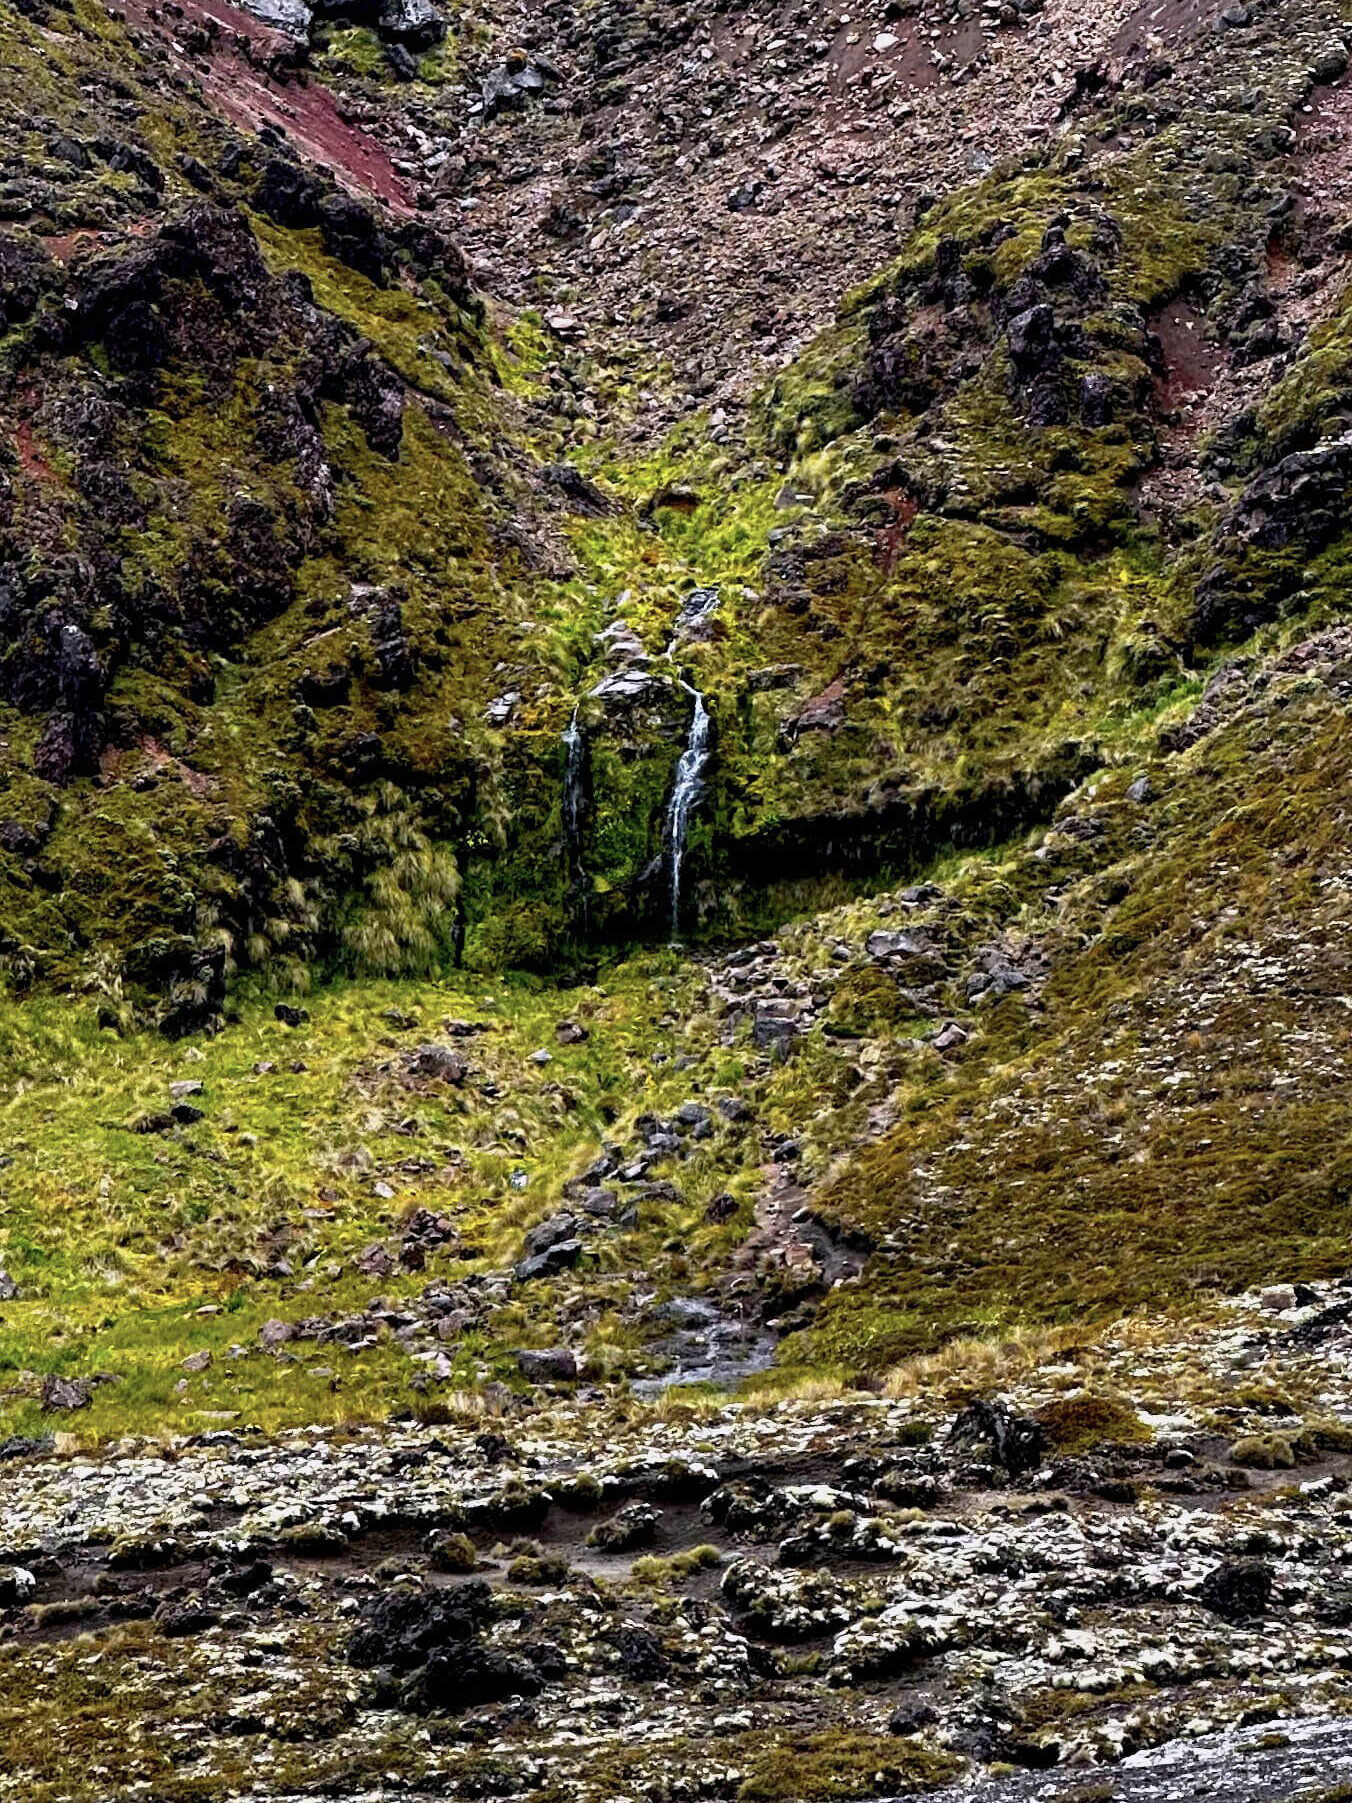
The initial section of the track is a relatively easy walk through a deserted area before reaching the base of an uphill hike leading up to the Emerald Lakes. At the base, just before the start of the almost unending climb, you’ll see a waterfall cascading from the mountain top, which was the last piece of ice melting.
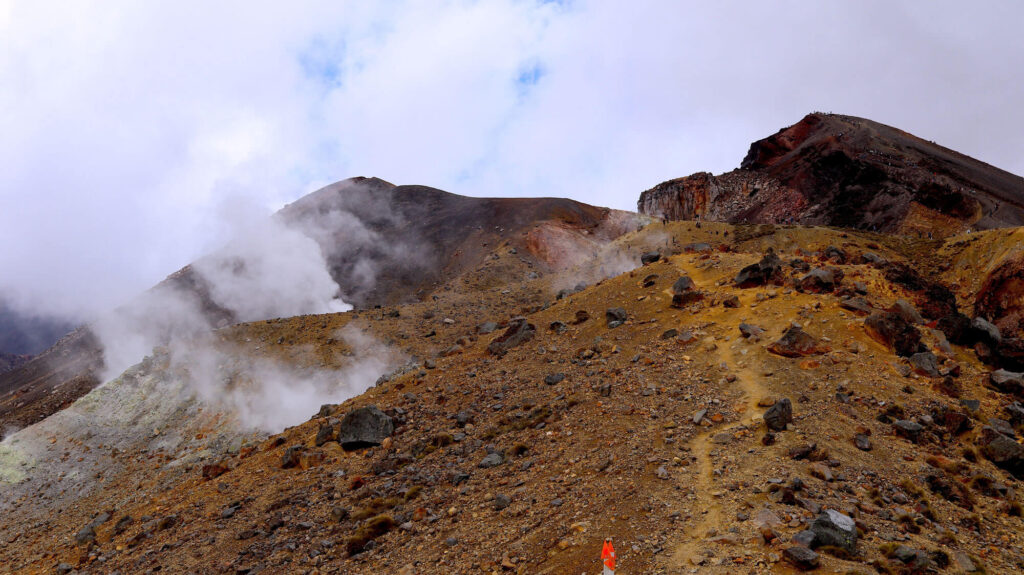
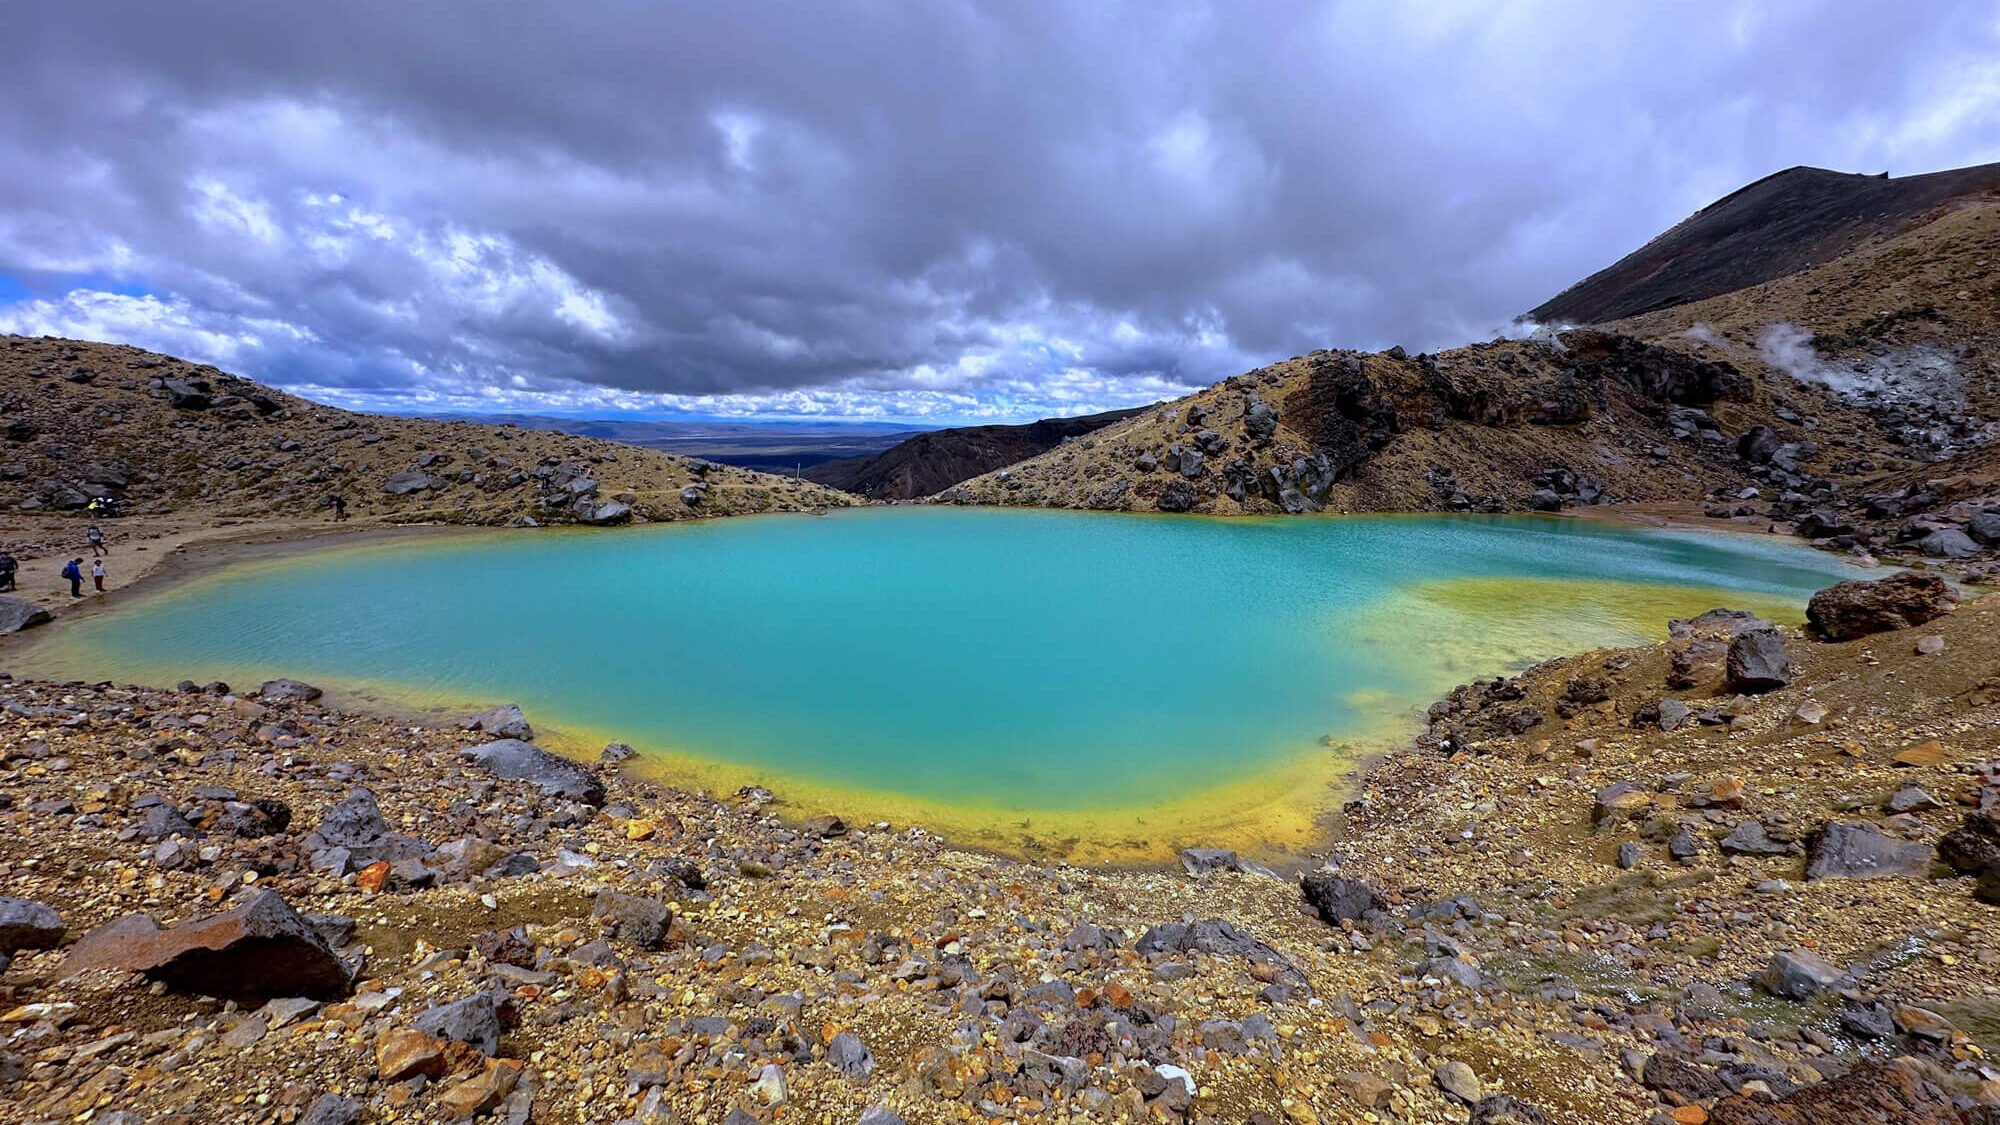
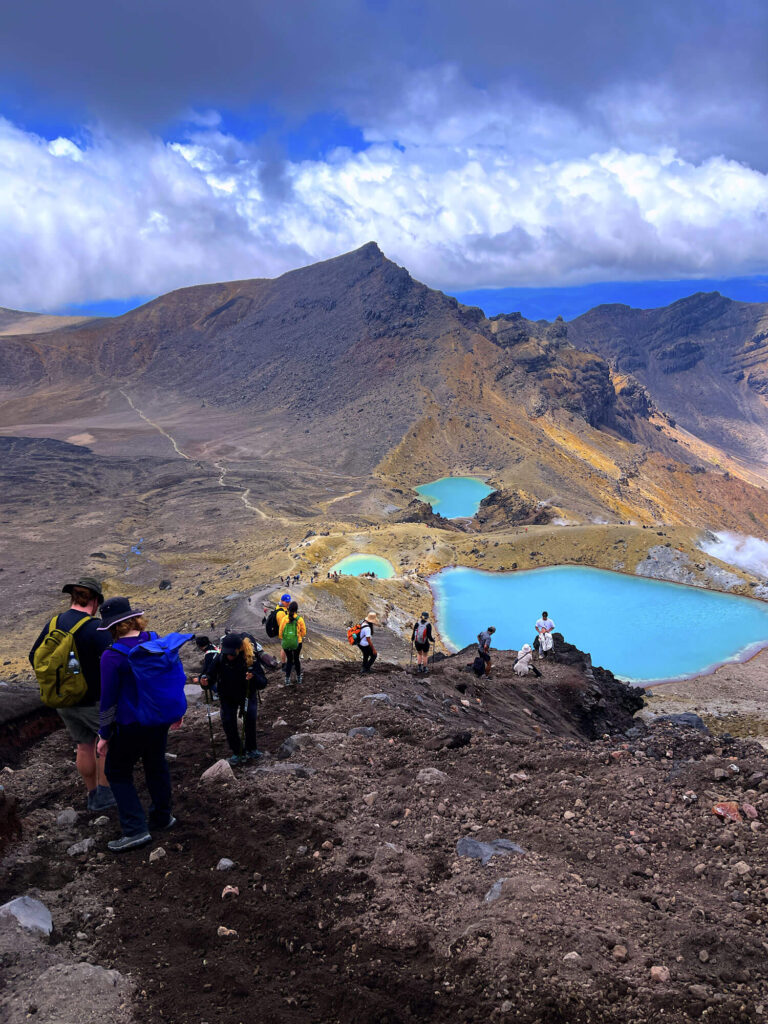
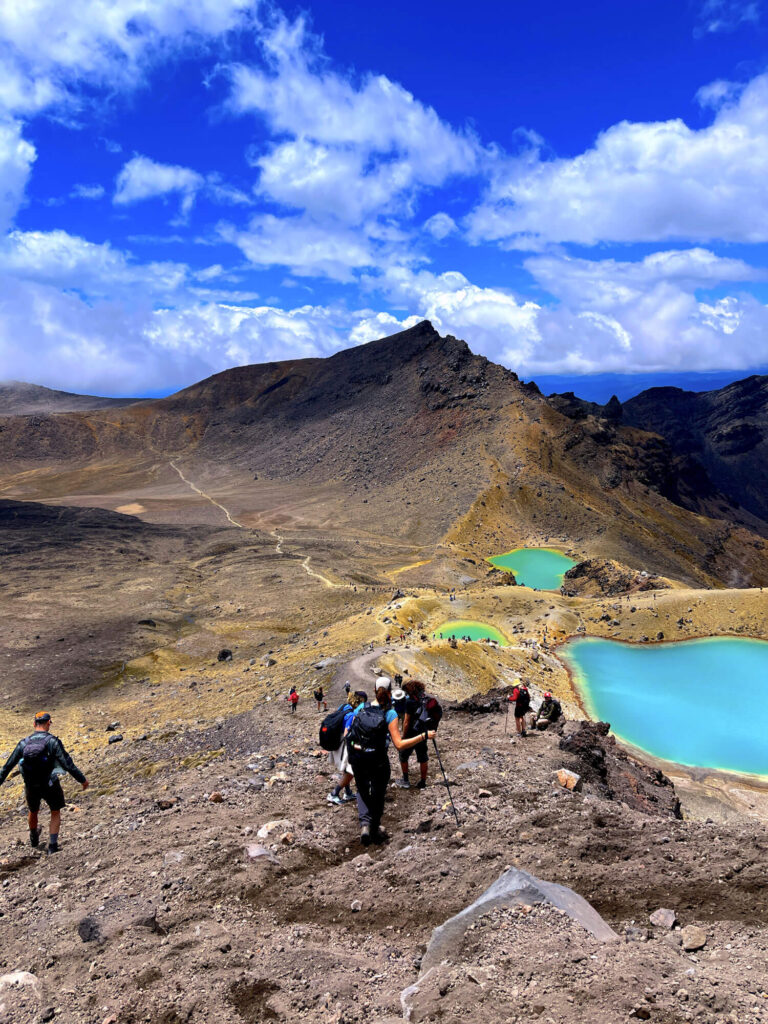
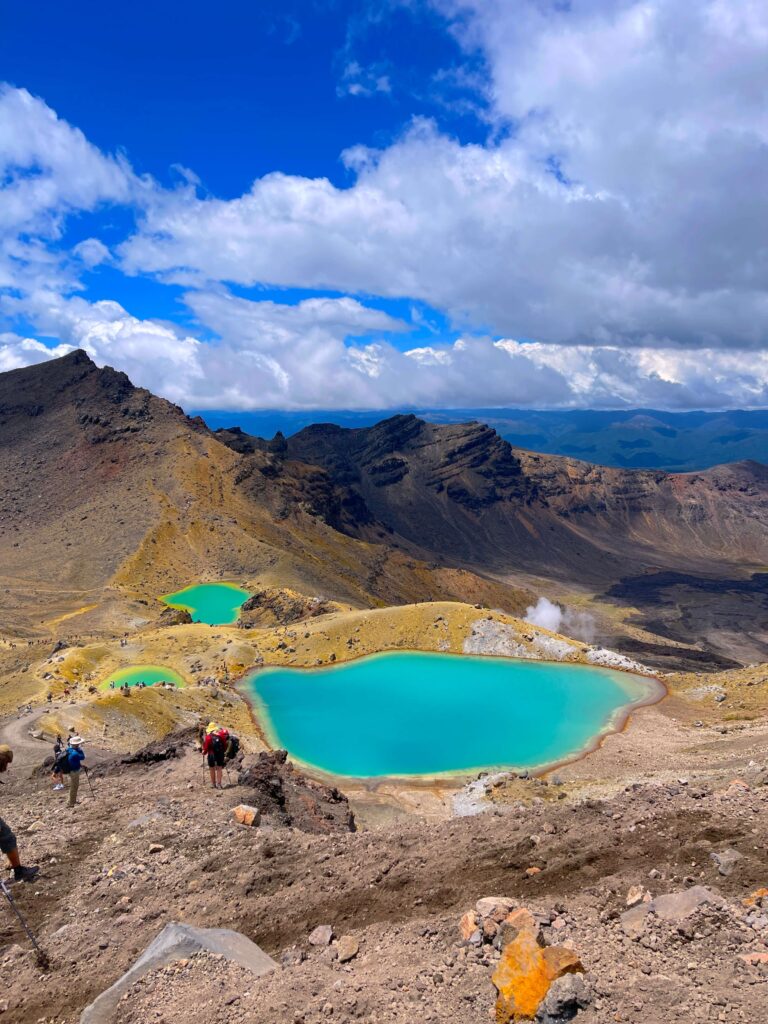
After a long and steep climb, you will be greeted by the sulfuric smell, vents, and the stunning blue turquoise water of the emerald lakes. Take a moment to rest and soak in the breathtaking view of the beautiful lakes and the surrounding mountains venting out smokes.
After barely encountering any humans during the past two days of the hike, we finally see many people who are undertaking the famous day walk of the Tongariro Alpine Crossing. We get to see kids among the hikers as well, and people scrambling down the scree of volcanic sand while making their way down towards us at the emerald lake.
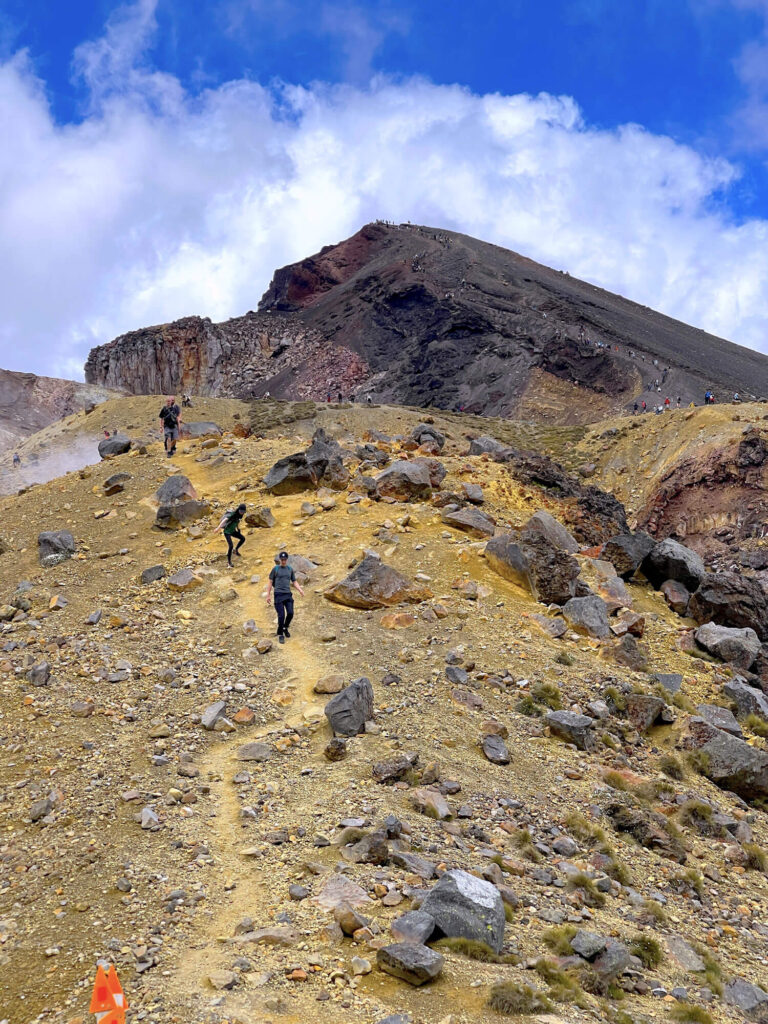
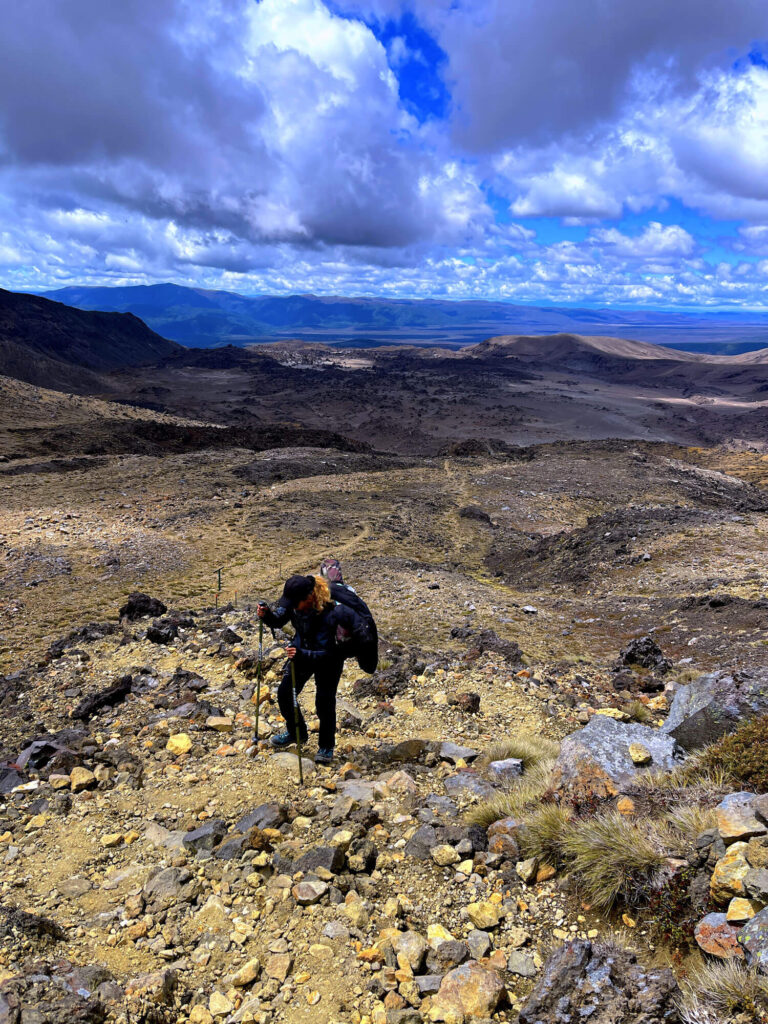
And now, the moment of truth to test our patience and strength as we begin our ascent. Surprisingly, the climbing part wasn’t as difficult as we had expected. We had anticipated that it would be extremely challenging to climb the Red Crater, as we had seen many people slipping or sliding down and struggling on the long way down. However, we found it manageable to climb up with the aid of trekking poles, and we hardly slipped while hiking up.
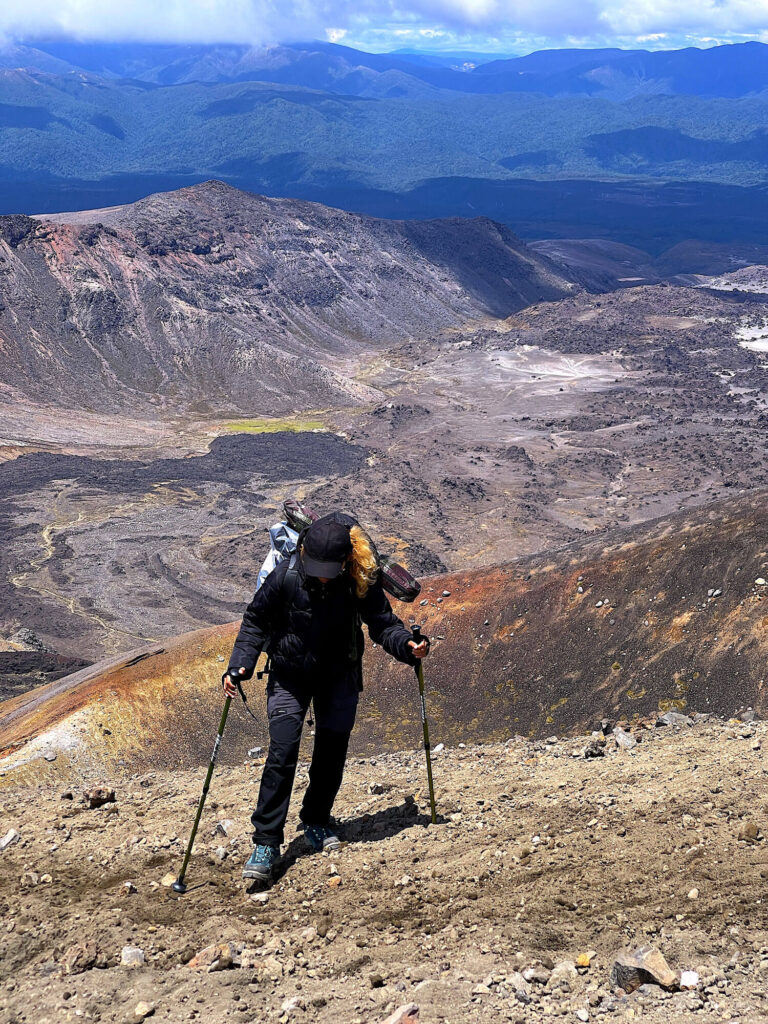
It took us about an hour to ascend to Red Crater because there were many people descending that day, so we decided to take our time. We had to be extra cautious because those coming down might accidentally kick some loose sand or rocks onto our path. This route can get quite crowded since it’s the main attraction of the Tongariro Alpine Crossing.
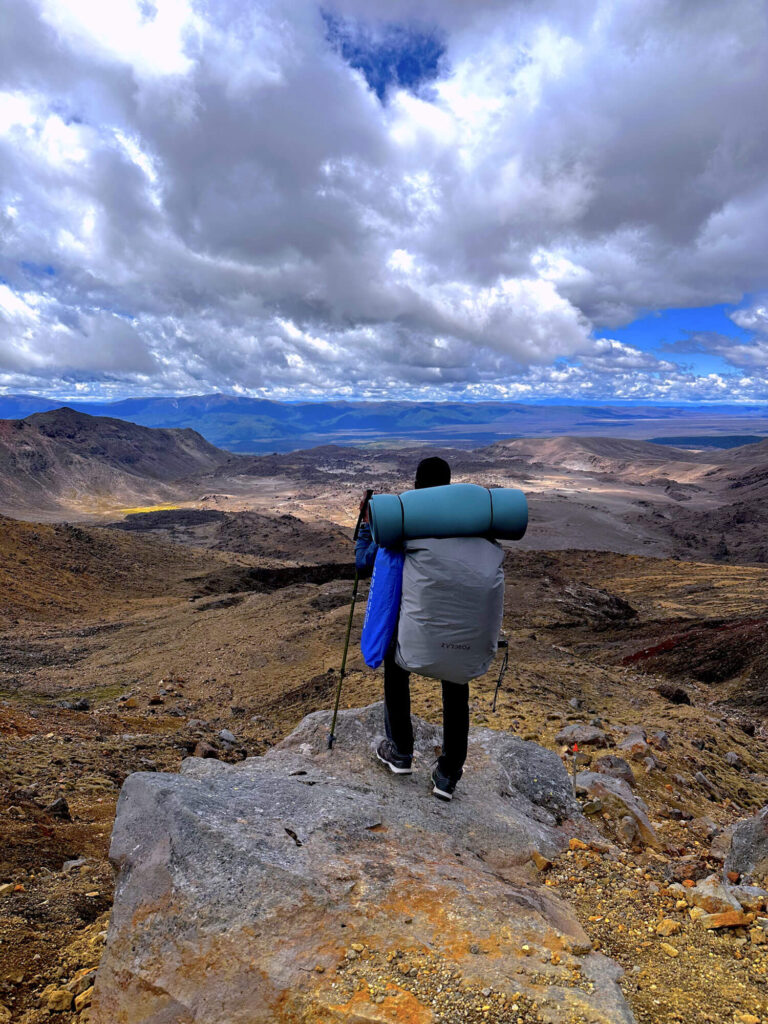
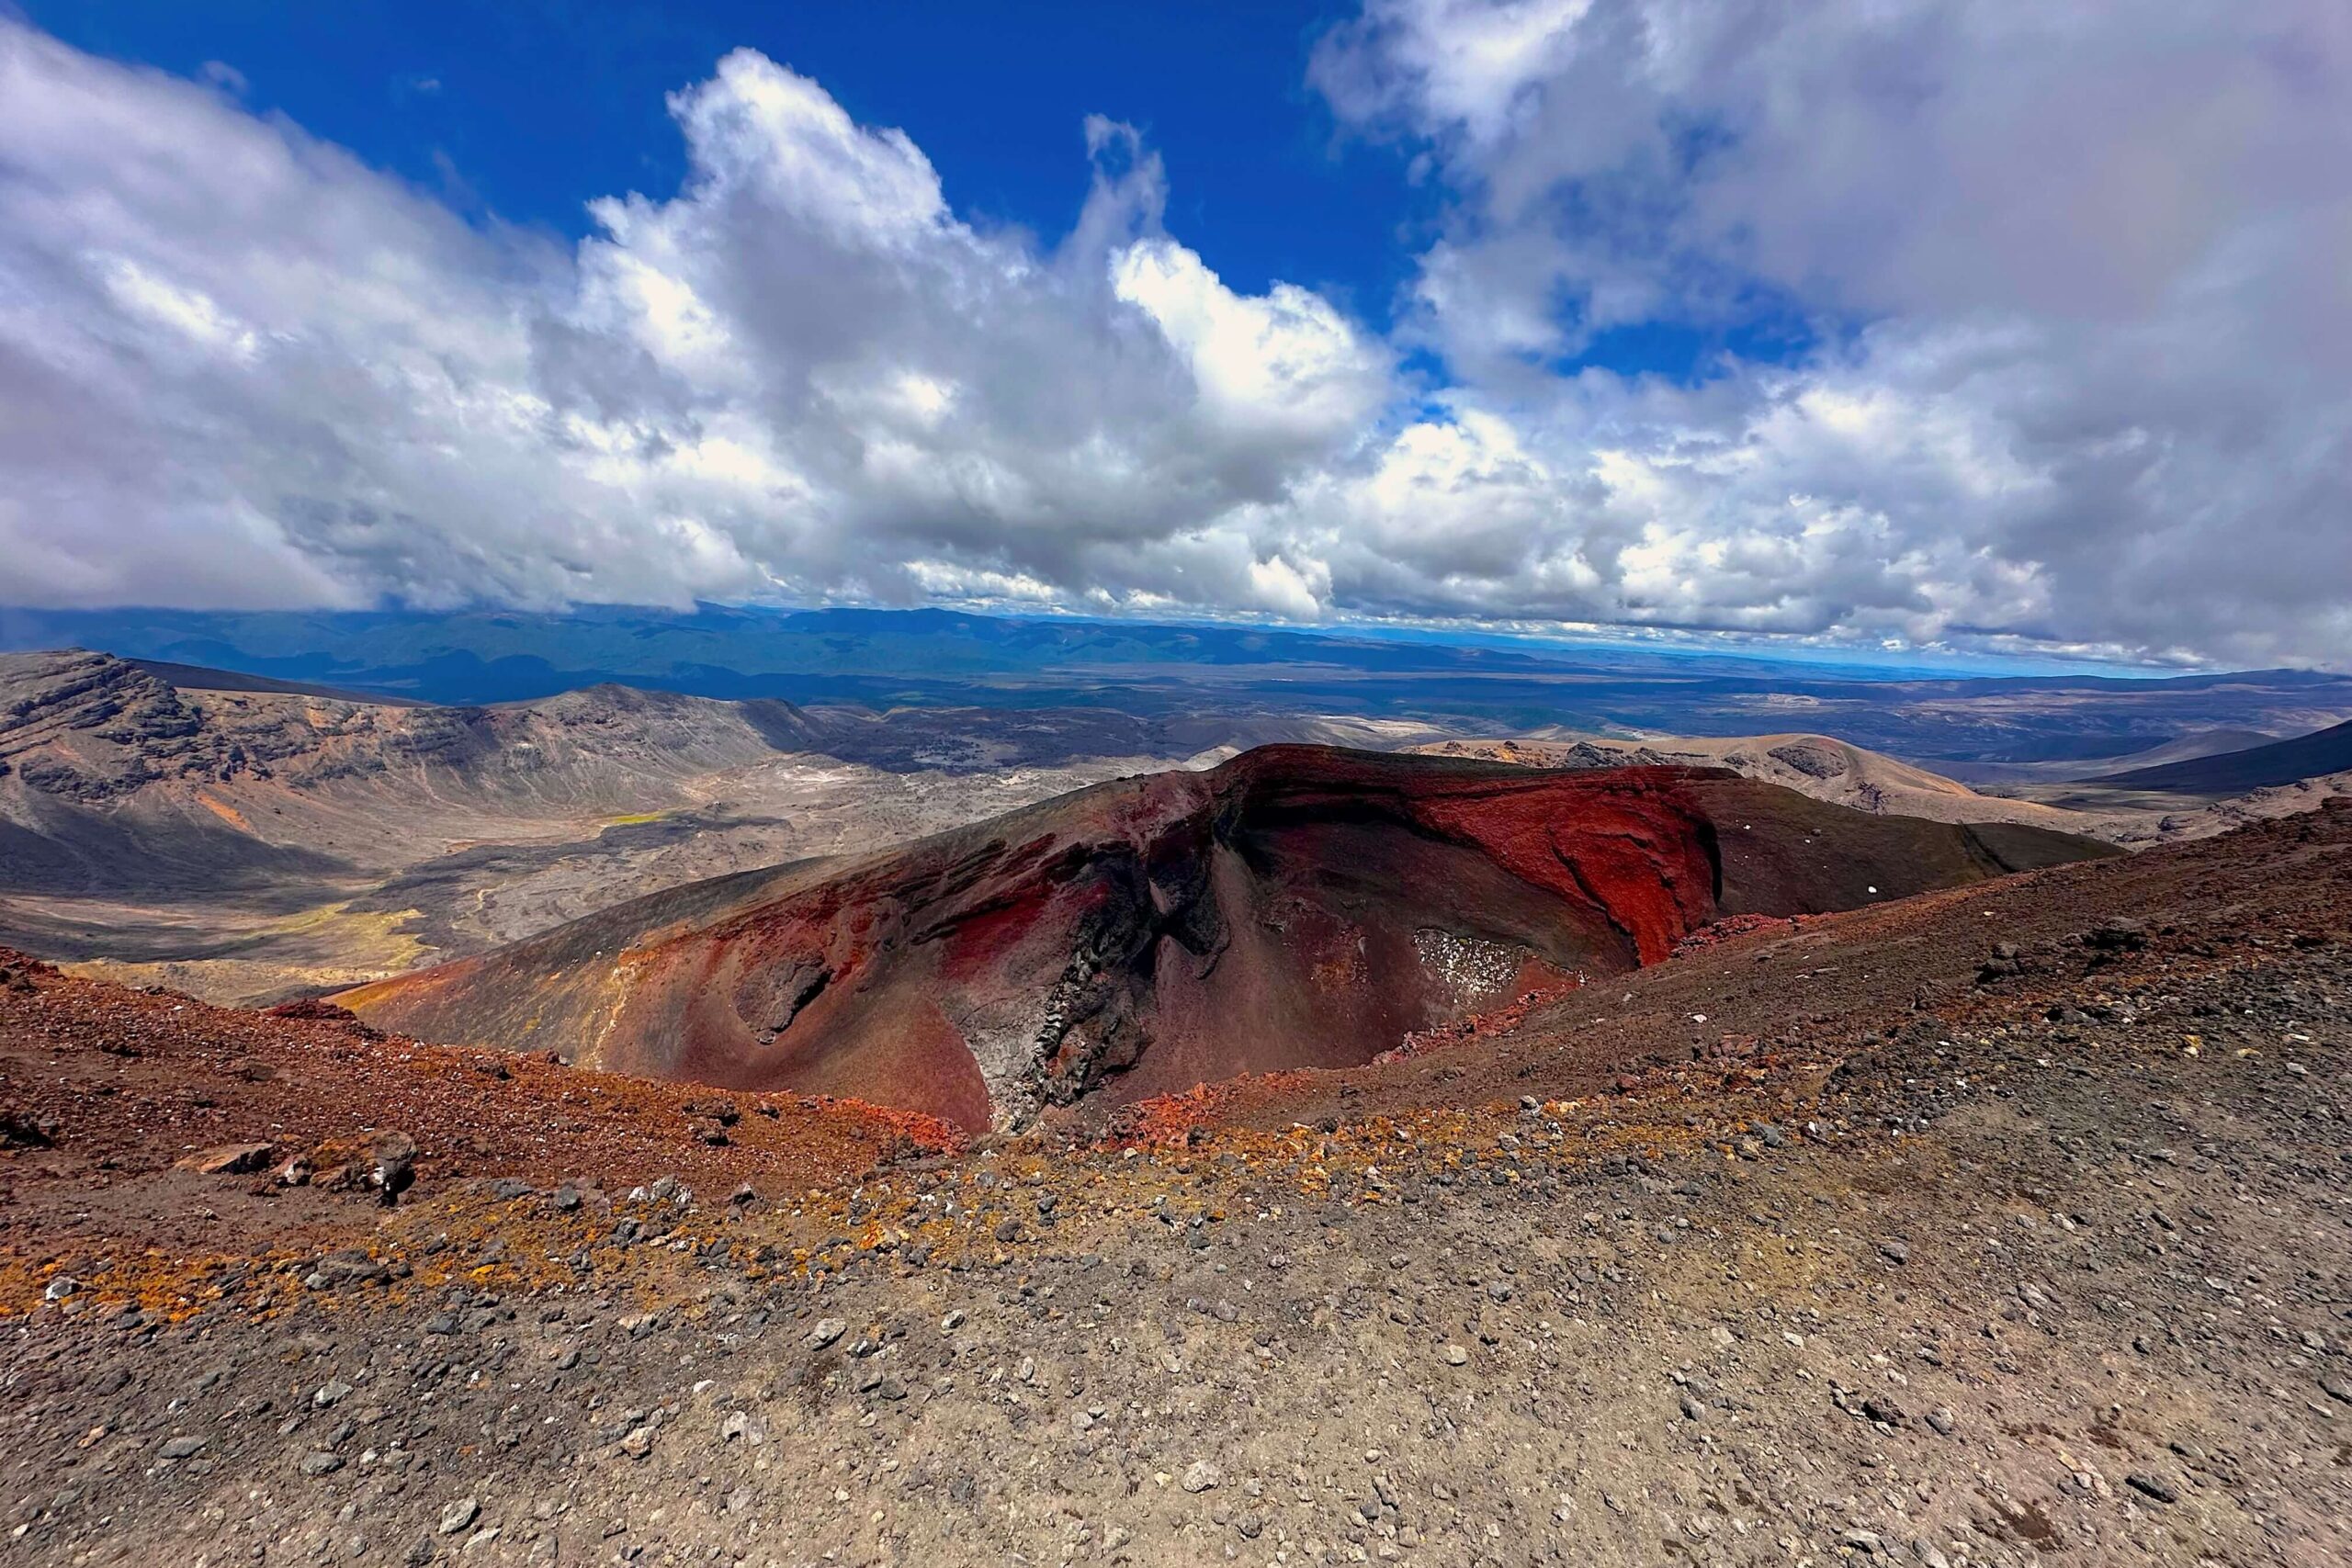
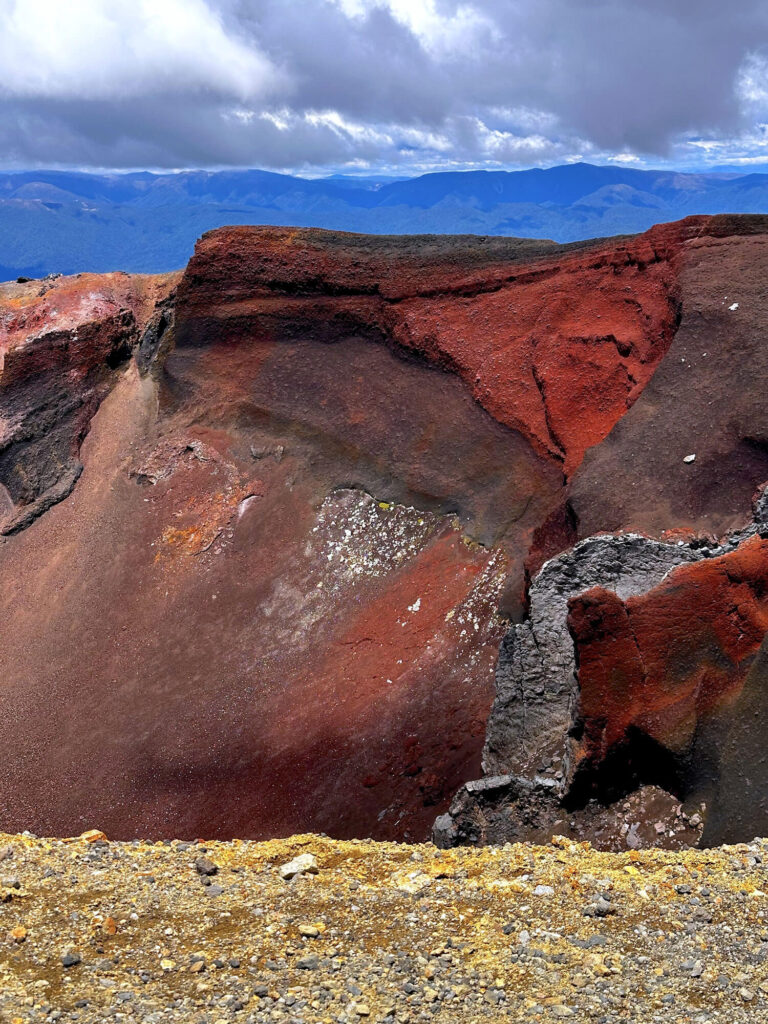
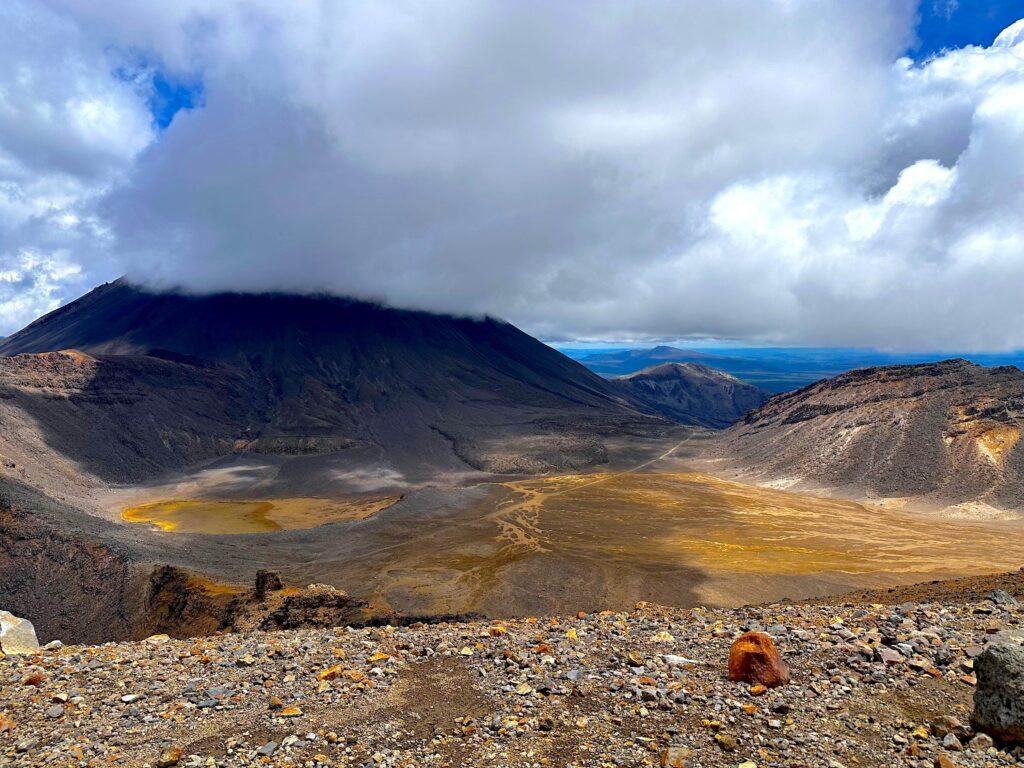
The view from the peak of Red Crater is truly breathtaking, and it’s something that you must experience firsthand to fully appreciate. No camera footage can do justice to the beauty of the scene. When you look down from Red Crater, you can see the trails that we’ve been hiking on for several hours, leading up to the mountain’s peak from Oturere Hut.
From the other side of the viewpoint, we got a close-up view of Mount Ngauruhoe. Unfortunately, during our visit, the peak was always shrouded in clouds. Despite this, the experience was still amazing and it would have been even more magnificent had the clouds cleared up.
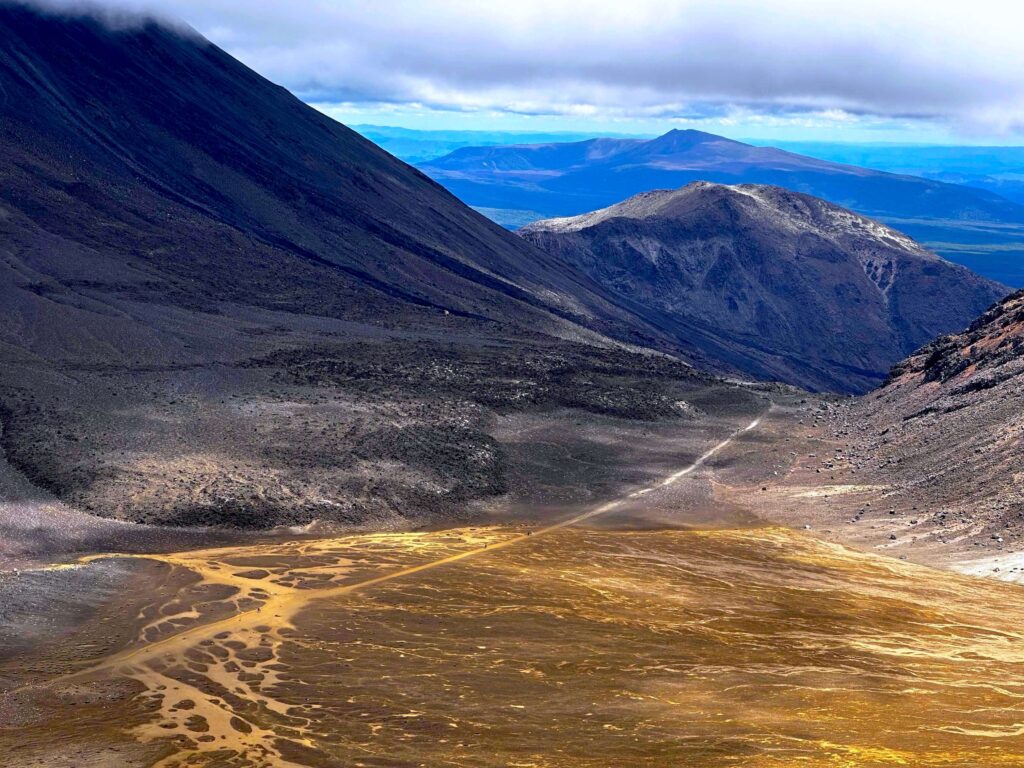
After taking in the breathtaking view from the top, we began our descent down another steep hill that led towards a wide, flat area beside Mt. Ngauruhoe. Even though this side was not as slippery as the other side of Red Crater, there were still a few loose rocks and sand, so we had to be extra careful while going down.
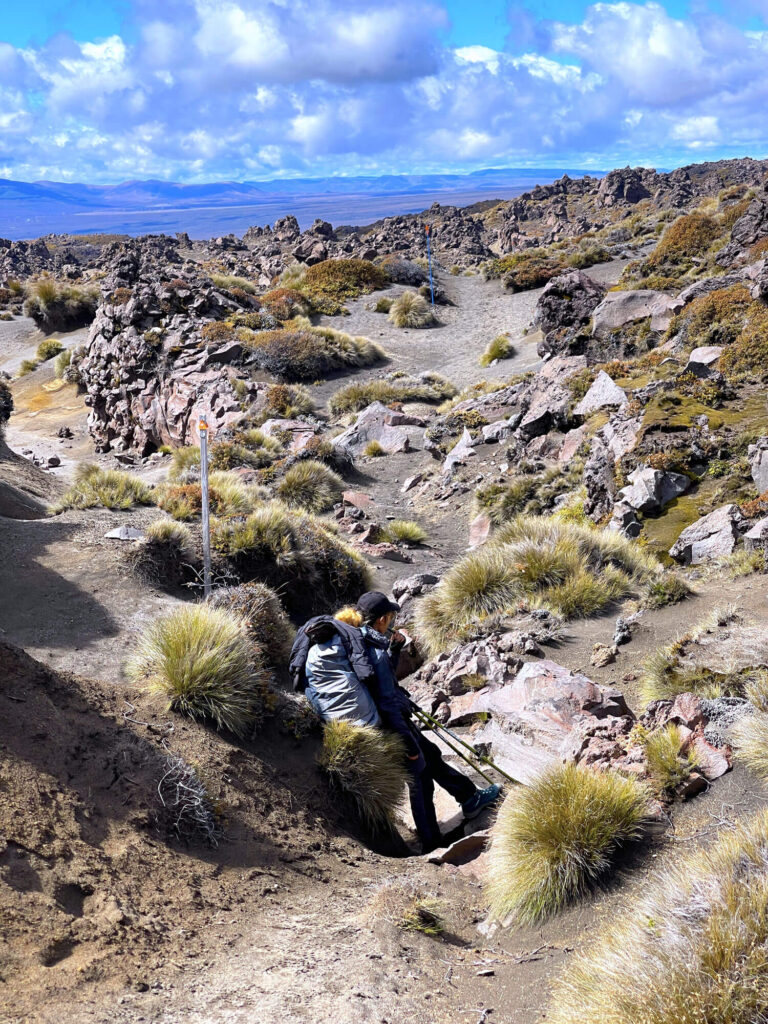
The flat deserted crater area is a great spot to relax and catch your breath before descending into the Devil Staircase.
If you’re hiking anti-clockwise, the descent should be manageable, but you need to be careful about your knees. Climbing up the staircase can be tough and exhausting.
Once you’re almost done with the Devil Staircase, there are toilet stops available on the corner before the trail heads down towards the Soda Spring. It’s a quick detour from the trail that leads to a refreshing small waterfall.
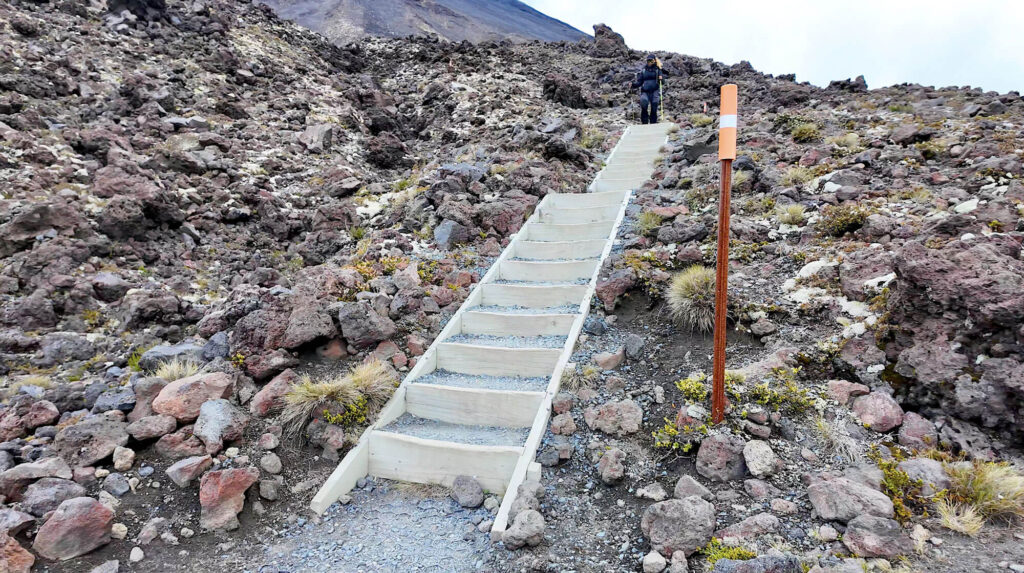
The trail leading towards Mangatepopo hut comprises wooden pathways, offering breathtaking views of mountains, lava flows, and landscapes on both sides. As flora and fauna slowly come back to life, the trail becomes a treat.
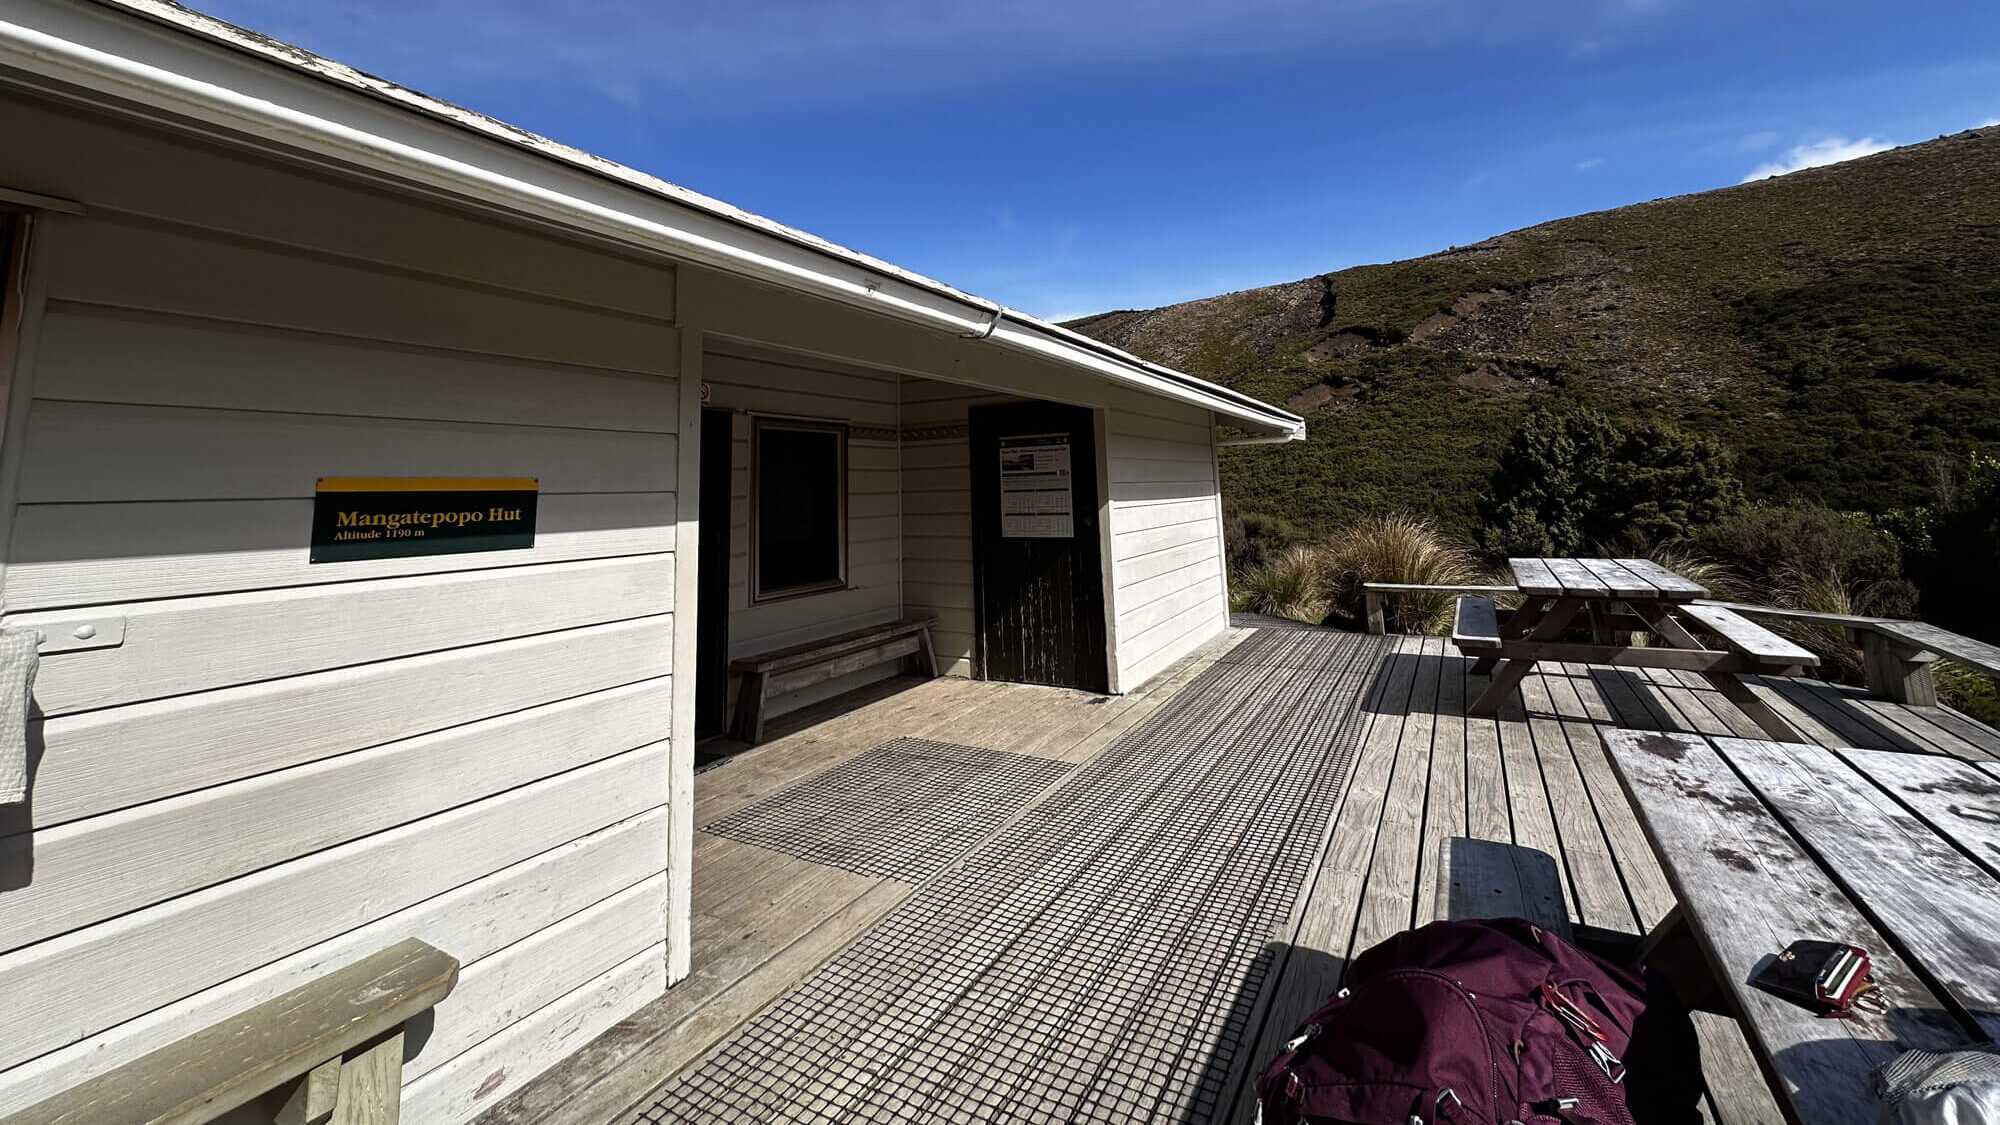
After walking for about six hours, we finally arrived at Mangatepopo Hut. The hut is cozy, modern, and equipped with bunk beds, a kitchen, and a common area, similar to the Waihohonu Hut, but slightly smaller. The hut has two shared toilets for both campers and hut visitors. Other amenities in the hut include gas, a kettle, and water. There are also outdoor tables and benches available for use.
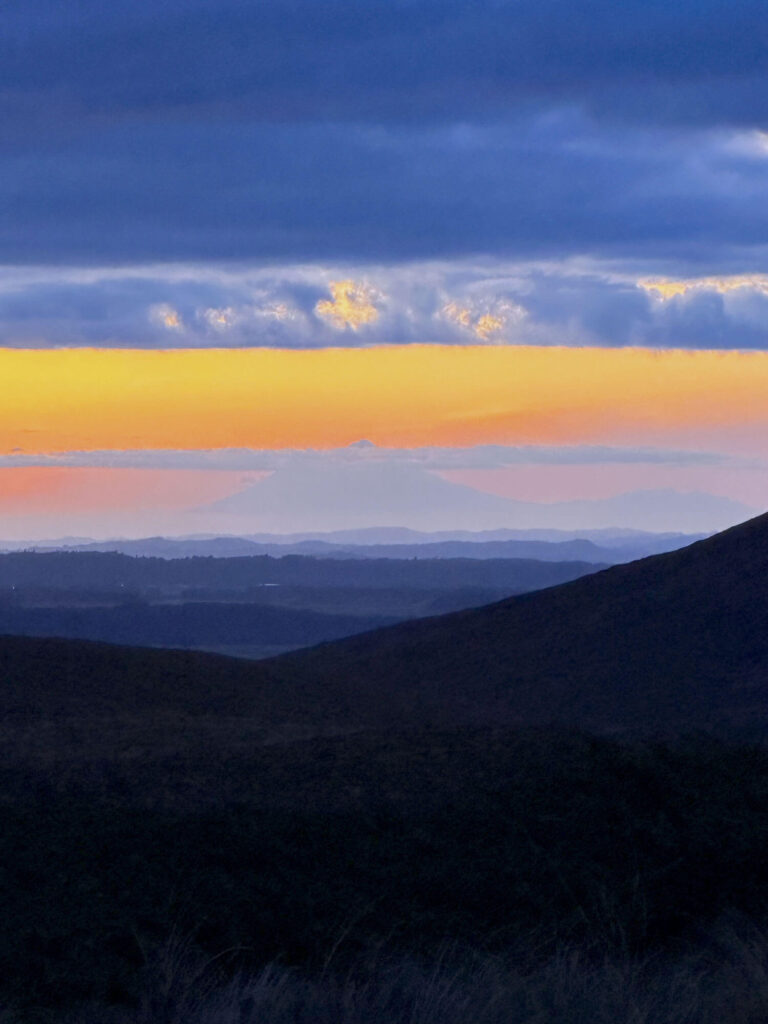
We were fortunate to catch a glimpse of Mount Taranaki during sunset as the skies cleared up a bit. It was a beautiful sight to behold and we took some time to rest and take in the views as it was our last night of camping.
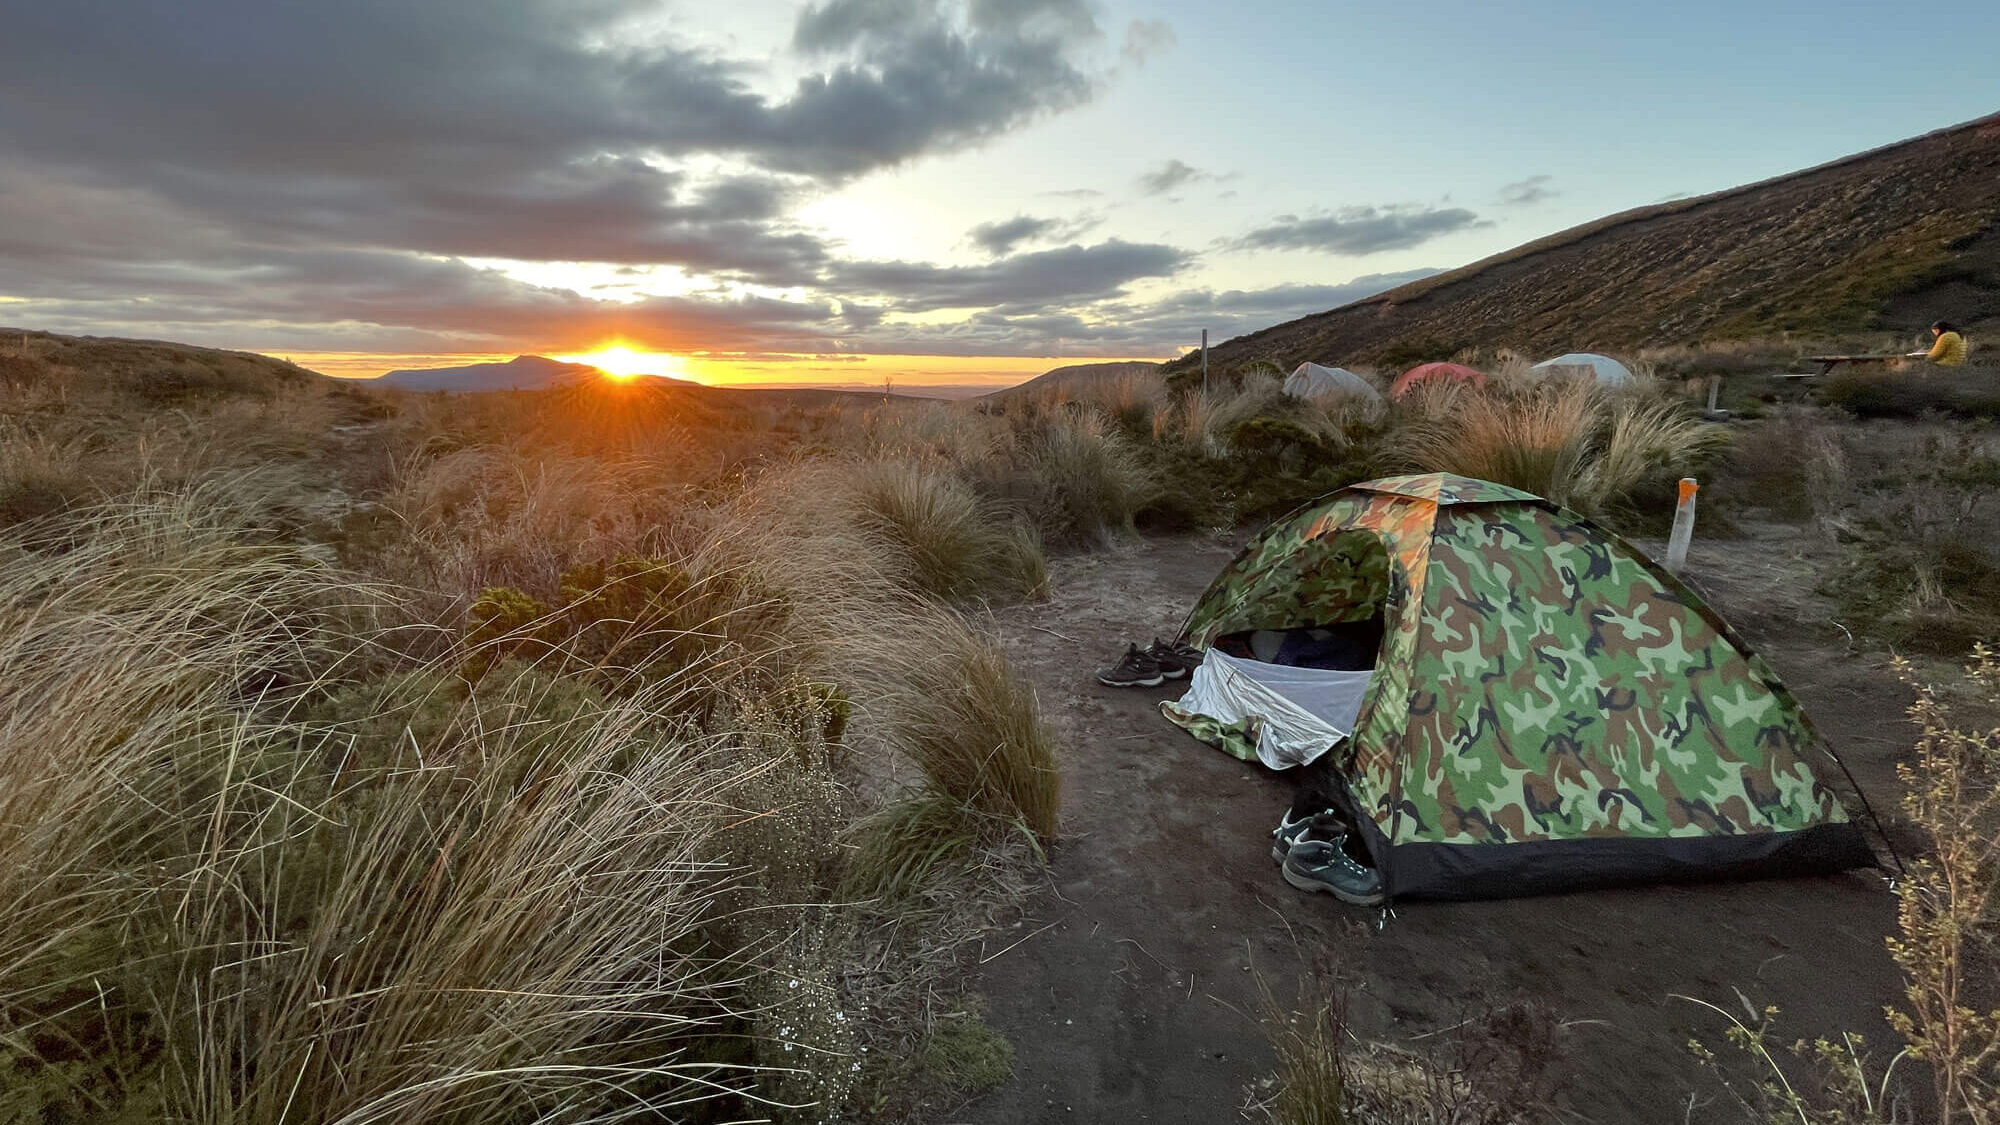
There were around 7 tents in total, including ours, and quite a few people had also opted for camping. We had our dinner and spent the night sleeping under the stars.
Day 4 – Mangatepopo Hut to Whakapapa Village
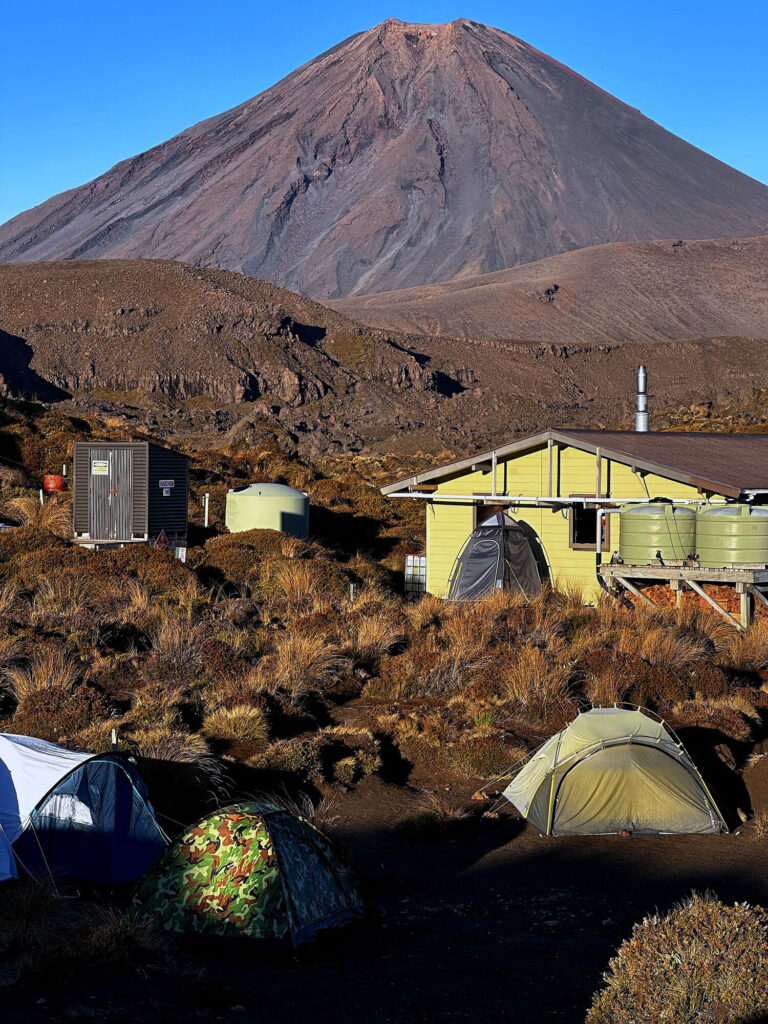
We were fortunate to have good weather on the final day of our Tongariro Northern Circuit Hike and we could see the impressive cone of Ngauruhoe looming in front of our tent.
Both of us were filled with mixed emotions – excited to return to civilization after three days, but also sad to leave the wilderness behind.
After having breakfast, we packed up our tent and set out towards the end of our hike at Whakapapa Village.
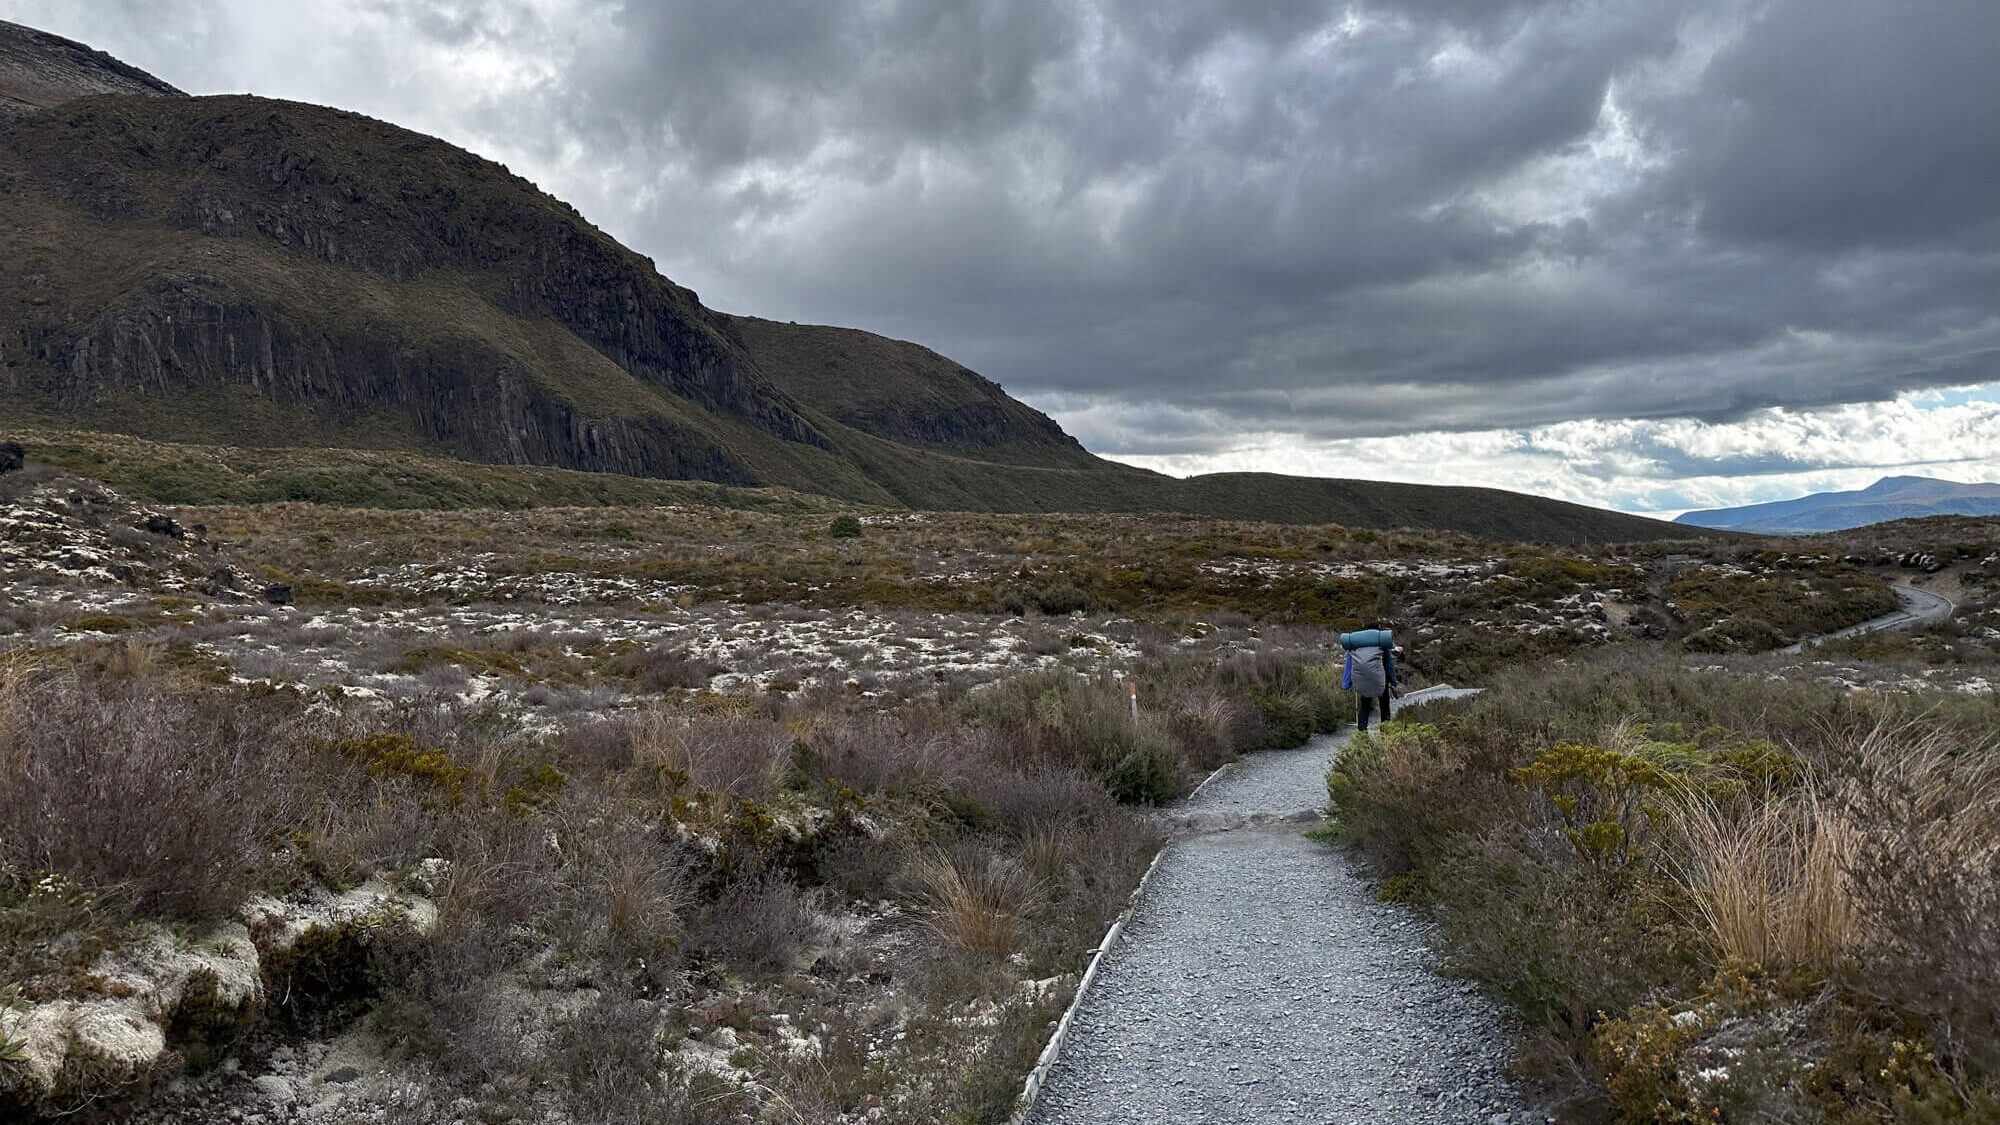
The track we followed was relatively easy, as it was flat and wide across the volcanic plains. We gradually descended towards Whakapapa Village, and during this time, we were the only ones walking towards the village.
However, we met very few people going towards Mangatepopo Hut in the opposite direction. Initially, the track was flat, but we later crossed several small mountains filled with bushes and narrow paths, with few streams but not much water.
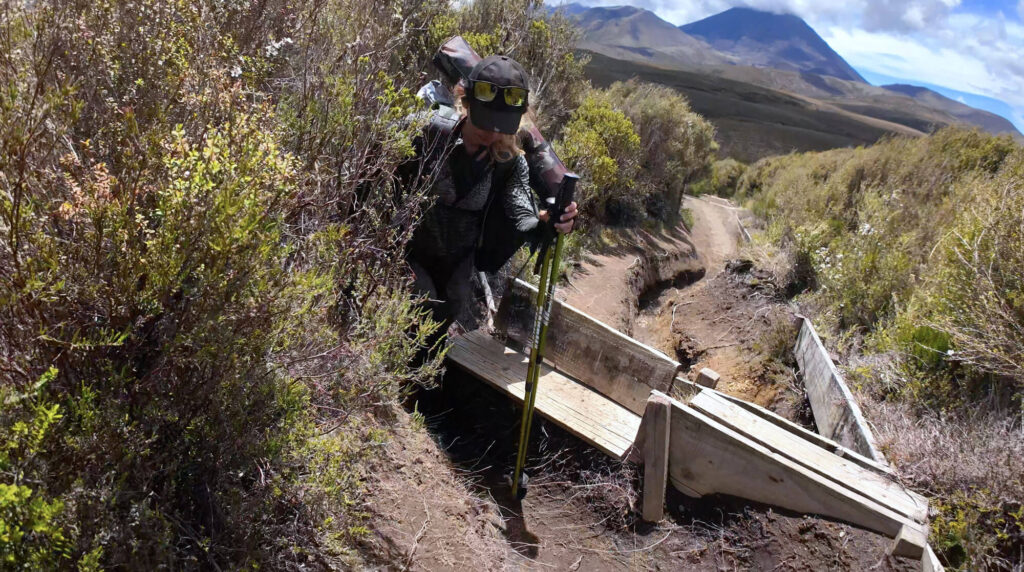
The path sometimes can be narrow or broken, requiring some effort to step up or down with the support of holding onto the bushes.

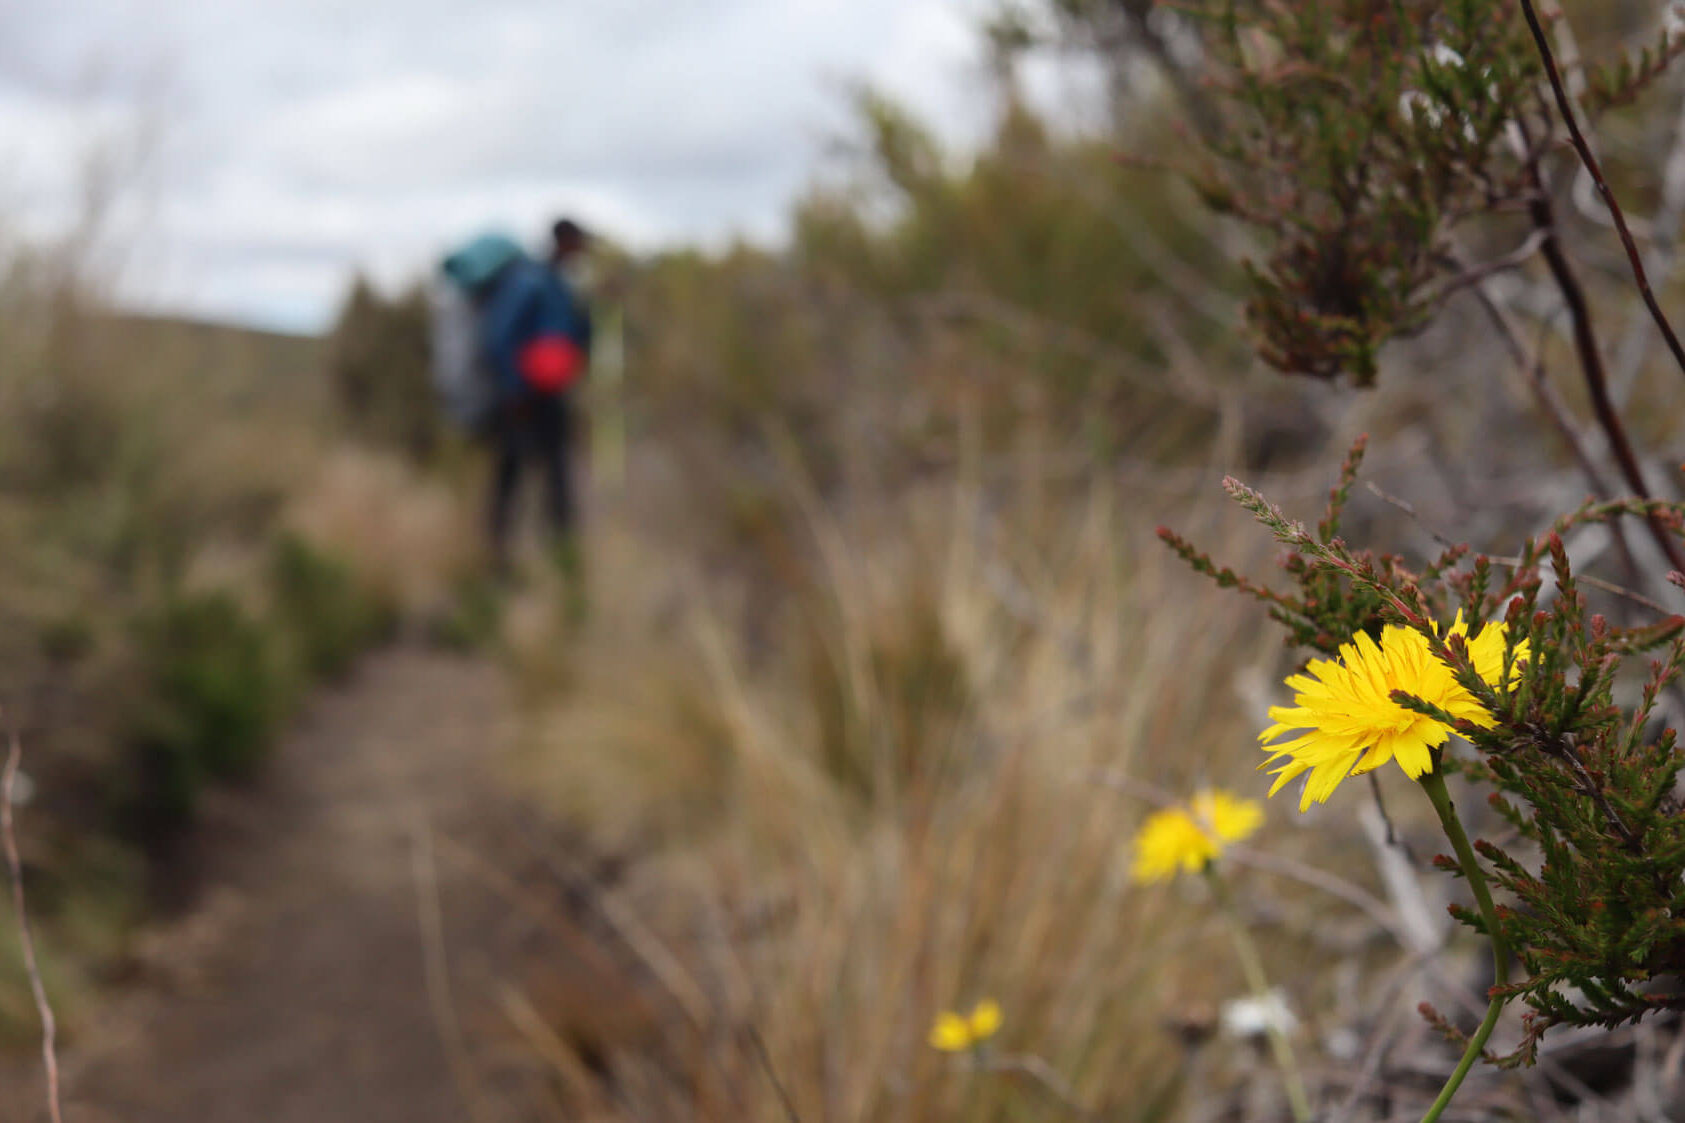
In some areas, it’s muddy due to the bad weather from the previous days. We noticed shoe’s skid marks, so please be careful while walking. You may also hear buzzing sounds from the bees, as flowers have started growing in these areas during the summer season.
As you approach Whakapapa Village, you’ll encounter the Taranaki Stream which originates from the Taranaki Falls. This is an ideal time to take a break and unwind, or even make a quick detour to the Taranaki Falls if you haven’t already visited them.
After walking for approximately 20 minutes from Taranaki Stream, you’ll arrive back at Whakapapa Village, where we began on Day 1.
Conclusion
As a first-time hiker doing multi-day tramping, we had a great experience and highly recommend it to anyone who loves nature and adventure. Although the hike was challenging, it was rewarding and offered a variety of scenery, terrain, and experiences. We didn’t expect to make it due to the bad weather and being first-timers who never hiked or camped before.
The hike also gave us a deeper appreciation of the cultural and spiritual significance of the park, as well as the importance of respecting and protecting it. We learned a lot about the park’s history, geology, and ecology and felt a connection with the land and its people.
We highly recommend this hike even for beginners. It is better to do it anti-clockwise, as it is easier and more rewarding to climb up to the summit towards the end of your journey.
The hike was a memorable and unforgettable experience, and I hope to do it again someday.
Leave a Reply